120
REFERENCE ADJUSTMENT
Astig Adjustment
This feature allows you to adjust the beam shape.
Proceed as follows:
1 Press and hold the CTL button then press the ADJUST button to
display the “REF. ADJUST” menu.
• The projector may ask you to enter your passcode.
• See page 59 for the explanation of the PASSCODE.
2 Use the CURSOR or button to highlight the “1/ASTIG”
item. Press the ENTER or INPUT “1” button to display the
“ASTIG” menu.
Items to select
• CENTER ......... Adjusts the whole screen
• EDGE ............. Adjusts the top, bottom, left, and right sides on
the screen
• CORNER ........ Adjusts the four corners on the creen
3 Use the CURSOR or button to select the “CENTER”,
“EDGE”, or “CORNER” item. Press the ENTER button to
display the “ASTIG” adjustment screen.
• The “DOT COARSE” test pattern is automatically displayed.
• Pressing The CTL and FOCUS buttons rotates three items as
follows:
CENTER→EDGE→CORNER
4 Select the CRT you wish to adjust with R, G, or B button.
5 Press the R, G, or B button to project the only CRT beam to be
adjusted.
• You can turn on or off each CRT beam (R, G, or B).
ASTIG
- CENTER -
CRT-G-
50%H
50%V
– ASTIG –
1 / CENTER
2 / EDGE
3 / CORNER
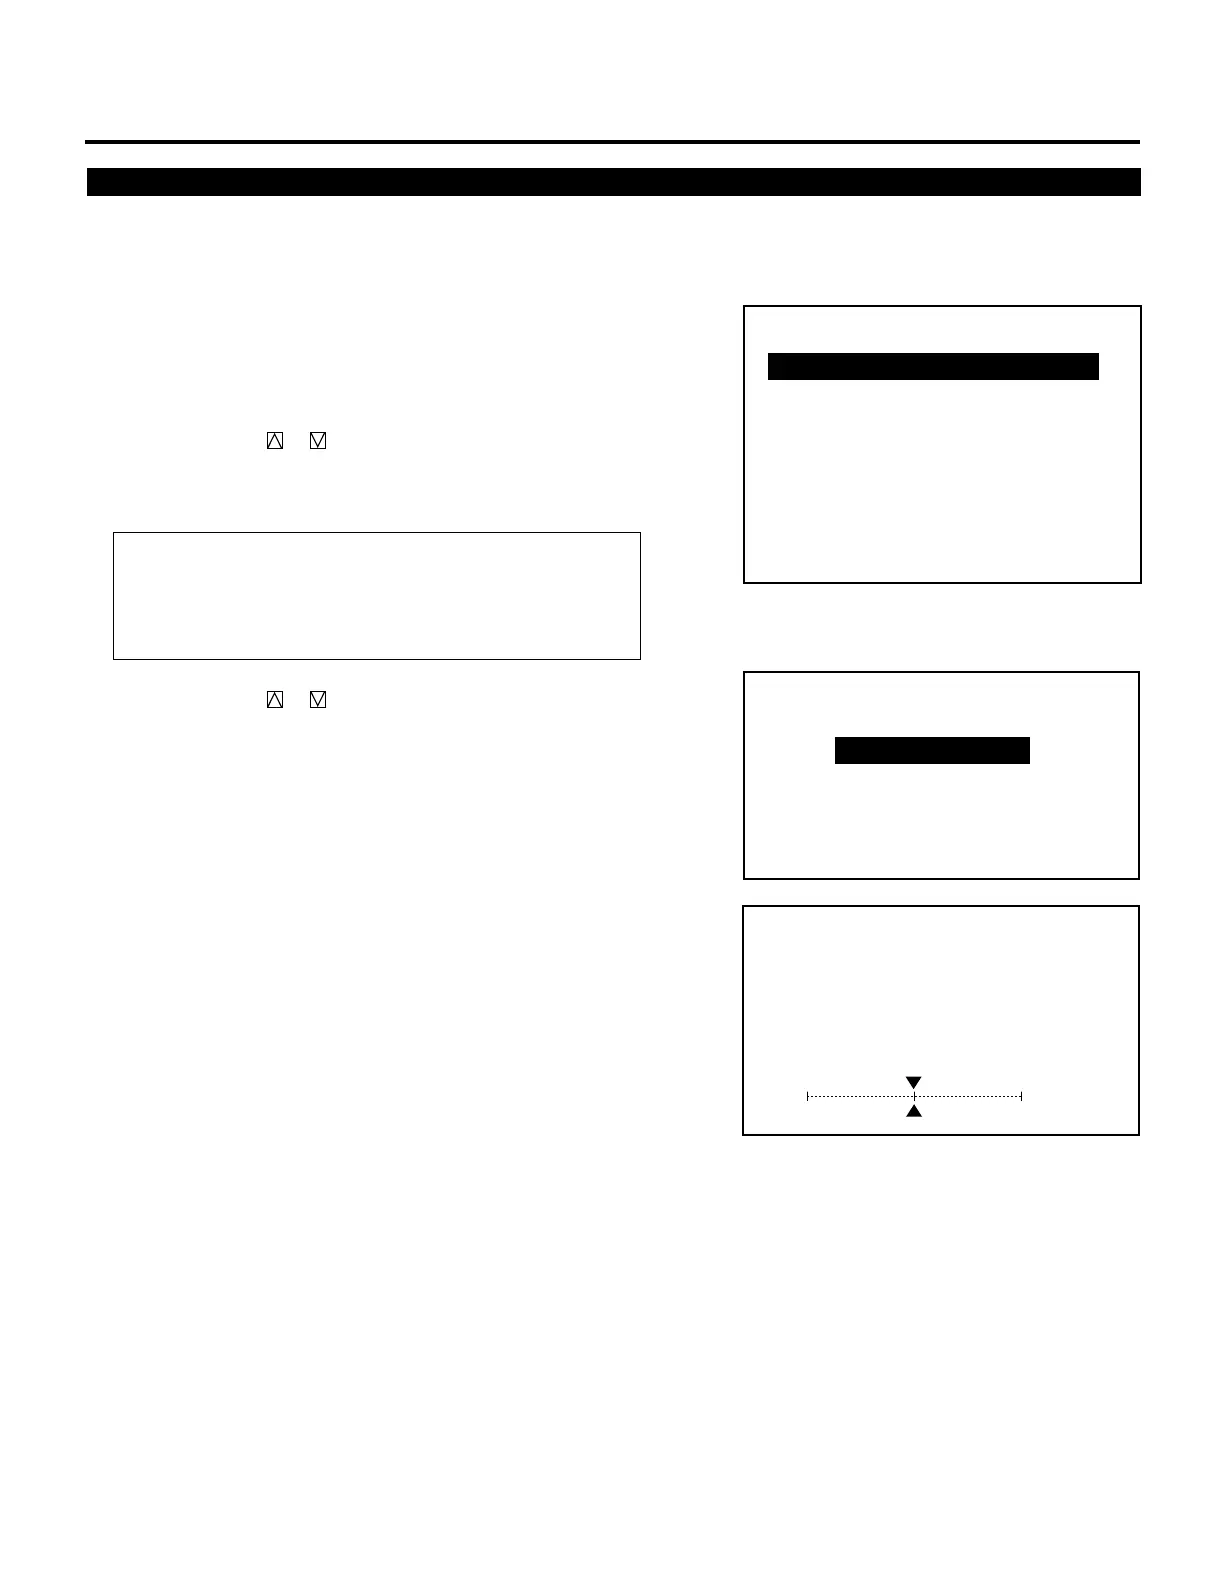
– REF. ADJUST –
1 / ASTIG
2 / BRIGHT UNIFORM.
3 / WHITE UNIFORM.
4 / RASTER CENTERING
5 / FOCUS BAL.
6 / REF.WHITE BAL
 Loading...