86
SETTING
Phosphor Saver Setting
This function allows you to safeguard the CRTs against burns by
shifting the image vertically and horizontally on the screen in the
regular intervals. This can prolong the life of CRT of the projector.
To set the Phosphor saver, proceed as follows:
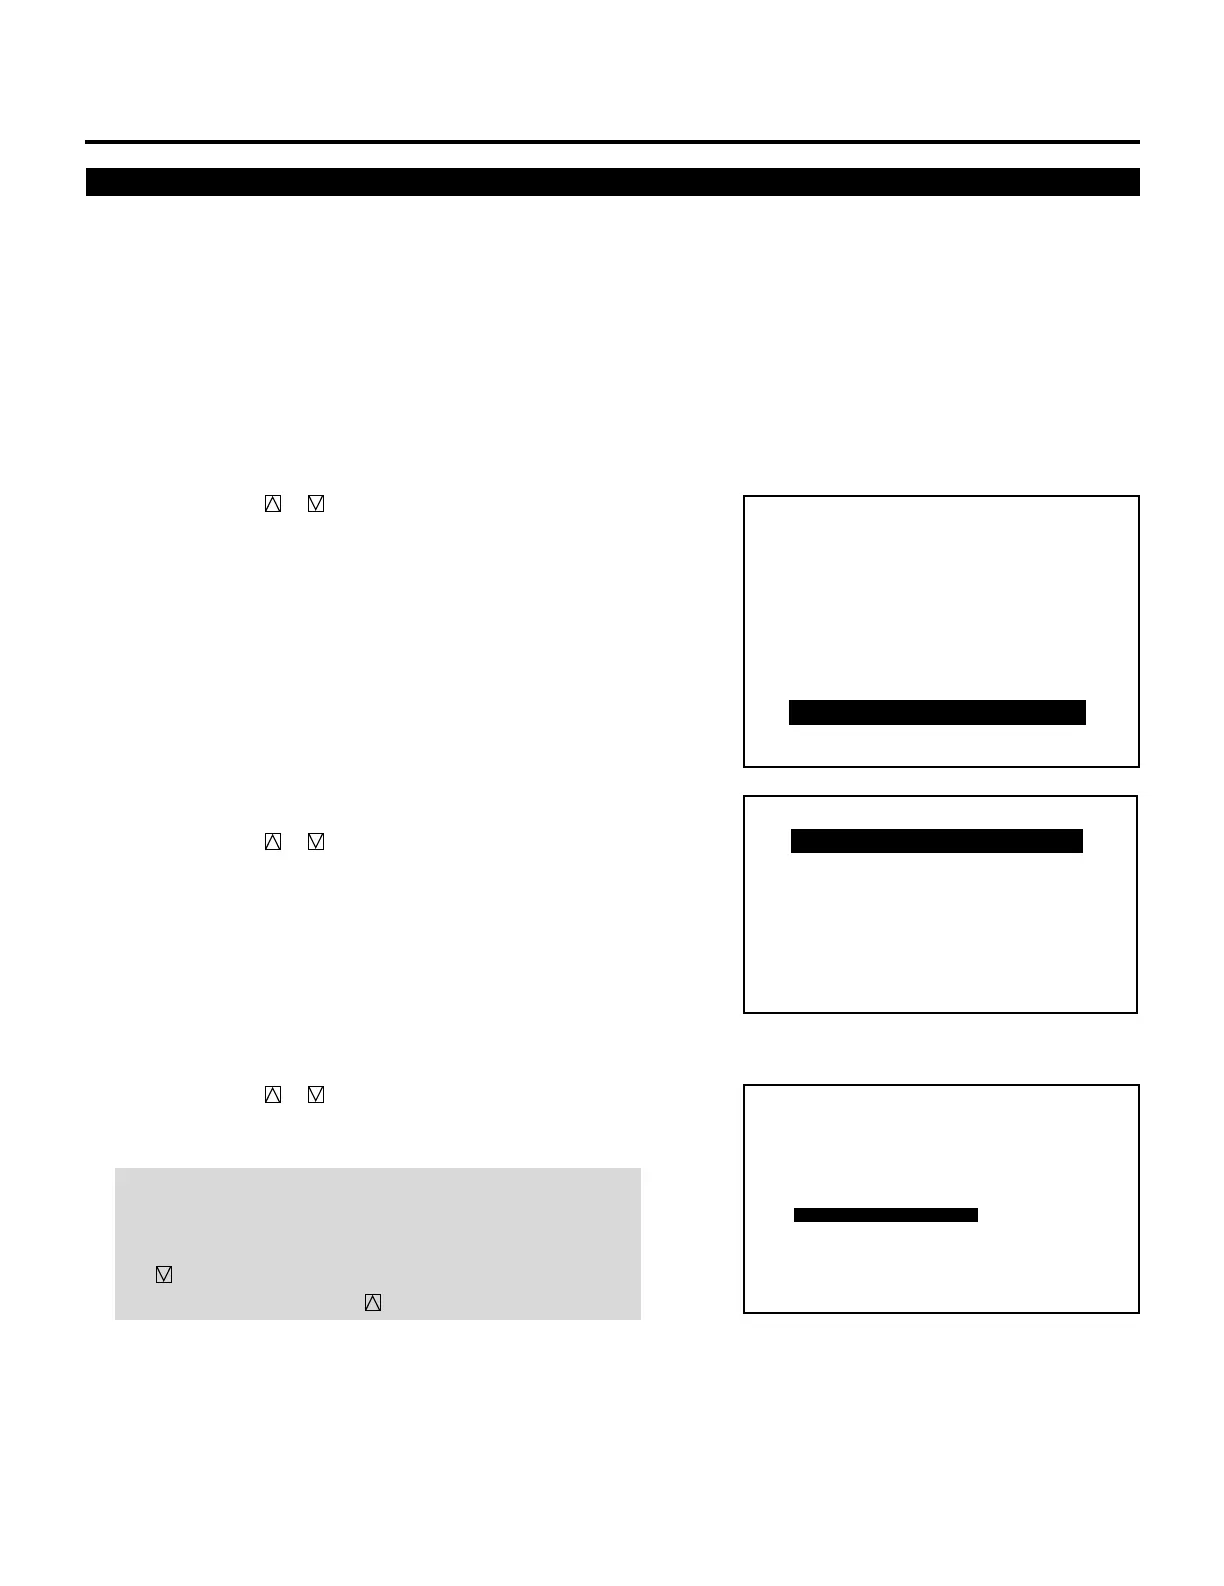
1 Press the ADJUST button to display the “ADJUST” menu.
• The projector may ask you to enter your passcode.
See page 59 for the explanation of the PASSCODE.
2 Use the CURSOR or button to highlight the “8/OPTION”
line. Press ENTER to display the “OPTION” menu. You can also
select the “OPTION” menu directly by pressing the INPUT “8”
button.
3 Use the CURSOR or button to highlight the “1/SETTING
MODE” line. Press ENTER to display the “SETTING MODE”
menu. You can also select the “SETTING MODE” menu directly
by pressing the INPUT “1” button.
4 Use the CURSOR or button to select the “PHOSPHOR
SAVER” item on Page 2, then press ENTER to display the
“PHOSPHOR SAVER” menu.
NOTE: The SETTING MODE has three menus. The “PHOSPHOR
SAVER” item is on the second menu (P02). To access P02 from
P01, press and hold down the CTL button then press
the button; to return to P01 from P02, press and hold down
the CTL button then press the button.
– ADJUST –
1 / SIGNAL ENTRY
2 / FOCUS
3 / ALIGNMENT
4 / CONVERGENCE
5 / KELVIN
6 / R,G,B GAIN
7 / PASSCODE
8 / OPTION
9 / REF.ADJUST
P02/P03
OPTION – SETTING MODE –
WARM-UP MODE
INACTIVE
AUTOMATIC DATA STORE
OFF
SIGNAL SWITCHING SOUND
MUTE ON
PICTURE
MUTE ON
INACTIVE
DISABLE
AUTO POWER ON MODE
PHOSPHOR SAVER
– OPTION –
1 / SETTING MODE
2 / MENU MODE
3 / SEQUENCER
4 / PJ ADDRESS
5 / VERSION
6 / HOUR METER
7 / DEFAULT DATA
 Loading...