Other CRUs
Removal and Replacement 3-31
3. Repeat "Installation" on page 3-29 through "Install the CRUs, Fillers, and
Magazines in the Replaced Module" until all expansion modules and CRUs are
installed.
Task 5 Finishing Touches
1. Secure the hook and loop strap to the replaced expansion module (close the
plunger of the rivet).
2. Align, dress, and secure cables in the hook and loop straps.
3. Continue with "Power System Behavior" on page 3-35.
To Install the Drive Filler
1. Position the tape drive filler with the spring fingers facing up.
2. Grasp the captive screws and guide the filler into the tape drive slot.
3. Tighten both thumbscrews.
4. ReturntoStep4of"Install the CRUs, Fillers, and Magazines in the Replaced
Module".
To Install the Power Supply Filler
1. Position the filler with the spring fingers facing up.
2. Insert the tabs on the right side of the filler into the power supply slot until the
notch is near the module frame.
3. Seat the filler notch against the module frame edge.
4. Push the left side of the filler into the power supply slot.
5. ReturntoStep6of"Install the CRUs, Fillers, and Magazines in the Replaced
Module".
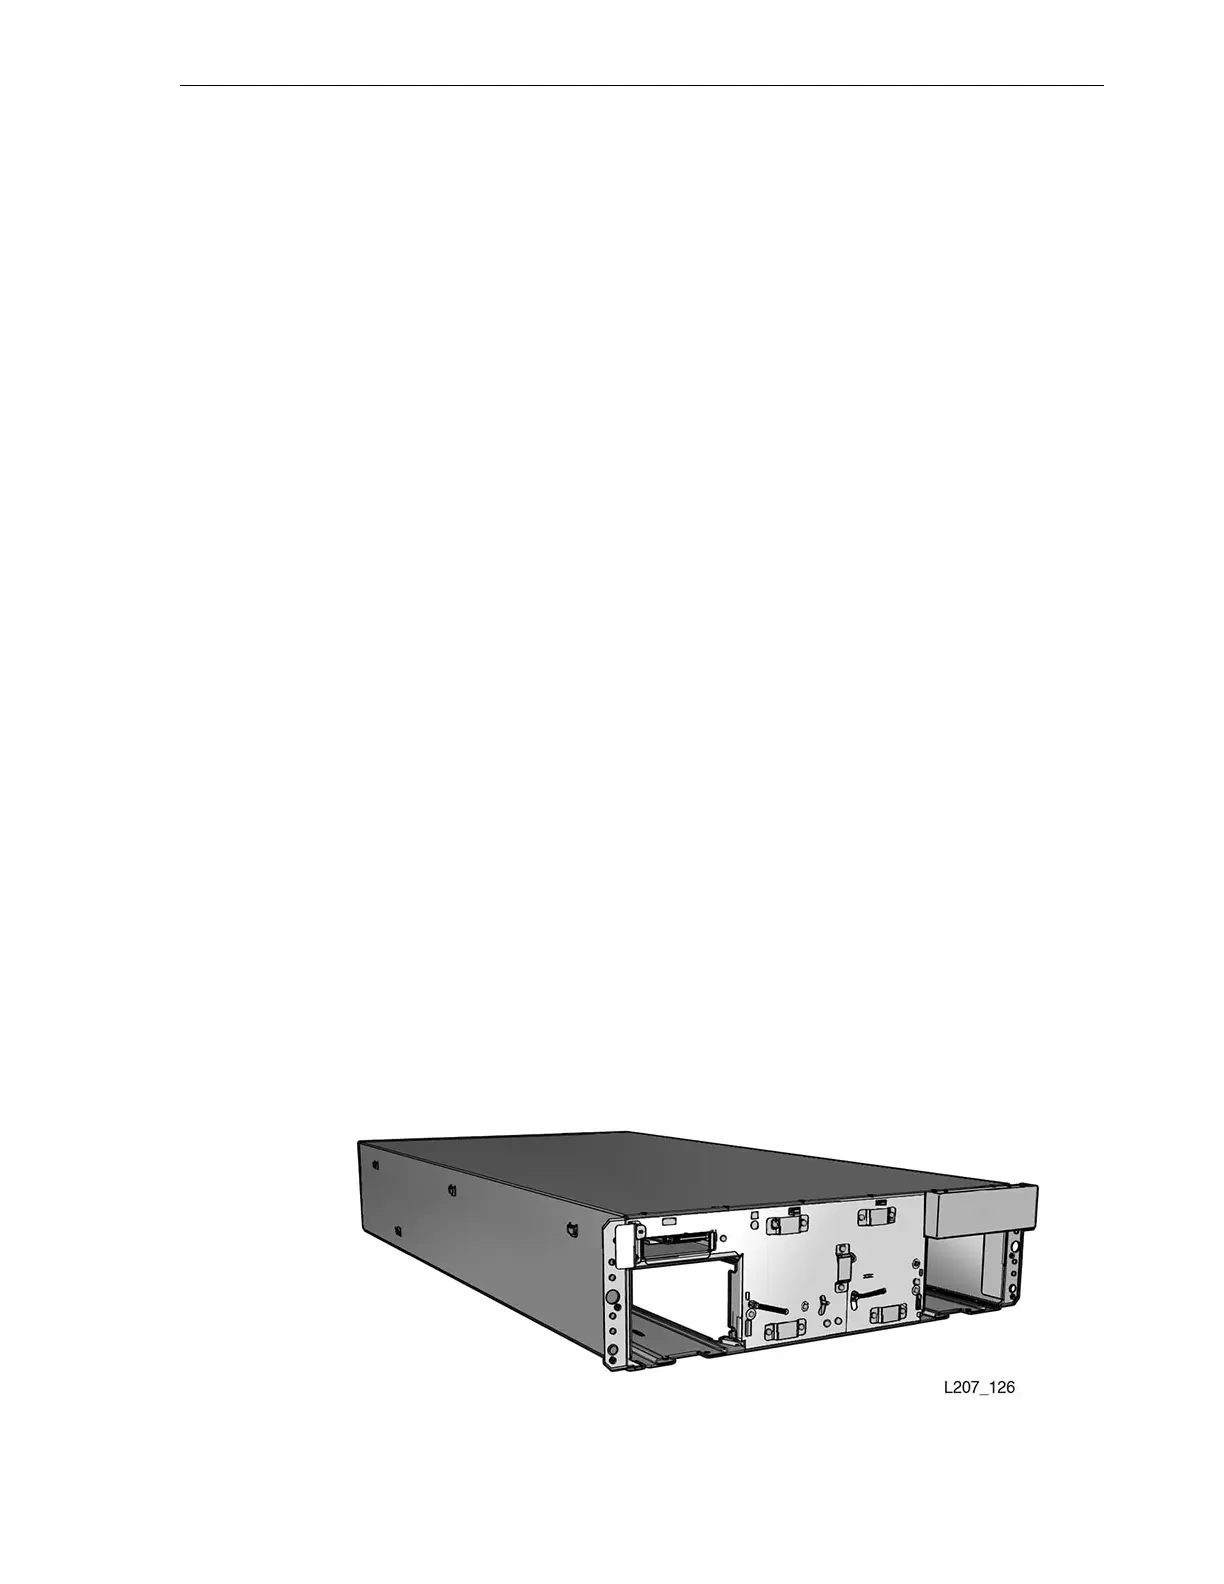
Base Module (Module 1) Chassis
The base module CRU is shown in Figure 3–31. You must transfer the cartridge
magazines, front control panel, tape drive(s), tape drive filler, power supply, power
supply filler, and the robot from the defective base module to the CRU.
Figure 3–31 Base Module CRU
 Loading...


