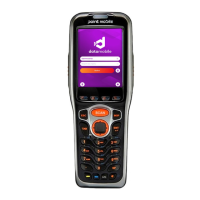
2. Position the Handy Terminal over one of the Sample Bar Codes on paragraph 7.8.
A range of 4-10 inches (10-25 cm) from the bar code is recommended.
3. Project the aiming beam by pressing and holding the Scan key. The Scan LED lights red
.
4. Center the aimer beam horizontally over the bar code and highlight all of the vertical bars of the
bar code. The aiming pattern is smaller when the terminal is held closer to the code and larger
when the terminal is held farther from the code. Symbologies with smaller bars or elements (mil
size) should be read closer to the unit whereas larger bars or elements (mil size) should be read
farther from the unit.
5. When the bar code is successfully decoded, the decode LED lights green and the terminal beeps.
7.8. Sample Bar Code
You can use the following bar code to verify decoding:
7.9. Scanning Positions
The aiming beam must be aimed across the entire bar code to provide you with the best scanning
performance. The aiming pattern is smaller when the terminal is held closer to the code and larger
when the terminal is held farther from the code. Symbologies with smaller bars or elements (mil
size) should be read closer to the unit whereas larger bars or elements (mil size) should be read
farther from the unit.
8. Using ScanWedge
8.1. Overview
ScanWedge sends data from the installed scan engine(N4313 or IT5300SR) to the foreground
application as keystrokes or clipboard. The foreground application is the open software application
whose window is currently active on the display.
As a result, you can check decoded bar code data with Microsoft WordPad.
8.2. Enabling ScanWedge
ScanWedge is enabled by default in Handy Terminal
Tap the ScanWedge icon once . ScanWedge initializes and enables.

 Loading...