-
-
-
-
-
-
-
-
-
-
-
-
-
-
-
-
-
-
Figure
2-1
Figure
2·2
Figure
2~3
Figure
24
Figure 2·5
Figure
2-6
Figure 2-7
Figure 2·8
Figure 2·9
Figure 2·10
Figure
2~
11
Figure
2·12
Figure
2·13
Figure 2·14
Figure 2·15
Figure 2·16
Figure 2·17
Figure
3..1
Figure
3·2
Figure
3-3
Figure
3-4
Figure
J...5
Figure 3-6
Figure 3-7
Figure
3-8
Figure 3·9
Figure
3·10
Figure 3·11
Figure
3·12
Figure 3-13
Figure 3-14
Figure
5-1
Figure 5-2
Figure 5-3
Figure 5-4
Figure
5-5
Figure 5-6
Figure
S.7
Figure
5·8
Figure
5-9
FigureS-10
Figure 5-11
Figure
5·12
Figure 5-13
figure
5-14
Figure 5-15
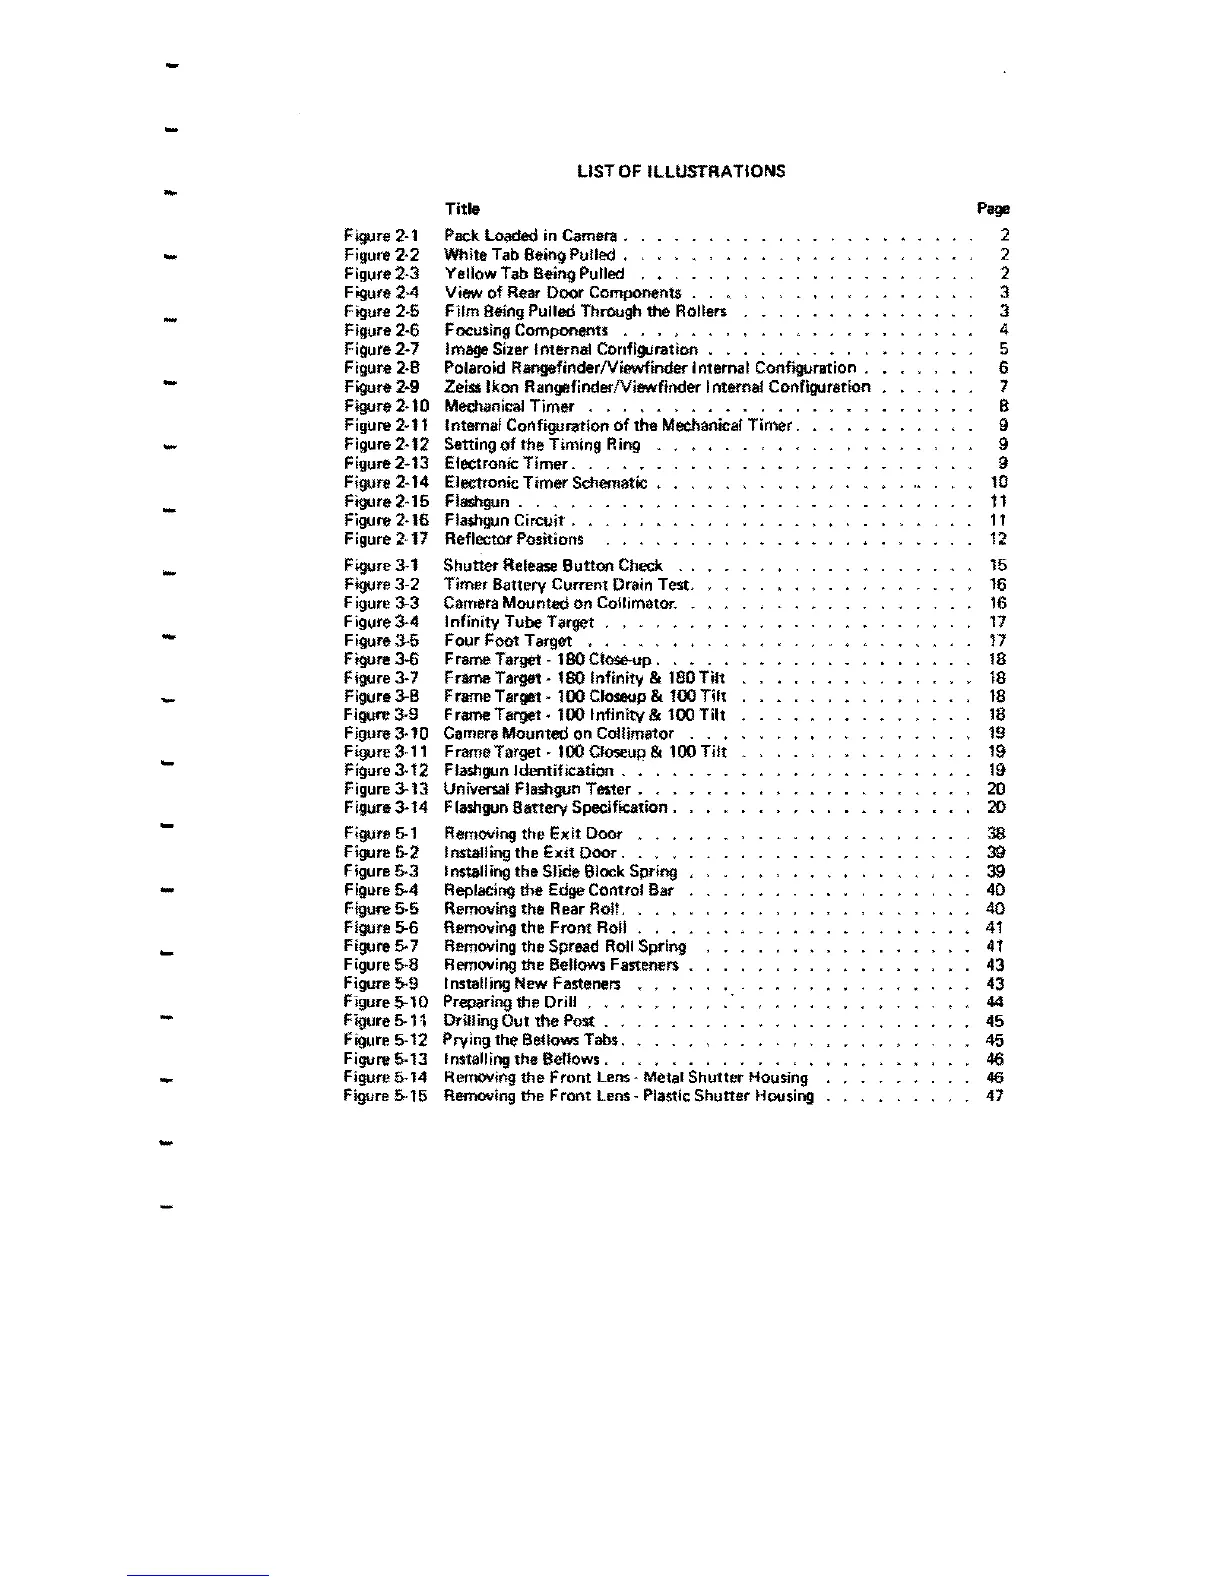
LIST
OF
ILLUSTRATIONS
Title
Page
Pack
Loaded
in Camera .
2
White
Tab
Being
Pulled
. 2
Yellow Tab Being Pulled 2
View
of
Rear
Door
Components 3
Film
Being PUlled
Through
the
Rollers
3
FOCUSing
Components
..
,..
4
Image
Sizer Internal Configuration
..
5
Polarom Rangefinder/Viewfinder Internal
Conftgufation
.
6
Zeiss Ikon RangefinderNiewftnder I mernal Configuration 1
Mechanical
Timer
..
•...•
_.
.
8
Interna! Configur.atlon of the
Mechanicaf
Timer. 9
Sening of
the
Timing Ring
9
Electronic
Timer.
. , .
9
Electronic Timer Schematic • 10
Flashgun.
••.
11
Fla$hgun
Circuit.
..
.•
11
Reftector Positions . . 12
Shutter
Release
Button
Check
15
Timer
Battery Current Drain Test. 16
Camera
Mounted
on
Collimator.
16
Infinity
Tube Target .
,.
•.
17
Four
Foot
Target
••...••
11
Frame Target -
180
Ctose..up, • 18
Frame
Target·
180
Infinity &
l80Til.
18
FrameTarget-l00Closeup&
100 Tilt
18
Frame
Target. 100 Infinity &
100
Tilt 18
Camera
Mounted
on
Collimator
. . • 19
F
rams
Target • 100 Closeup & lOOT
ilt
19
Flashgun
Identification..
.
19
Universal Fla$hgun Tester
...
20
Fla$hgun
Battery
Speciftcation.
20
Removing
the
Exit
Door
..
38
Installing
the
Exit
Door
...
39
1"""lIing
the
SI;';" Block Spring
39
Replacing
the
Edge
Control
Bar 40
Removing
the
R
ear
Rolf, . • •
40
Removing
the
Front
Roll.
.
41
Remo.ving
the
Spread
Roll Spring
41
Removing
the
Bellows Fasteners
43
Installing New Fasteners
Preparing
the Drill ,
..
Drilling
Out
the
Post.
,
Prying
the
Betlows
Tabs.
Installing
the
Benows.
43
• 44
. . .
45
• . .
45
..
46
Removing
the
Front
Lens- Metal
Shutter
Housing
46
Removing
the
Front
lens
- Plastic
Shutter
Housing
41

 Loading...