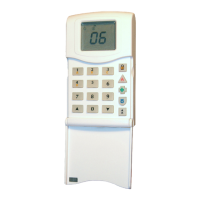
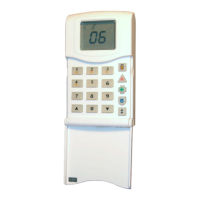
Matrix 424/832/832+ LCD Programming Manual
RINS916-6 Page 23
7.6 Assign Disarmed Labels (Function 355)
Press .
ENTER KEYPAD ID
_< [1-4]
Enter the keypad ID number (1 – 4).
Example shows keypad 1
This display is quickly
followed by the next
ENTER KEYPAD ID
1< [1-4]
The first message is displayed.
DAY LABEL 01
>DISARMED
Use the and keys to select the desired
message.
Example shows message
9
DAY LABEL 09
>LABEL 9
Press to accept the changes.
7.7 Assign Armed Labels (Function 356)
Press .
ENTER KEYPAD ID
_< [1-4]
Enter the keypad ID number (1 – 4).
Example shows keypad 1
This display is quickly
followed by the next
ENTER KEYPAD ID
1< [1-4]
The first message is displayed.
ARMED LABEL 01
>DISARMED
Use the and keys to select the desired
message.
Example shows message
12
ARMED LABEL 12
>LABEL 12
Press to accept the changes.
7.8 LCD Contrast (Function 357)
Press .
ADJUST CONTRAST
USE UP-DOWN KEYS
Use the and keys to increase or decrease
the contrast of the display.
ADJUST CONTRAST
USE UP-DOWN KEYS
Press to accept the changes.
7.9 Proximity Reader Partition Allocation (Function 358)
Press .
ENTER PROX ID
_
Enter the proximity reader ID number (1 – 4).
Example shows reader
ID 1
This display is quickly
followed by the next.
ENTER PROX ID
_ 1
The current partition is displayed.
Example shows Partition
1 only
ENTER PARTITIONS
_ 1
Press the – buttons to assign the reader
to any of the partitions as required.
Example shows
partitions 1 & 3 selected
ENTER PARTITIONS
_ 13
Press to accept the changes.
NOTE: By default all Proximity Readers are assigned to Partition 1.

 Loading...