124
Editing a Sample
• Loop Start Fine
Fine adjustment of the Loop Start point.
Value:
0–255
•
Loop End Fine
Fine adjustment of the End point.
Value:
0–255
6.
Press [EXIT] when you are finished.
Here’s how you can use the currently selected sample to create a
patch.
* You cannot execute this with more than one sample selected.
1.
In the Sample List screen, select the sample from which
you want to create a patch.
You can press OUTPUT knob to audition the selected sample.
2.
Press [MENU].
The Sample Utility screen will appear.
3.
Use or to select “Create Patch.”
4.
Press [ENTER].
The Create Patch screen will appear.
fig.15-010
5.
Turn the VALUE dial or use [INC][DEC] to change the
“Tempo Sync” value.
If this is “ON,” the Wave Tempo Sync parameter (p. 55) of the
assigned patch will be On.
6.
Press [ENTER].
A message will ask you for confirmation.
7.
Press [ENTER].
To cancel, press [EXIT].
1.
In the Sample List screen, select the sample from which
you want to create a patch.
You can press OUTPUT knob to audition the selected sample.
2.
Press [MENU].
The Sample Utility screen will appear.
3.
Use or to select “Create Patch.”
4.
Press [ENTER].
The Create Patch screen will appear.
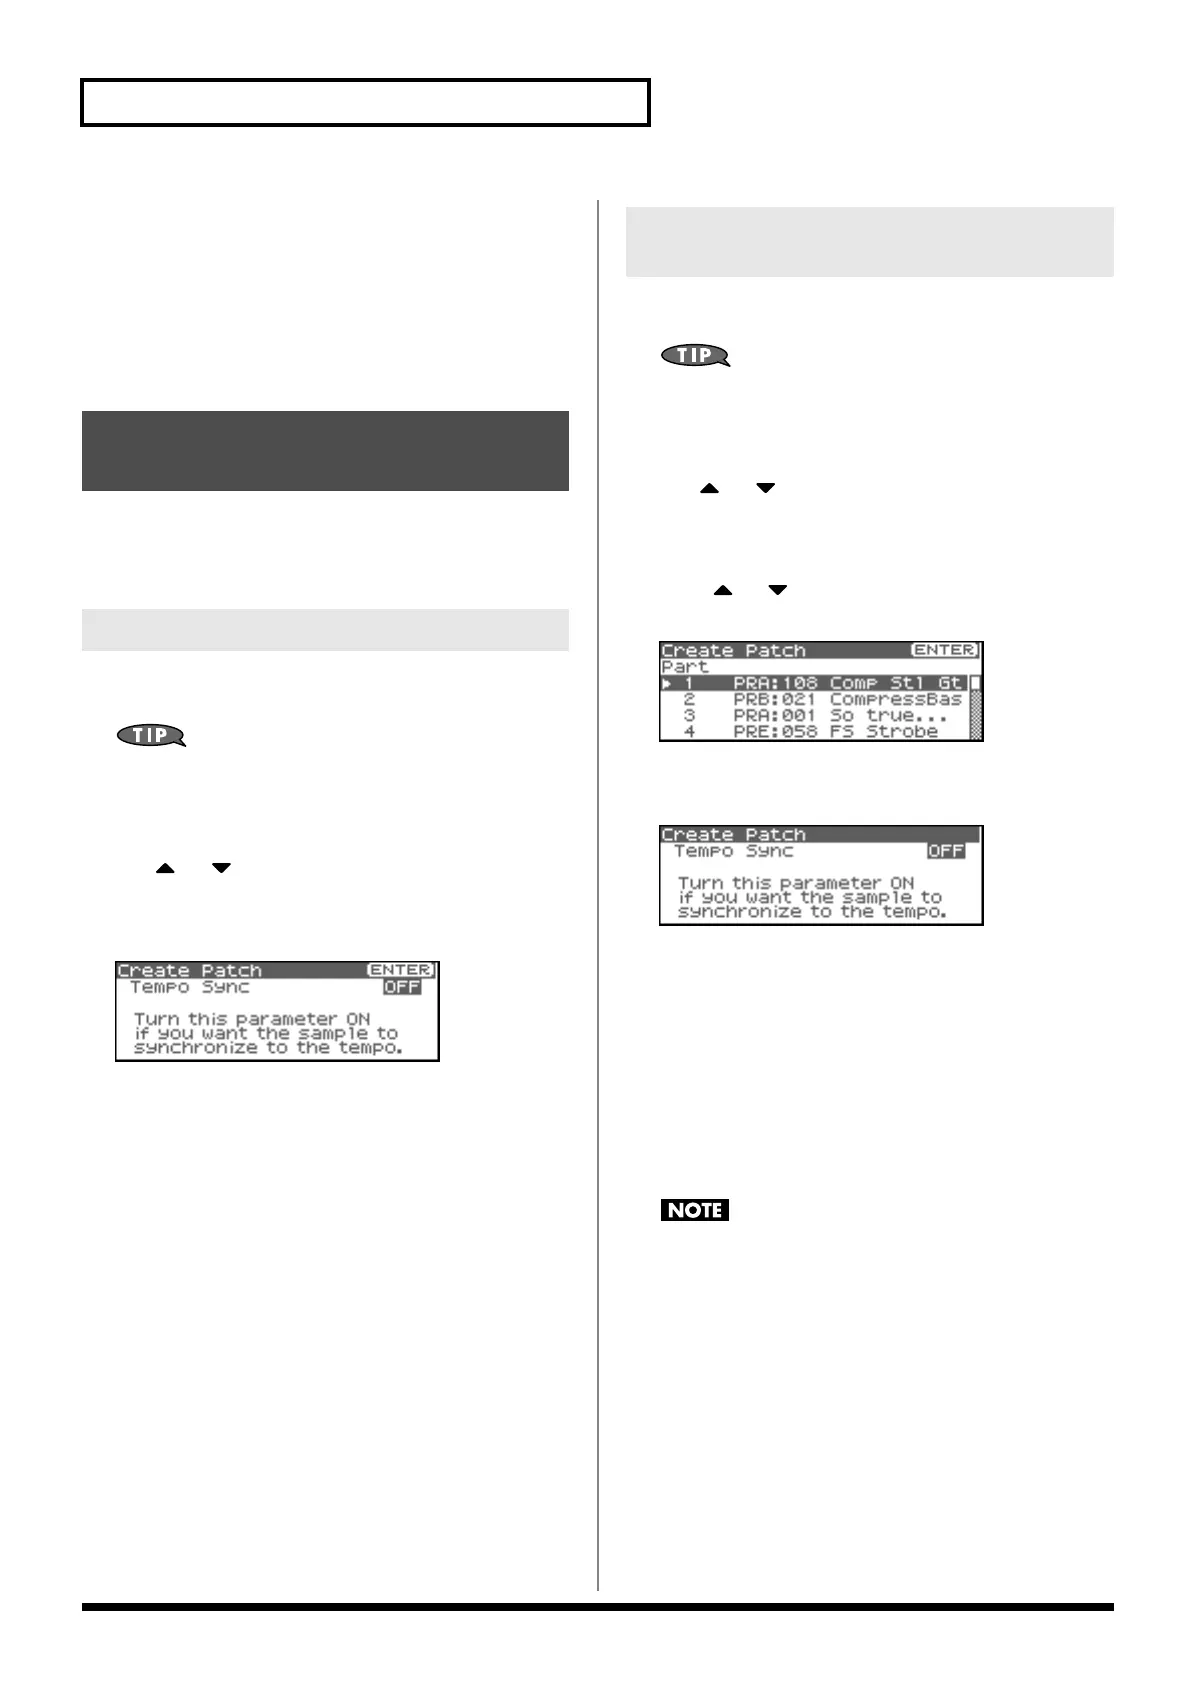
5.
Press or to specify the part to which the new patch
is to be assigned.
fig.15-011
6.
Press [ENTER].
The Create Patch screen will appear.
fig.15-012
7.
Turn the VALUE dial or use [INC][DEC] to change the
“Tempo Sync” value.
If this is “ON,” the Wave Tempo Sync parameter (p. 75) of the
assigned patch will be On.
8.
Press [ENTER].
A message will ask you for confirmation.
9.
Press [ENTER].
The sample will be assigned (as a patch) to the specified part.
To cancel, press [EXIT].
If you select another patch, the patch you assigned will be
replaced by that patch. If you want to keep the patch you
created, be sure to save it.
Creating a Patch from a
Sample (Create Patch)
If you’re starting from Patch mode
If you’re starting from
Performance mode
Fantom-XR_r_e.book 124 ページ 2006年4月4日 火曜日 午前10時14分

 Loading...