5
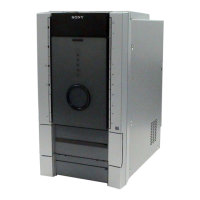
HCD-FLX5D/FLX7D
NOTES ON HANDLING THE OPTICAL PICK-UP
BLOCK OR BASE UNIT
The laser diode in the optical pick-up block may suffer electro-
static break-down because of the potential difference generated
by the charged electrostatic load, etc. on clothing and the human
body.
During repair, pay attention to electrostatic break-down and also
use the procedure in the printed matter which is included in the
repair parts.
The flexible board is easily damaged and should be handled with
care.
NOTES ON LASER DIODE EMISSION CHECK
The laser beam on this model is concentrated so as to be focused
on the disc reflective surface by the objective lens in the optical
pick-up block. Therefore, when checking the laser diode emis-
sion, observe from more than 30 cm away from the objective lens.
RELEASING THE DISC TRAY LOCK
The disc tray lock function for the antitheft of an demonstration
disc in the store is equipped.
Releasing Procedure :
Press two buttons of
Z (DVD) and [ ] simultaneously for five
seconds. The message “UNLOCKED” is displayed and the tray is
unlocked.
Note: When “LOCKED” is displayed, the tray lock is not released by
turning power on/off with the [I/ ] button.
NOTE OF REPLACING THE MB BOARD
When replacing the MB board, since the adjustment value is not
set up correctly, “Drive Auto Adjustment” can’t be performed.
In this case, initialize Memory in the following procedures.
Procedure:
1. Set the test mode. (See page 24)
2. Press the [2] key of the remote commander, and set the “DRIVE
MANUAL OPERATION”. (See page 28)
3. Press the [6] key of the remote commander, and set the “2-6,
Memory Check”. (See page 30)
4. Press the [CLEAR] key of the remote commander, and initial-
ize Memory.
SECTION 1
SERVICING NOTES
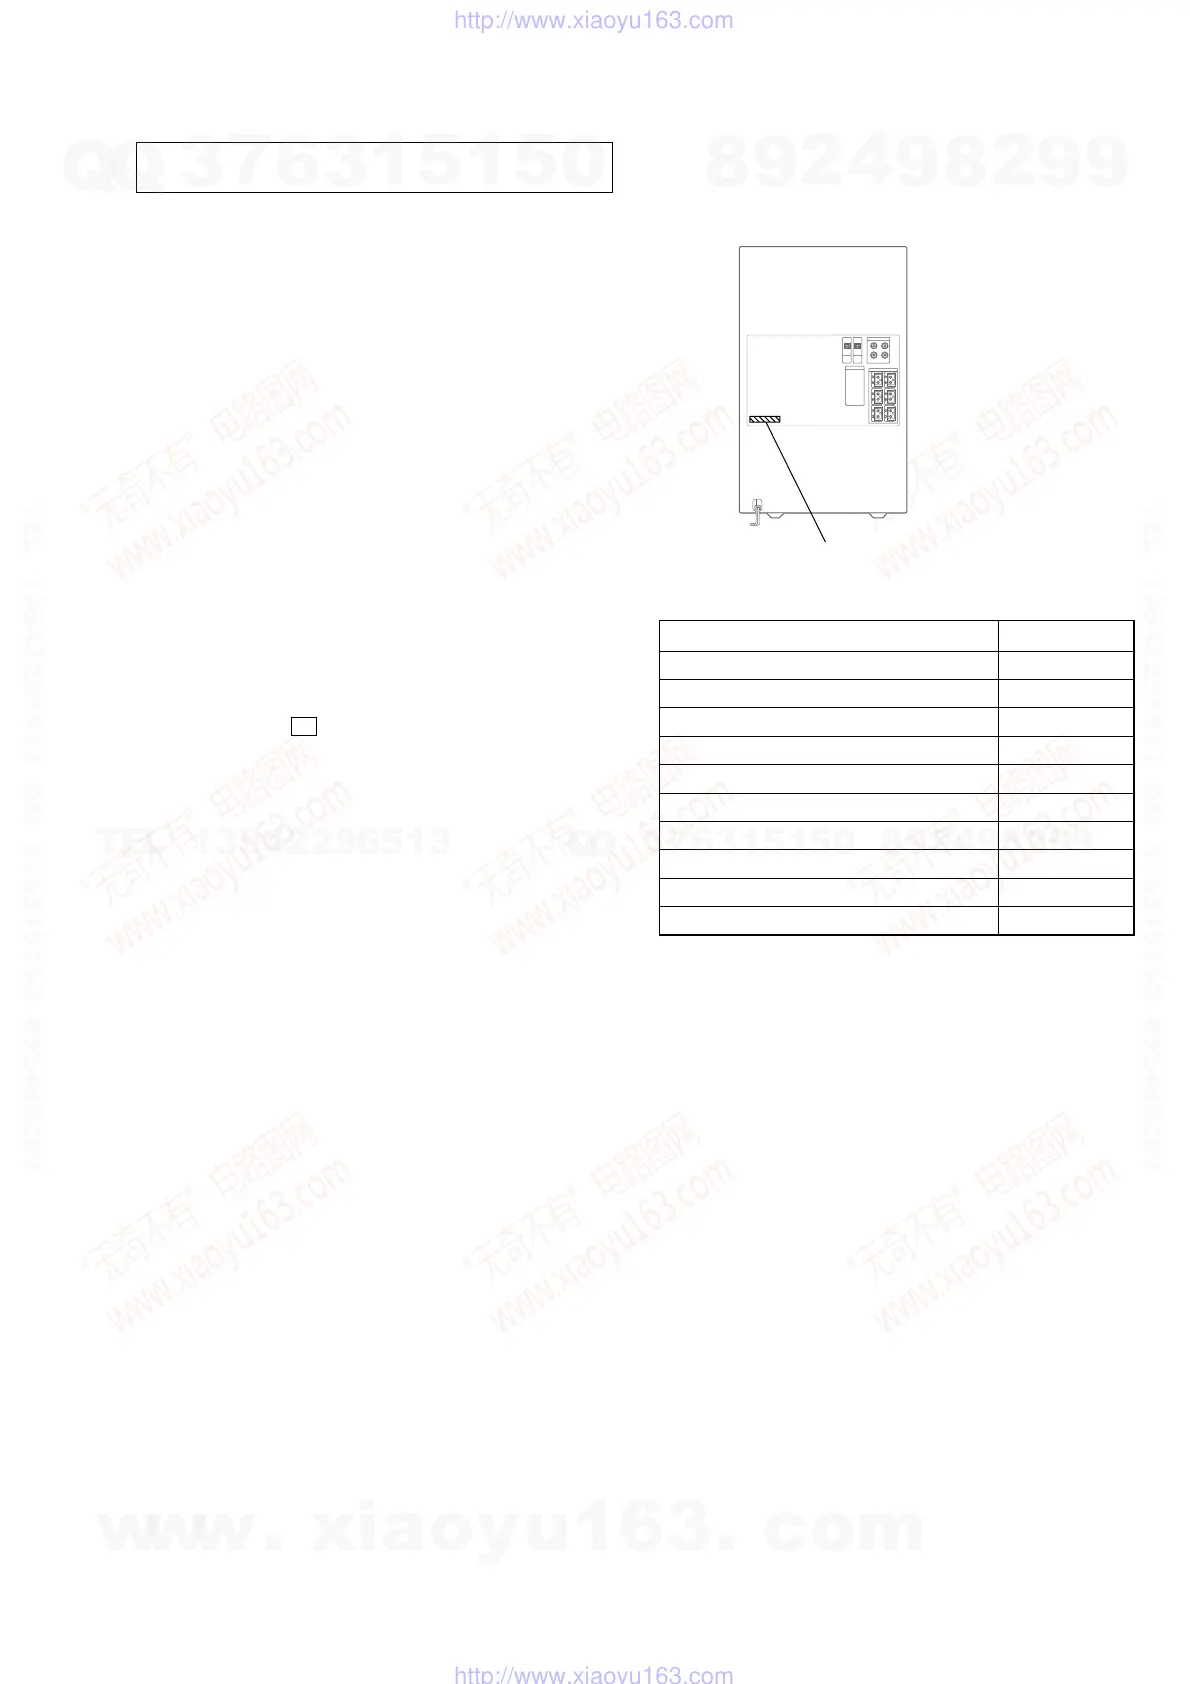
• MODEL IDENTIFICATION
– Back Panel –
MODEL PART No.
FLX5D: EA 4-252-041-01
FLX5D: SP, MY 4-252-041-11
FLX5D: E3, E15 4-252-041-21
FLX5D: TH 4-252-041-31
FLX5D: E2 4-252-041-41
FLX5D: PH 4-252-041-51
FLX5D: KR 4-252-041-61
FLX5D: AUS 4-252-041-71
FLX7D: EA 4-253-684-01
FLX7D: E15 4-253-684-11
PART No.
x
1
• Abbreviation
AUS: Australian model
E2: 120 V AC area in E model
E3: 240 V AC area in E model
E15: 220V − 240 V AC area in E model
EA: Saudi Arabia model
KR: Korean model
MY: Malaysia model
PH: Philippines model
SP: Singapore model
TH: Thai model
w
w
w
.
x
i
a
o
y
u
1
6
3
.
c
o
m
Q
Q
3
7
6
3
1
5
1
5
0
9
9
2
8
9
4
2
9
8
T
E
L
1
3
9
4
2
2
9
6
5
1
3
9
9
2
8
9
4
2
9
8
0
5
1
5
1
3
6
7
3
Q
Q
TEL 13942296513 QQ 376315150 892498299
TEL 13942296513 QQ 376315150 892498299
http://www.xiaoyu163.com
http://www.xiaoyu163.com
 Loading...