10-20 GSF600K2/GSF600SK2 (’02-MODEL)
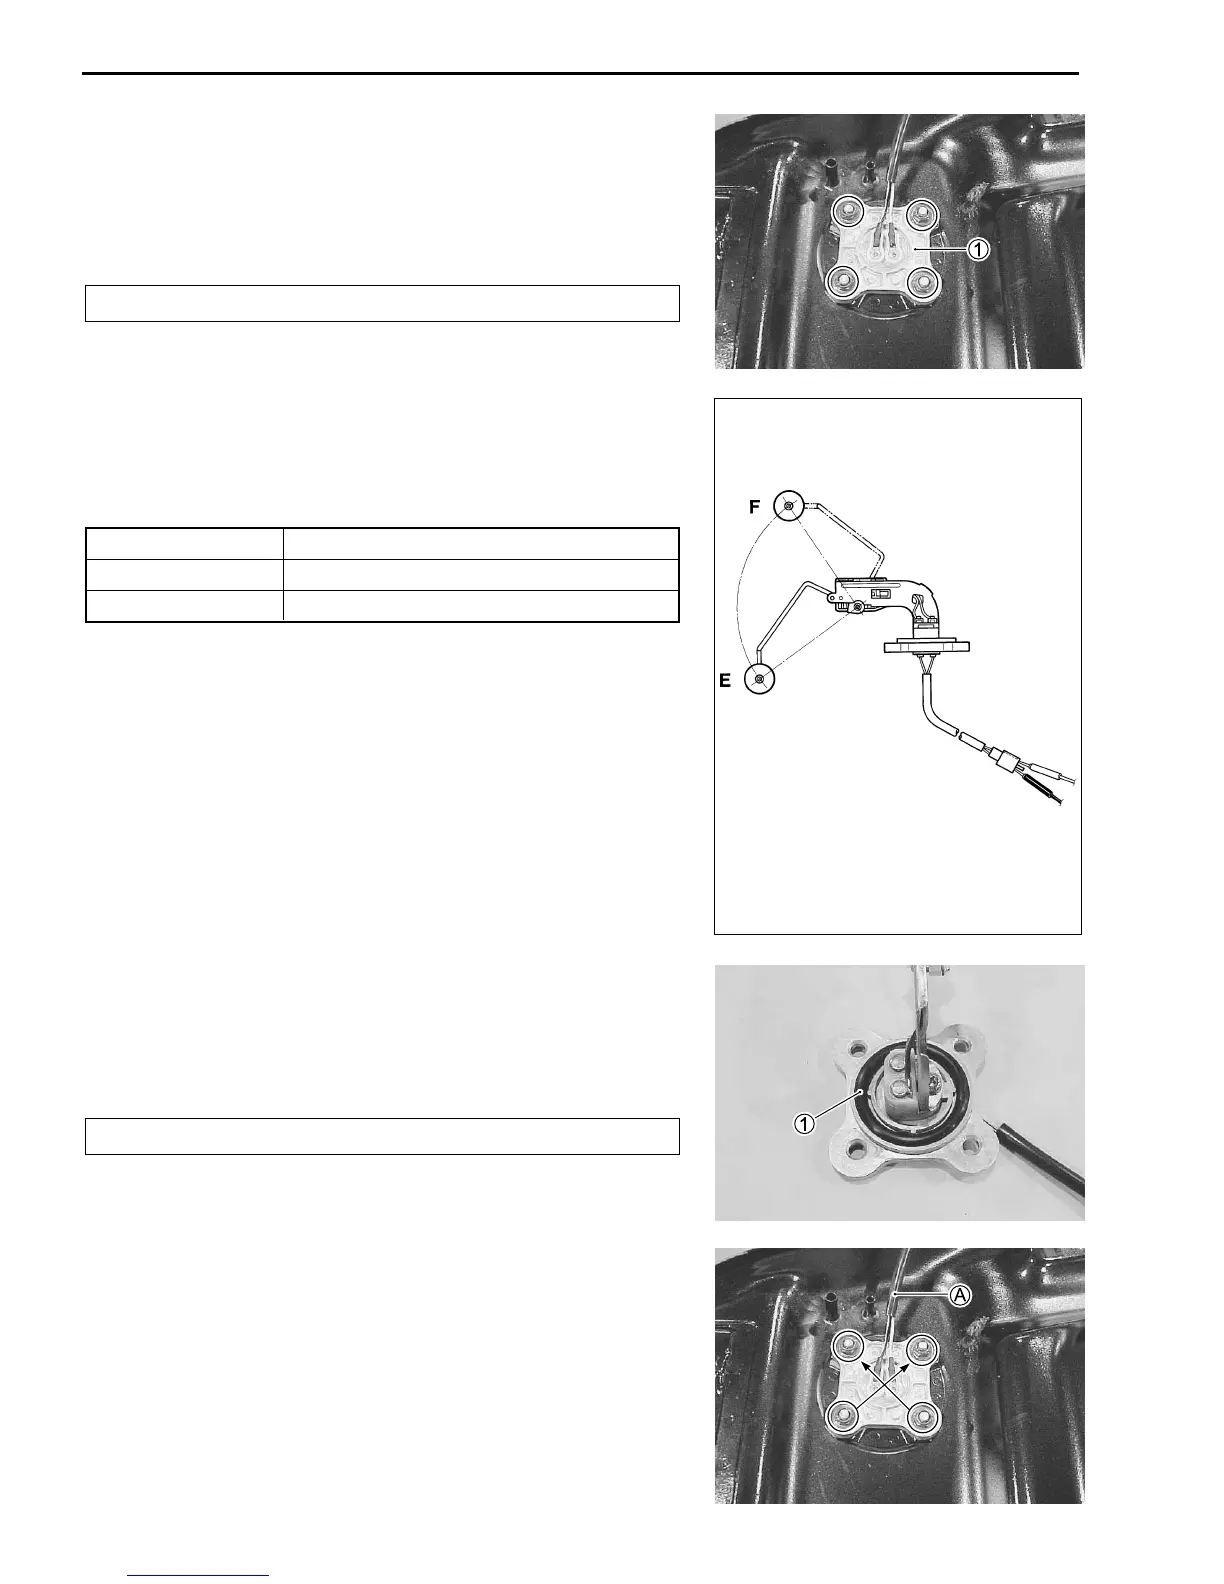
FUEL LEVEL GAUGE
REMOVAL
• Remove the fuel tank.
• Remove the fuel level gauge 1.
!
Gasoline is very explosive. Extreme care must be taken.
INSPECTION
Measure the resistance between the lead wire terminals when
the float is at the position listed below.
" 09900-25008: Multi-circuit tester
Float position Resistance between terminals
Full (F) 8 – 10 Ω
Empty (E) 90 – 93 Ω
If the resistance measured is out of the specification, replace the
gauge assembly with a new one.
INSTALLATION
Install the fuel level gauge in the reverse order of removal. Pay
attention to the following points.
• Apply thin coat of the engine oil to the O-ring 1.
#
Replace the O-ring with a new one.
• Install the fuel level gauge correctly and tighten the nuts to the
specified torque diagonally.
$ Fuel level gauge mounting nut: 6 N
.
m (0.6 kgf
.
m, 4.5 lb-ft)
NOTE:
When installing the fuel level gauge to the fuel tank, the lead wire
A
on the fuel level gauge must be faced to the right side of the
motorcycle.

 Loading...