108 Disassembly and Reassembly TB7100 Service Manual
© Tait Electronics Limited October 2005
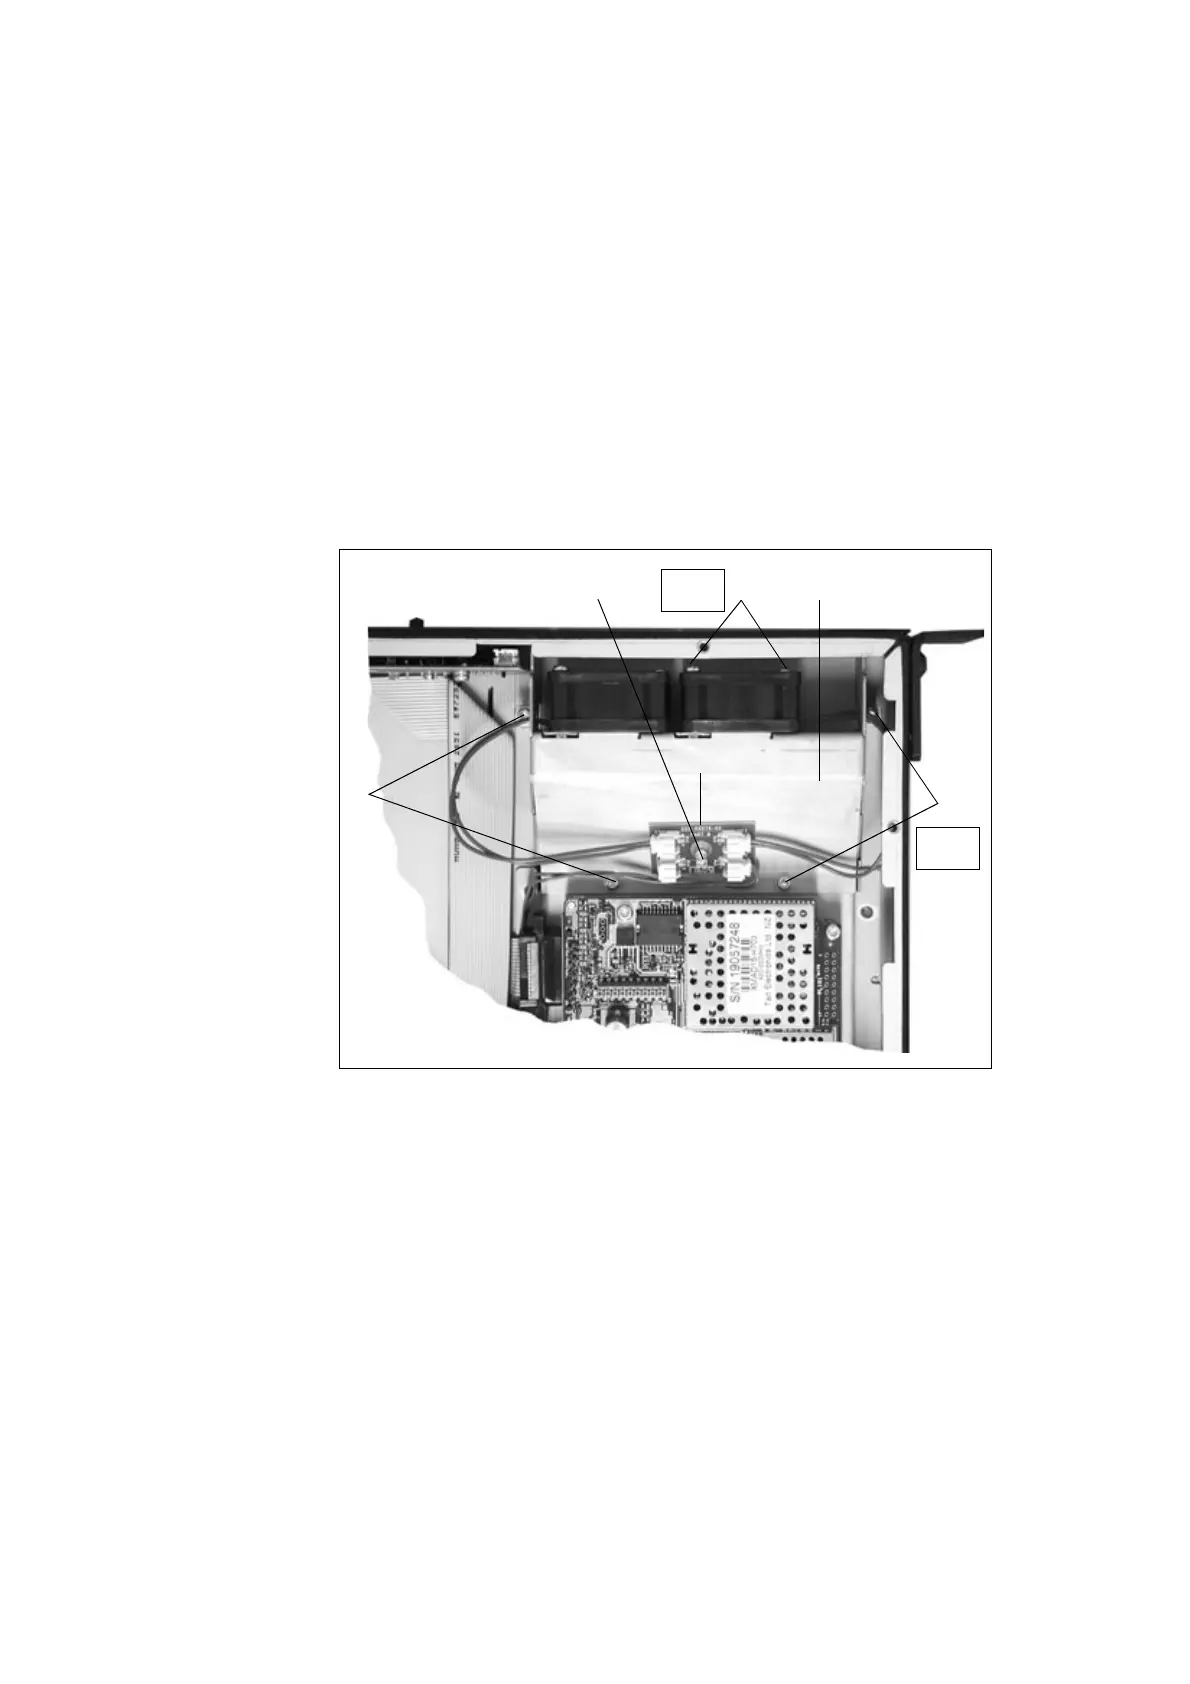
7.8 Replacing the Fans
Removal 1. Use a Torx T10 screw driver to remove the four screws b securing
the fan duct
d in the tray chassis.
2. Disconnect the fan control loom from the fan power board
c.
Slide back the fan duct
d and lift clear.
3. Unplug the fan to be replaced from the fan power board
c on the
fan duct
d.
4. Use a PZ1 Pozidriv screwdriver to remove the two M3×25mm
screws
e and remove the fan.
Fitting 1. Place the fan into position on the fan duct e and use a PZ1
screwdriver to fasten the two M3×25 screws
e to 4.5lb·in (0.5N·m).
2. Thread the fan cable through the hole in the side of the fan duct.
Plug the fan into the fan power board
c.
3. Slide the fan duct
d into the chassis. Plug the fan control loom into
the fan power board
c.
4. Use a Torx T10 screwdriver to fasten the four screws
b to 4.5lb·in
(0.5N·m).
Figure 7.8 Replacing the fans
b
b
c
def
Torx T10
4.5lb·in
PZ1
4.5lb·in

 Loading...


