2. In Schedule Description field, create a unique description for the schedule, e.g.
Schedule_1.
3. In Day field, check the Select Days radio button and then select Sat and Sun.
4. In Time field, enter 1800 in Start Time field and 2000 in Stop Time field.
5. Click Save to complete the settings.
Then you will go back to the Schedule Settings page and see the following list.
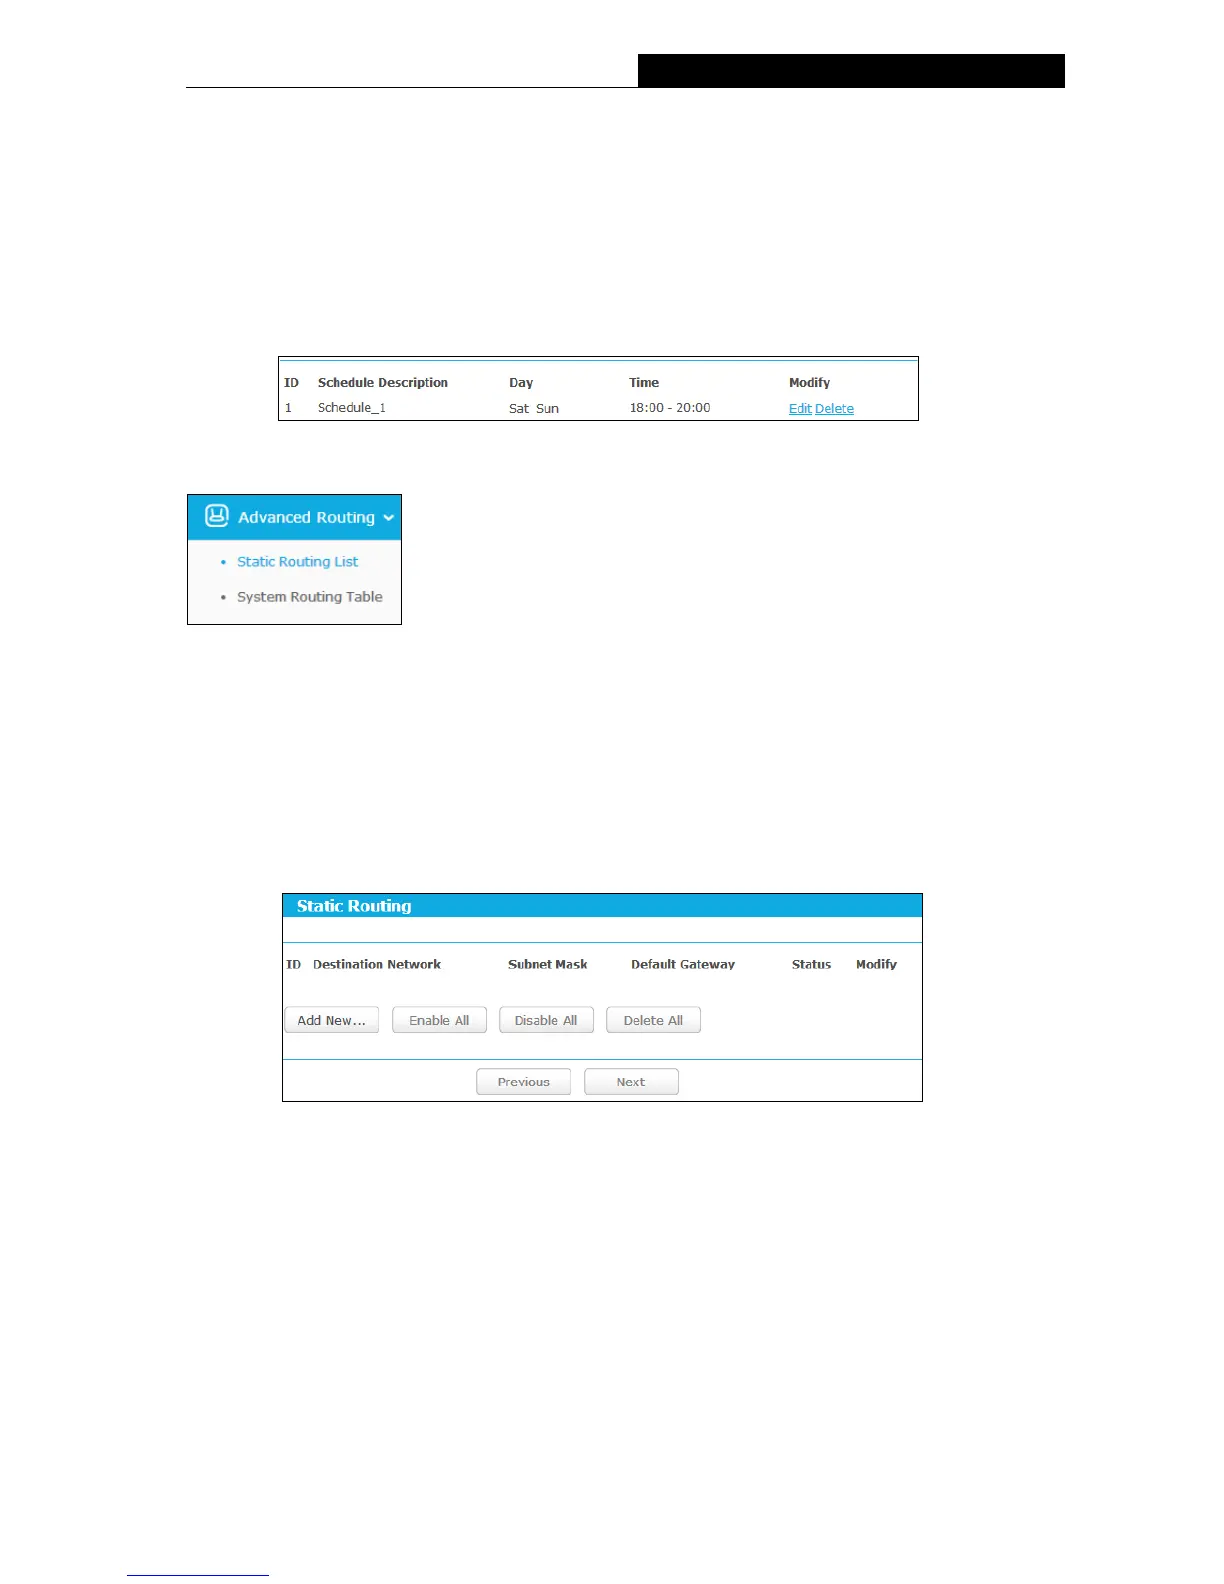
3.4.11 Advanced Routing
There are two submenus under the Advanced Routing menu: Static Routing List and System
Routing Table. Click any of them, and you will be able to configure the corresponding function.
3.4.11.1. Static Routing List
Go to “Advanced→Advanced Routing→Static Routing List”, and then you can configure the
static route in this page. A static route is a pre-determined path that network information must
travel to reach a specific host or network.
To add static routing entries:
1. Click Add New…, you will see the following screen.

 Loading...