BAS-SVX04A-EN • Wireless Zone Sensor 43
Operation, Maintenance, and Troubleshooting
Servicing and Testing
If the wireless zone sensor system is not working as expected, use the tools and
procedure described in this section.
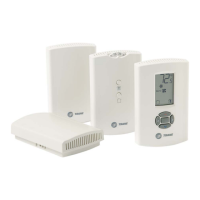
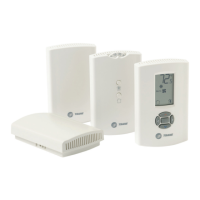
Servicing and Testing Tools
No special tools or software are necessary to service and test the wireless zone
sensor system. The system can be testing by using the following:
• LEDs 1, 2, 3, and 5 on the sensor and on the receiver
• The Test button (S5) on the sensor
• The address test mode on the receiver
• A common volt-ohm meter
Procedure for the Testing the Wireless Zone Sensor System
If the wireless zone sensor system is not working as expected, perform the
following steps:
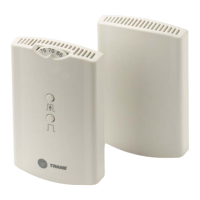
1. Observe LED5 on the receiver. LED5 will be On solid green whenever the
receiver is powered.
2. Make sure the receiver is properly grounded. Both the black wire (GND-
SIGNAL) and the yellow wire (GND-POWER) must be grounded (see
Figure 8,
p. 22 or Figure 9, p. 23 for wiring diagrams).
3. Press the Test button (S5) on the sensor.
LED5 should turn On solid green, indicating proper battery strength. LED1,
LED2, and LED3 will indicate signal strength.
Note: When checking signal strength, both LED1 and LED3 on the receiver and
sensor should illuminate in unison if the sensor and receiver are
associated. Use this feature to confirm association.
Procedure for Testing the Receiver
If the receiver is not working as expected, perform the following steps:
1. Make sure the receiver is powered.
2. Set the receiver address to 000 to force the zone temperature output and
zone temperature setpoint output to their test mode values (see
Tab l e 9,
p. 39).
3. Measure the receiver output resistance by following the procedures for
“Measuring Output Resistance,” p. 40.
4. When the test is complete, reset the receiver address to its previous setting.
5. Press the Test button (S5) on the sensor to force re-association.
6. Confirm association and communication by noting LED1, LED2, and LED3 as
described in
“Signal Quality Test,” p. 32.
 Loading...