1. Move the Robot Arm to ZERO position, if possible.
2. Turn off and disconnect the power cable from Control Box.
3. Inspect the cable between Control Box and Robot Arm for any damage.
4. Check the base mounting bolts are properly tightened.
5. Check the tool flange bolts are properly tightened.
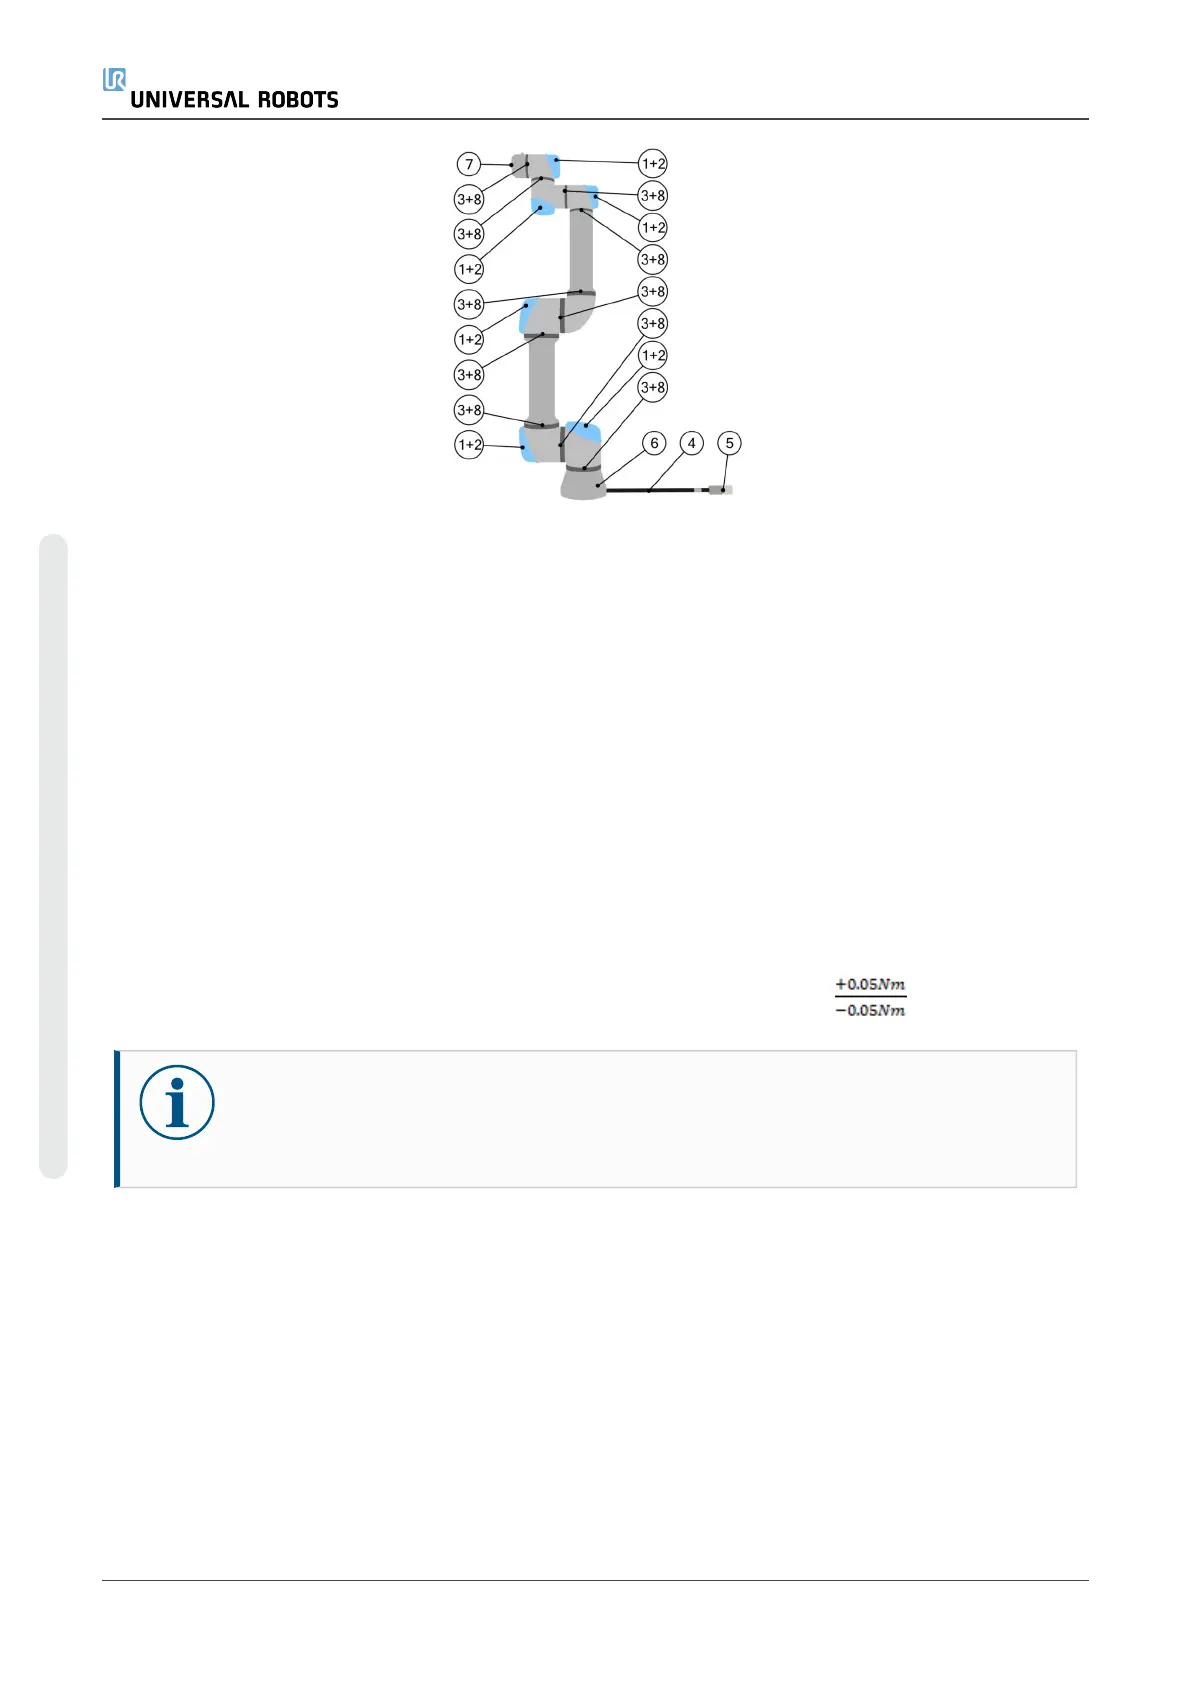
6. Inspect the flat rings for wear and damage.
•
Replace the flat rings if they are worn out or damaged.
7. Inspect the blue lids on all the joints for any cracks or damage.
•
Replace the blue lids if they cracked or damaged.
8. Inspect the screws used for the blue lids are in place and properly tightened.
•
Replace or tighten screws, if necessary.
•
Correct the torque value for screws on the blue lids to 0.4 Nm
NOTICE
If any damage is observed on a robot within the warranty period, contact the
distributor where the robot was purchased.
3.1.3. Functional Inspection
Do functional inspections to ensure the robot arm and its screws, bolts and tools are not loose.
Use a correctly calibrated torque wrench, specified in Torque Values
to check the screws and bolts listed in the inspection plan.
For the robot arm mounting bolts specifications, see the Hardware Installation Manual, chapter
Mechanical Interface: Mounting.
e-Series 10 Service Manual
3.Recommended Inspection Activities
Copyright © 2009–2024 by UniversalRobotsA/S. All rights reserved.
 Loading...


