1b DC external power terminal bolts 8mm 1.6Nm
2a AC internal power terminal screws PZ2 1.2Nm
2b DC internal power terminal screws PZ2 1.6Nm
3 Control Board mounting screws Torx T10 0.6Nm
4 Bolt and nut for fan and energy eater 10mm 2.25Nm
5 Power supply mounting screw Torx T20 1.0Nm
6 Panel screw and washer Torx T20 1.6Nm
4.4.4. Replacing the Teach Pendant:Standard TP
This section describes how to remove and replace a Standard Teach Pendant. For information on
how to replace a Standard Teach Pendant with a 3PE Teach Pendant, see 4.4.5. Replacing the
Teach Pendant: 3PE TPon page62.
WARNING
When the Teach Pendant is replaced, test the E-stop button function.
NOTICE
Replacing the Teach Pendant can result in the system reporting a fault on start-up.
•
Always select the correct configuration for the type of Teach Pendant.
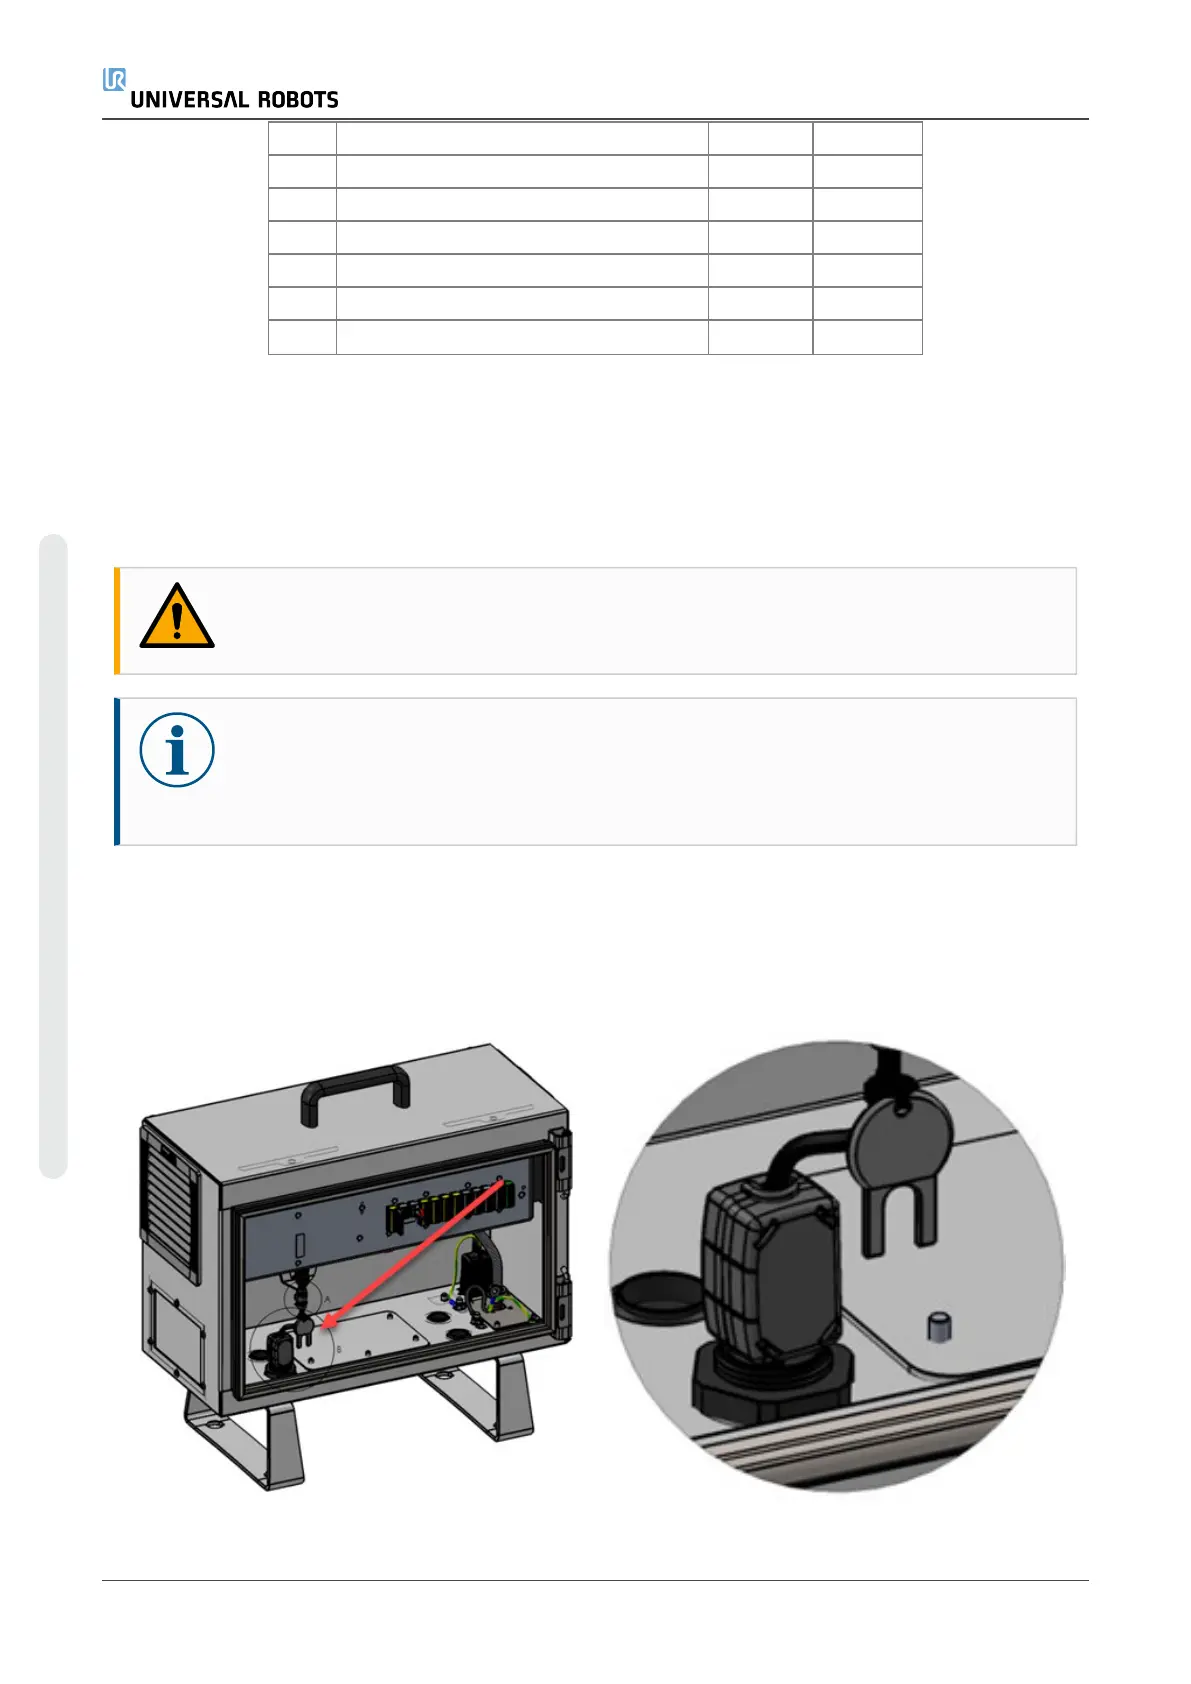
To remove:
1. Power down the control box and disconnect the mains cable from the power source.
2. If mounted, remove the ferrite core with snap lock from the teach pendant cable by cutting
the cable ties of key.
e-Series 60 Service Manual
Copyright © 2009–2024 by UniversalRobotsA/S. All rights reserved.
 Loading...


