3-39
Preparation before Use > Registering Destinations in the Address Book
Adding a Destination on One Touch Key (One Touch
Key)
Assign a new destination (contact or group) to an one touch key. A maximum of 22 destinations can be registered.
1
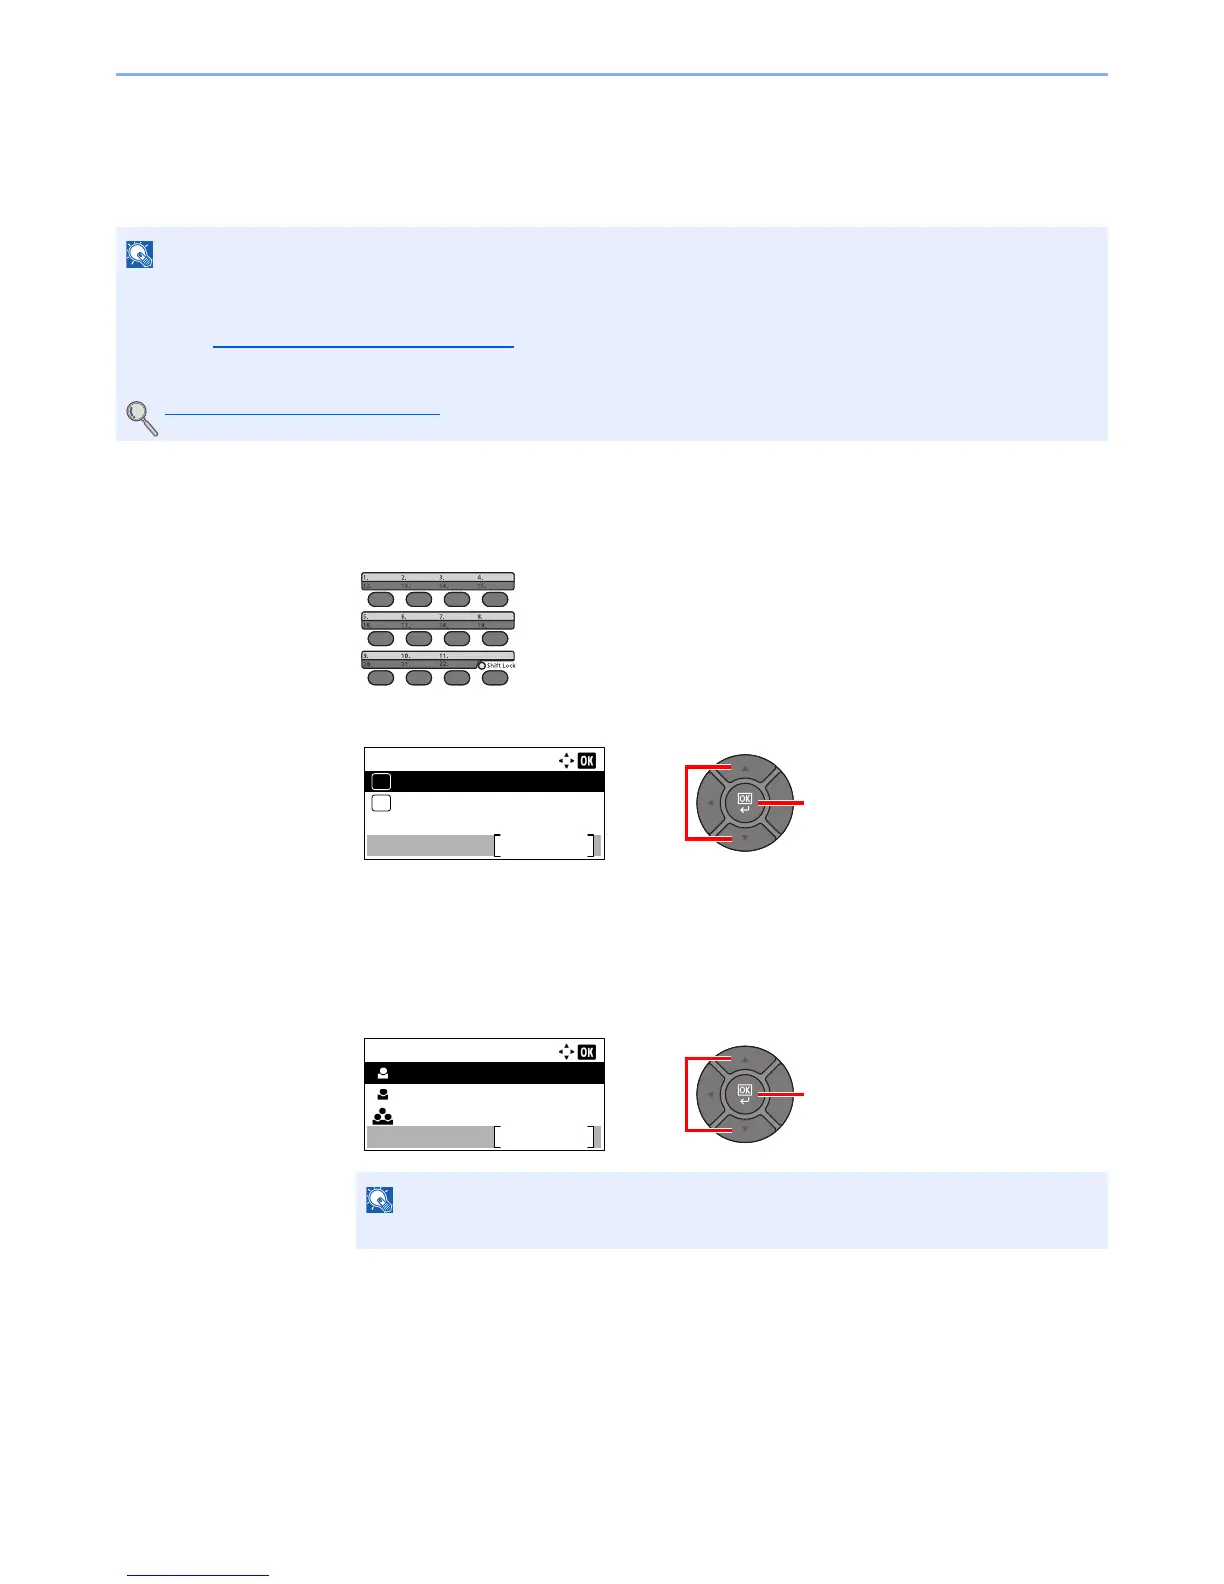
Select the One Touch Key to be registered.
1 In the Send or FAX screen, press the One Touch Key that you want to register and hold it
(2 seconds or more).
2 Press the [▲] or [▼] key to select a key number, and press the [OK] key.
Select a One Touch Key number with no registered destination.
2
Select the destinations.
1 Press the [▲] or [▼] key to select the destination (contact or group) you want to register to
the One touch key from the Address Book.
2 Select the destination to be registered to the One touch key from the destinations
registered in the addresses and press the [OK] key.
3 Press the [OK] key.
The destination will be added to the One Touch Key.
• Numbers 1 to 11 are the One Touch Key numbers while the [Shift Lock] indicator is switched off. Numbers 12 to 22
are the One Touch Key numbers while the [Shift Lock] indicator is switched on by pressing the [Shift Lock] key.
• Refer to Specifying Destination
on page 5-16 for use of One Touch Key.
• You can add One Touch keys and change their settings on Embedded Web Server RX.
Registering Destinations (page 2-48)
 Loading...