PaX-i3D Green (PHT-60CFO) User Manual
89
6 Acquiring PANO Images
Completing Patient Positioning
A. After conrming patient positioning and beam alignment, adjust the temple
supports to t snugly on both sides of the patient’s head by clicking the temple
support adjustment button.
B. Click the
READY
button after the patient has been properly positioned. No
X-ray will be emitted at this point.
C. Proceed to section
6.4 Initiating X-ray Exposure.
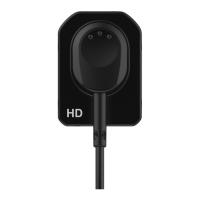
6.3.3 TMJ Close
Scan a TMJ Open image first and then scan a TMJ Close
image. Guide the patient to close his/her lips for TMJ Close
imaging while maintaining the same position used for TMJ
Open imaging.
A. Shortly after TMJ Open imaging has been completed, you will receive the
following message: “Do you want to take the TMJ Close image continuously?”
Press the OK button to capture a TMJ Close image.
B. Adjust the chin support so that it rests snugly on the chin and secure the chin
support rmly by turning the locking knob to the right.
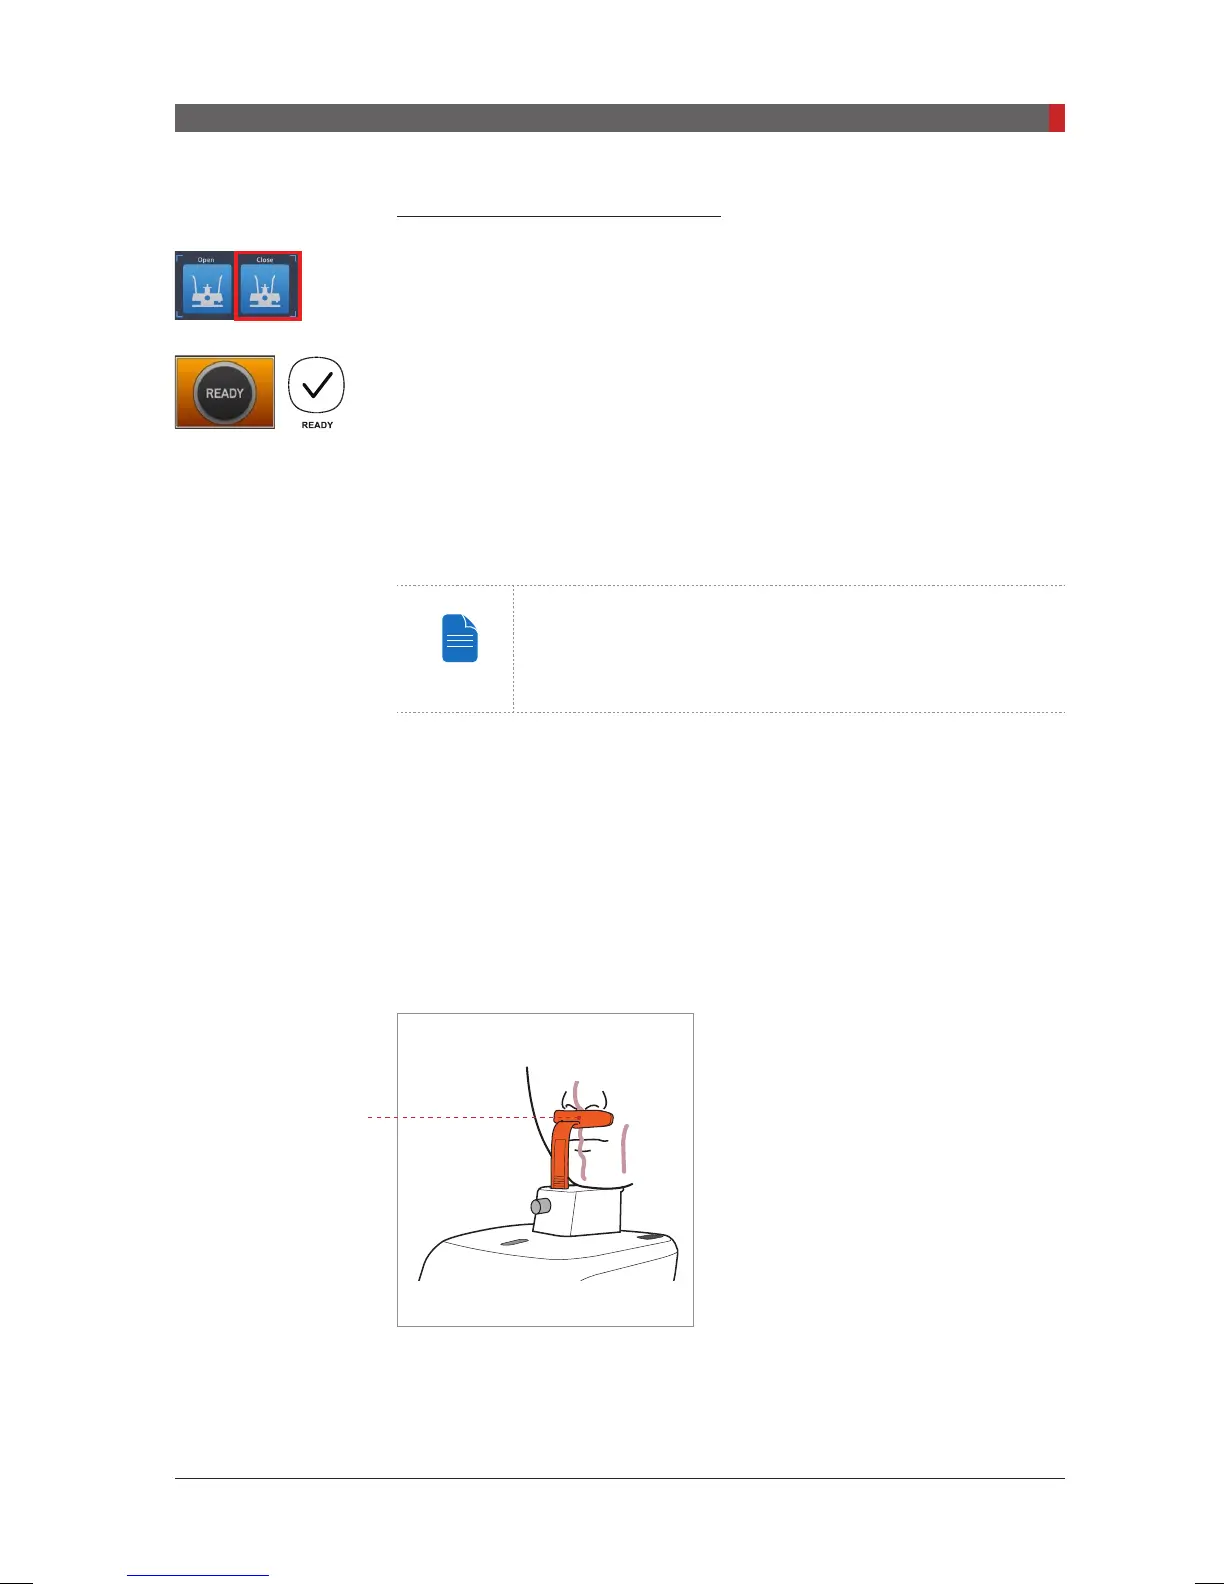
C. Have the patient place his / her acanthion point on the chin support and tilt
his / her head forward by 5 degree.
D. For TMJ Close imaging, Have the patient:
■
Close his/her mouth
■
Keep his/her tongue pressed against
his/her palate
■
Close his/her eyes
The top of the chin support must remain in
contact with the patient’s acanthion point
during exposure. Ask the patient to remain
still until scanning is complete.
E. The laser beams should be aligned in the same way as for
TMJ Open
imaging.
F. Proceed to section
6.4 Initiating X-ray Exposure.
Acanthion Point
[PI3DG_130U_44A_en]User Guide.indd 89 2016-05-24 오후 4:19:01
 Loading...