40
40
Index
Contents
IndexContents
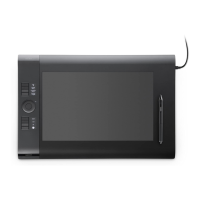
TABLET AREA
In the MAPPING tab, use the TABLET AREA options to define the tablet area that will be mapped to the screen
area:
F
ULL The entire active area of the tablet is mapped. This is the default setting.
P
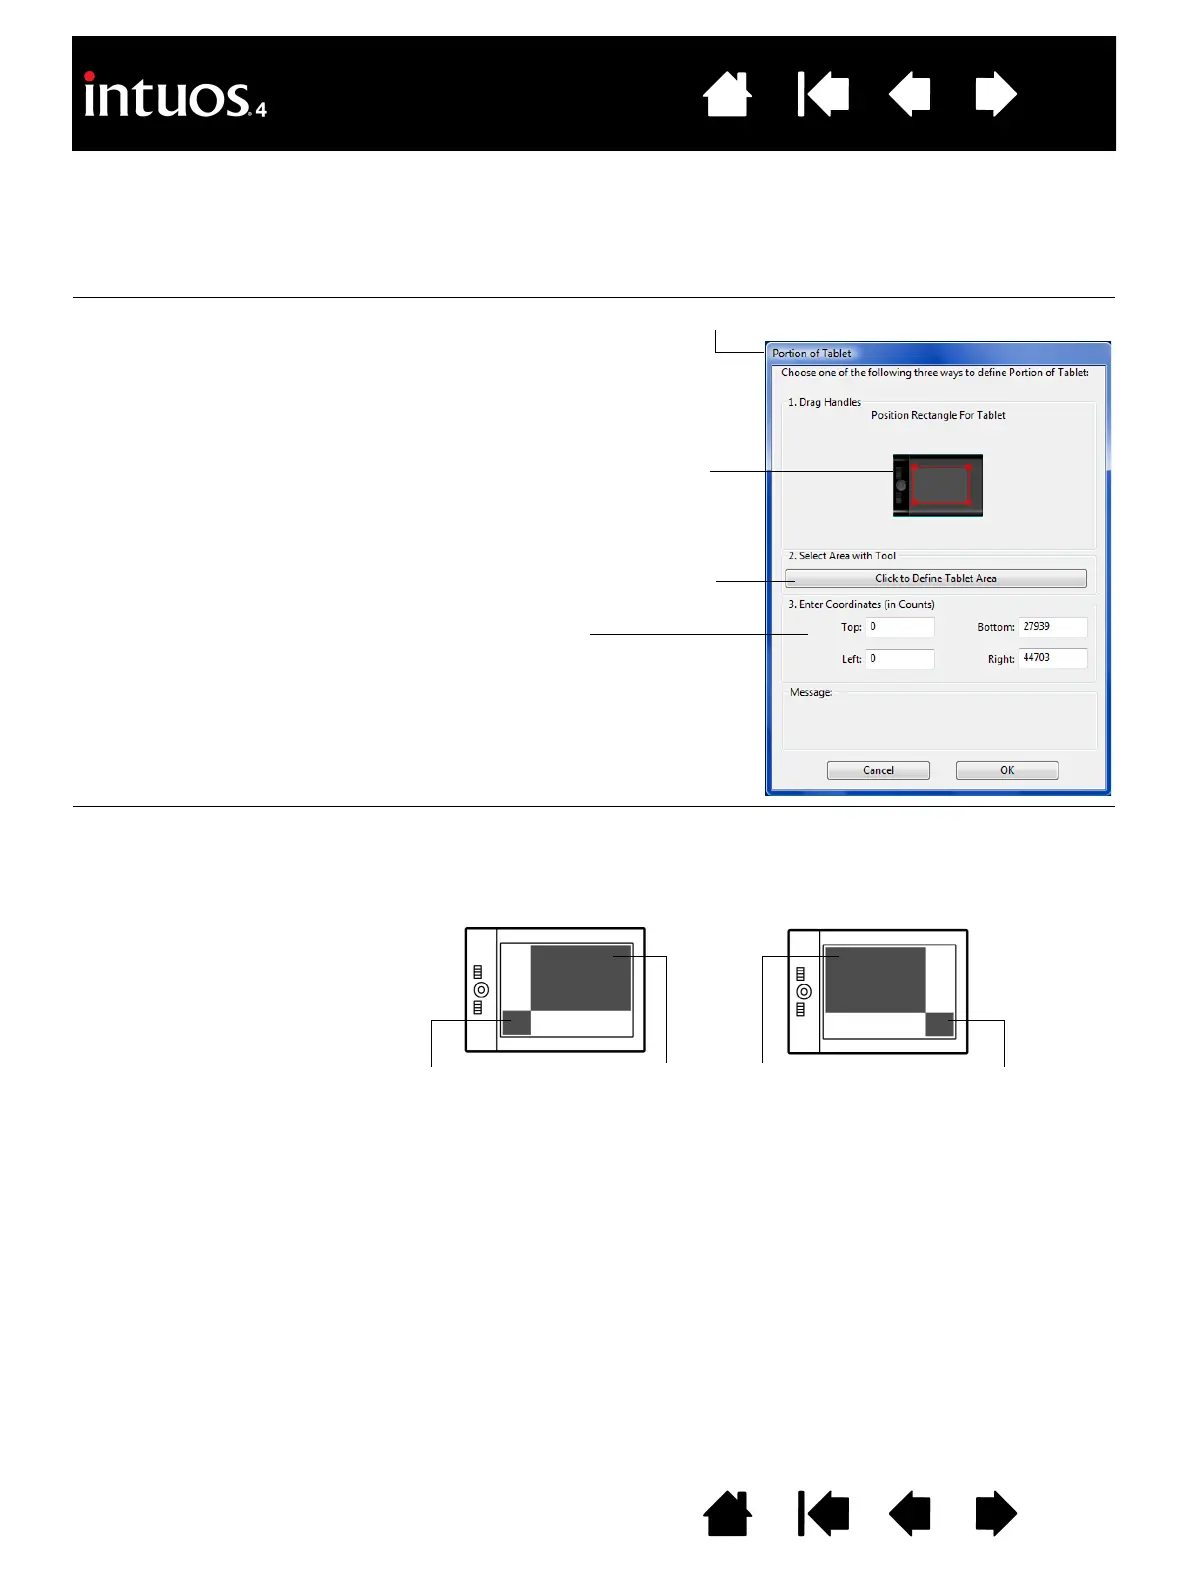
ORTION... Selecting PORTION... brings up the PORTION OF TABLET dialog box.
Q
UICKPOINT LEFT and
Q
UICKPOINT RIGHT
Available with Intuos4 L and XL tablet models, these options divide the tablet
into two independent areas: a large area for drawing, and a small area for quick
navigation. Both areas are mapped to the entire display by default, and can be
mapped to the screen area defined in the P
ORTION OF SCREEN dialog box.
Note: The QuickPoint area and drawing area are indicated by crop marks on the
tablet work surface.
Choose a method for defining a portion of
the tablet:
• Drag corners of the foreground graphic
to select the tablet area that will be
mapped to your selected screen area.
• Select the C
LICK TO DEFINE TABLET
A
REA button and use your tool on the
tablet to select the tablet area. Be sure
to follow any M
ESSAGE prompts.
• Enter coordinate values.
Drawing areas QUICKPOINT RIGHT sets
the QuickPoint area to
the lower right corner of
the tablet.
Q
UICKPOINT LEFT sets
the QuickPoint area to
the lower left corner of
the tablet.
 Loading...