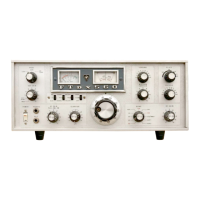
DMU-2000 DATA MANAGEMENT UNIT Page 25
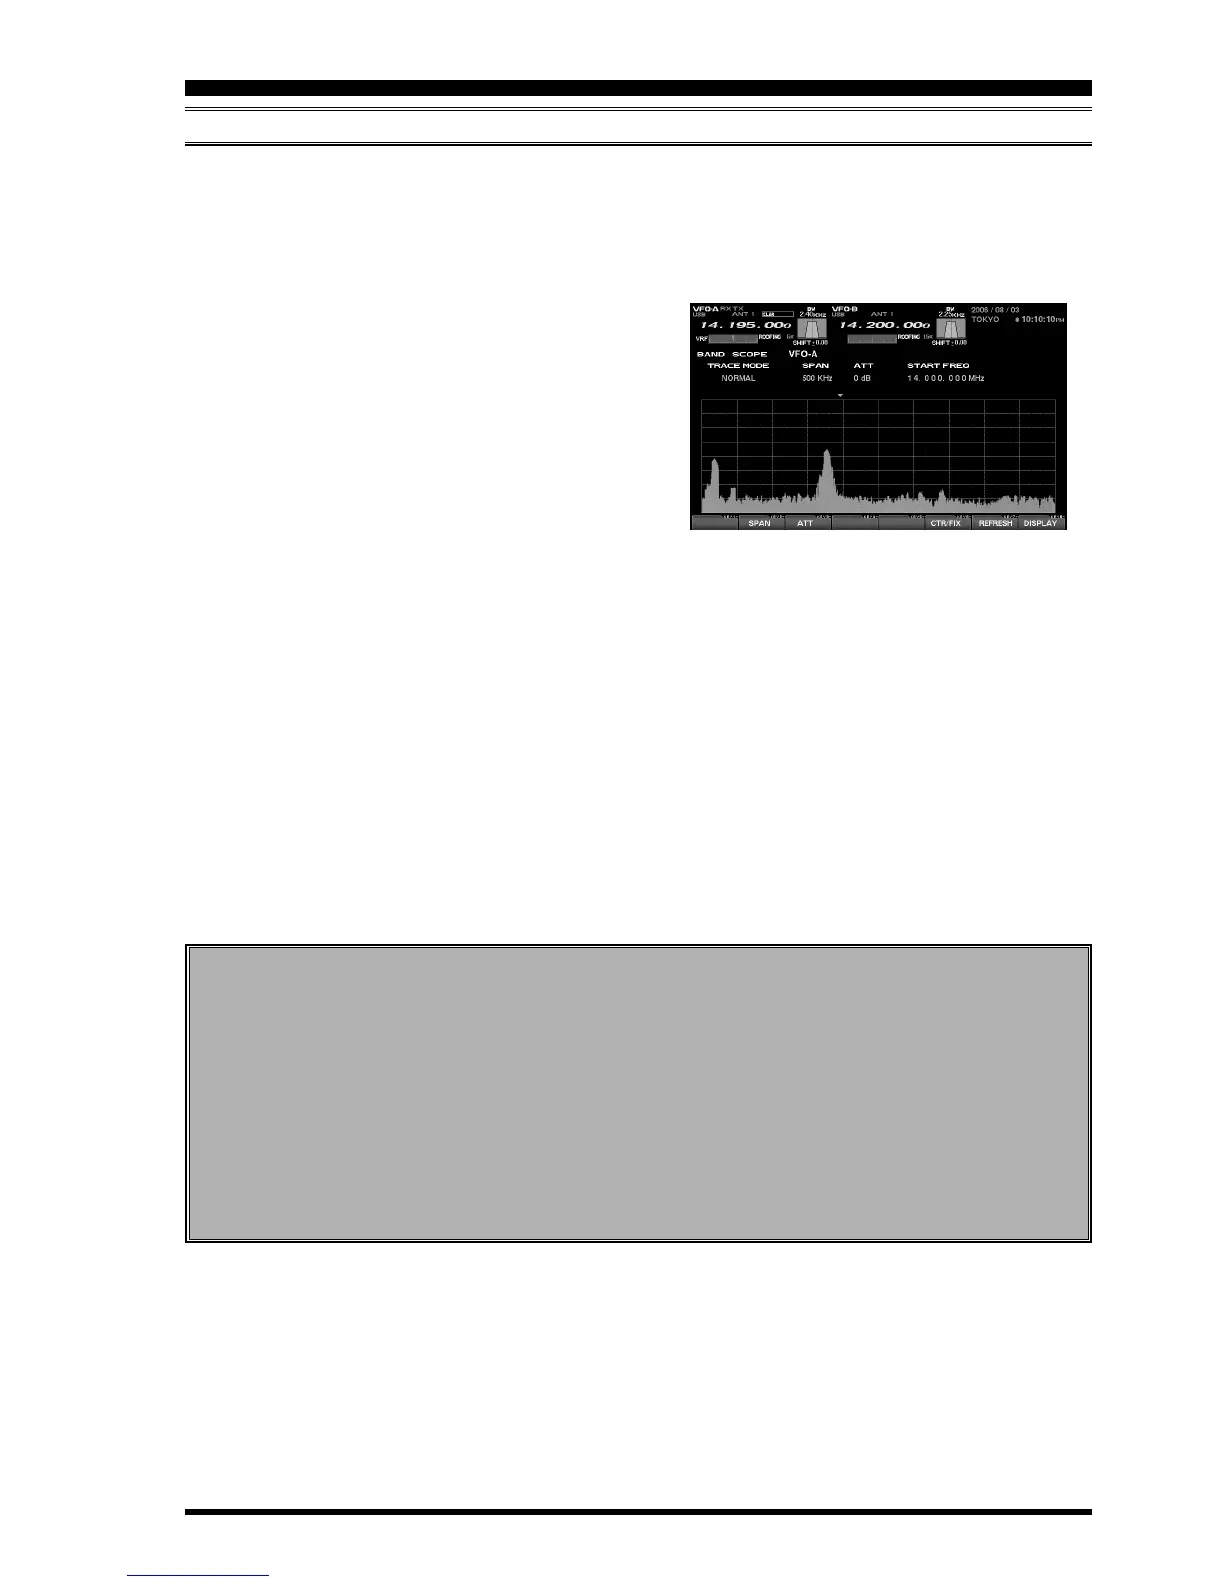
SPECTRUM SCOPE
USING THE FIX
(
FIXED
)
MODE
This feature is convenient when you want to monitor an entire amateur band.
The starting point, located at the left edge of the screen, can be set via the Menu. Even if the screen span (bandwidth) is
changed, the start frequency will not be changed. By watching the screen, you can move your operation to frequencies
where interesting activity appears on the display.
1. By pressing the
[
F6
(
CTR/FIX
)]
key, it is possible to
switch between the CTR mode and the FIX mode.
Select the CTR mode at this time.
2. Press the
[
F2
(
SPAN
)]
key to set the desired value
for the Span (bandwidth). By pressing the
[
F2
(
SPAN
)]
key, the span will change as follows.
25 kHz
50 kHz
100 kHz
250 kHz
500 kHz
1000 kHz
2500 kHz
25 kHz
......
3. Press the
[
F3
(
ATT
)]
key to set the desired attenua-
tion value. By pressing the
[
F3
(
ATT
)]
key, the attenu-
ation will change as follows.
0 dB
10 dB
20 dB
0 dB
......
4. When you rotate the Main Tuning Dial knob, the yel-
low arrow
(
)
will move to follow your receive fre-
quency.
If the receive frequency is outside of the screen, the
position of the operating frequency will be “shown”
in the lower area of the display as “
<<<
” “
>>>
”, and
“RCV Freq is out of range” will also be displayed.
5. Just as in the CTR mode, you can use the Marker.
Please see page 23 for information on using the
marker.
Advice: In either CTR or FIX mode, the current operat-
ing frequency will be indicated on the screen by the yel-
low arrow
(
)
.
SETTING THE LEFT EDGE FREQUENCY FOR THE FIX MODE
Press the
[
MENU
]
button momentarily to enter the
Menu mode. Select the item which you want to change
by rotating the Main Tuning Dial knob (in this case,
the items will be in the range from “105 SCP 1.8
FI” to “115 SPC 50.0 FI”). Now you may change
the setting by rotating the
[
SUB VFO-B
]
knob.
When the change(s) are completed, press and hold in
the
[
MENU
]
button for 2 seconds to save the change.
If you do not want to save the change(s), press the
[
MENU
]
button momentarily. The radio will go back
to its previous condition/situation.
There are many setup items in the Menu, and they are
grouped; the group name is displayed at the top left
area of the list screen. It will generally be more con-
venient for you if you initially select the group, by
rotating the Main Tuning Dial knob, and then select
the item you want to work on.
[
F2
(
SPAN
)]
Key
[
F3
(
ATT
)]
Key
[
F6
(
CTR/FIX
)]
Key

 Loading...