EasyManua.ls Logo

Yaesu Mark-V FT-1000MP Field User Manual

Yaesu Mark-V FT-1000MP Field
211 pages
To Next Page IconTo Next Page
To Previous Page IconTo Previous Page
Page #11 background imageLoading...
Page #11 background image
Alignment
3-3
IF Gain
r Inject a +11 dBµ signal to the antenna jack, and tune the main
dial for peak indication on the S-meter.
r Now adjust VR8006 for 1-dot S-meter deflection.
S-Meter Full Scale
r Inject a +100 dBµ signal to the antenna jack, and tune the main
dial for peak indication on the S-meter.
r Adjust VR8007 for S9 +60 dB on the S-meter.
FM Squelch Threshold
r In FM mode, with no signal at the antenna jack, set the SQL
control to the 11-o’clock position.
r Now adjust VR8001 so that the squelch just closes.
SSB Squelch Threshold
r In the SSB mode, with no signal at the antenna jack.
r Confirm that the SQL control is in the 9- to 12-o’clock posi-
tion when the squelch is just closed.
Noise Blanker
r Connect the DC voltmeter to TP8001, press the NB button,
then inject a +40 dBµ signal to the antenna jack.
r Adjust T8001 for minimum indication in the DC voltmeter.
Reduce the injection level to +23 dBµ and confirm that the
voltage is now less than 3.4 V.
Local Unit
Refer to the drawing at the page bottom for LOCAL Unit com-
ponent locations and alignment points.
2nd Local Oscillator
r Connect the RF millivoltmeter to TP4002, and adjust T4001
for maximum indication on the RF millivoltmeter (at least 400
mVrms), then turn T4001 1/4-clockwise futher more.
r Replace the RF millivoltmeter with a frequency counter at
TP4002, and confirm the frequency counter reading is 62.240
MHz (±600 Hz).
2nd Local Oscillator Amplifier
r Remove the coaxial plug from J4002, and connect a 50 W
resistor in parallel with the RF millivoltmeter across the socket.
r Adjust T4006 and T4007 in succession several times for peak
RF millivoltmeter indication (at least 170 mVrms).
r Remove the meter and resistor, and replace the plug into J4002.
WIDTH DDS Amplifier
r Connect the RF millivoltmeter to TP4004, and adjust T4010
for maximum indication on the RF millivoltmeter (at least 70
mVrms).
Local Unit Test & Alignment Points
TC4001
PLL Main Loop VCO
TC4002
PLL Main Loop VCO
TC4003
PLL Main Loop VCO
TC4001
PLL Main Loop VCO
T4009
3rd Local Amplifier
T4010
WIDTH DDS Amplifier
TP4004
WIDTH DDS Amplifier
Connect RF Millivoltmeter
(>70 mVrms)
T4006
2nd Local Amplifier
TP4002
2nd Oscillator:Connect RF Millivoltmeter (>400 mVrms)
Frequency Counter (62.24 MHz ± 200 Hz)
T4005
PLL BPF (67.98 MHz)
T4004
PLL BPF (67.98 MHz)
TP4001
PLL BPF (67.98 MHz): Connect RF Millivoltmeter (>100 mVrms)
T4002
PLL BPF (67.98 MHz)
J4002
2nd Local Amplifier: Connect 50 W Dummy
in parallel with RF Millivoltmeter (>170 mVrms)
T4003
PLL BPF (67.98 MHz)
TP4003
PLL Main Loop VCO: Connect DC Voltmeter (8.5 V ± 0.1 V)
TP4005
PLL Main Loop VCO: Connect DC Voltmeter (1.65 V ± 0.01 V)
VR4001
PLL Main Loop VCO
J4003
3rd Local Amplifier: Connect 50 W Dummy
in parallel with RF Millivoltmeter (>100 mVrms)
T4007
2nd Local Amplifier
T4008
2nd Local Amplifier

Table of Contents

Question and Answer IconNeed help?

Do you have a question about the Yaesu Mark-V FT-1000MP Field and is the answer not in the manual?
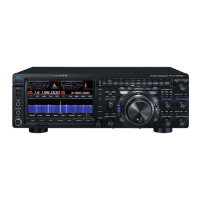
Yaesu Mark-V FT-1000MP Field Specifications

General IconGeneral
Frequency Range RX100 kHz - 30 MHz
Receiver TypeDouble conversion superheterodyne
Antenna Impedance50 ohms
Weight15 kg
Voltage13.8 VDC
ModesAM, FM, SSB, CW, FSK
Current Drain TX22 A
Receiver Sensitivity0.16 μV (SSB, CW)
Frequency Range TX160, 80, 40, 30, 20, 17, 15, 12, 10 m

Summary

Specifications

General Specifications

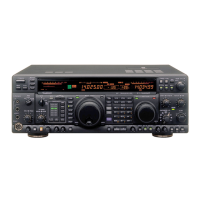
General operating parameters including frequency range, stability, and modes.

Transmitter Specifications

Transmitter specifications detailing power output, duty cycle, and modulation types.

Receiver Specifications

Receiver specifications including circuit type, sensitivity, and selectivity.

Exploded View & Miscellaneous Parts

Alignment Procedures

Alignment Introduction and Precautions

Important safety and procedural notes for performing transceiver alignment.

Alignment Preparation & Precautions

Required test equipment and environmental conditions for correct alignment.

REF Unit Alignment

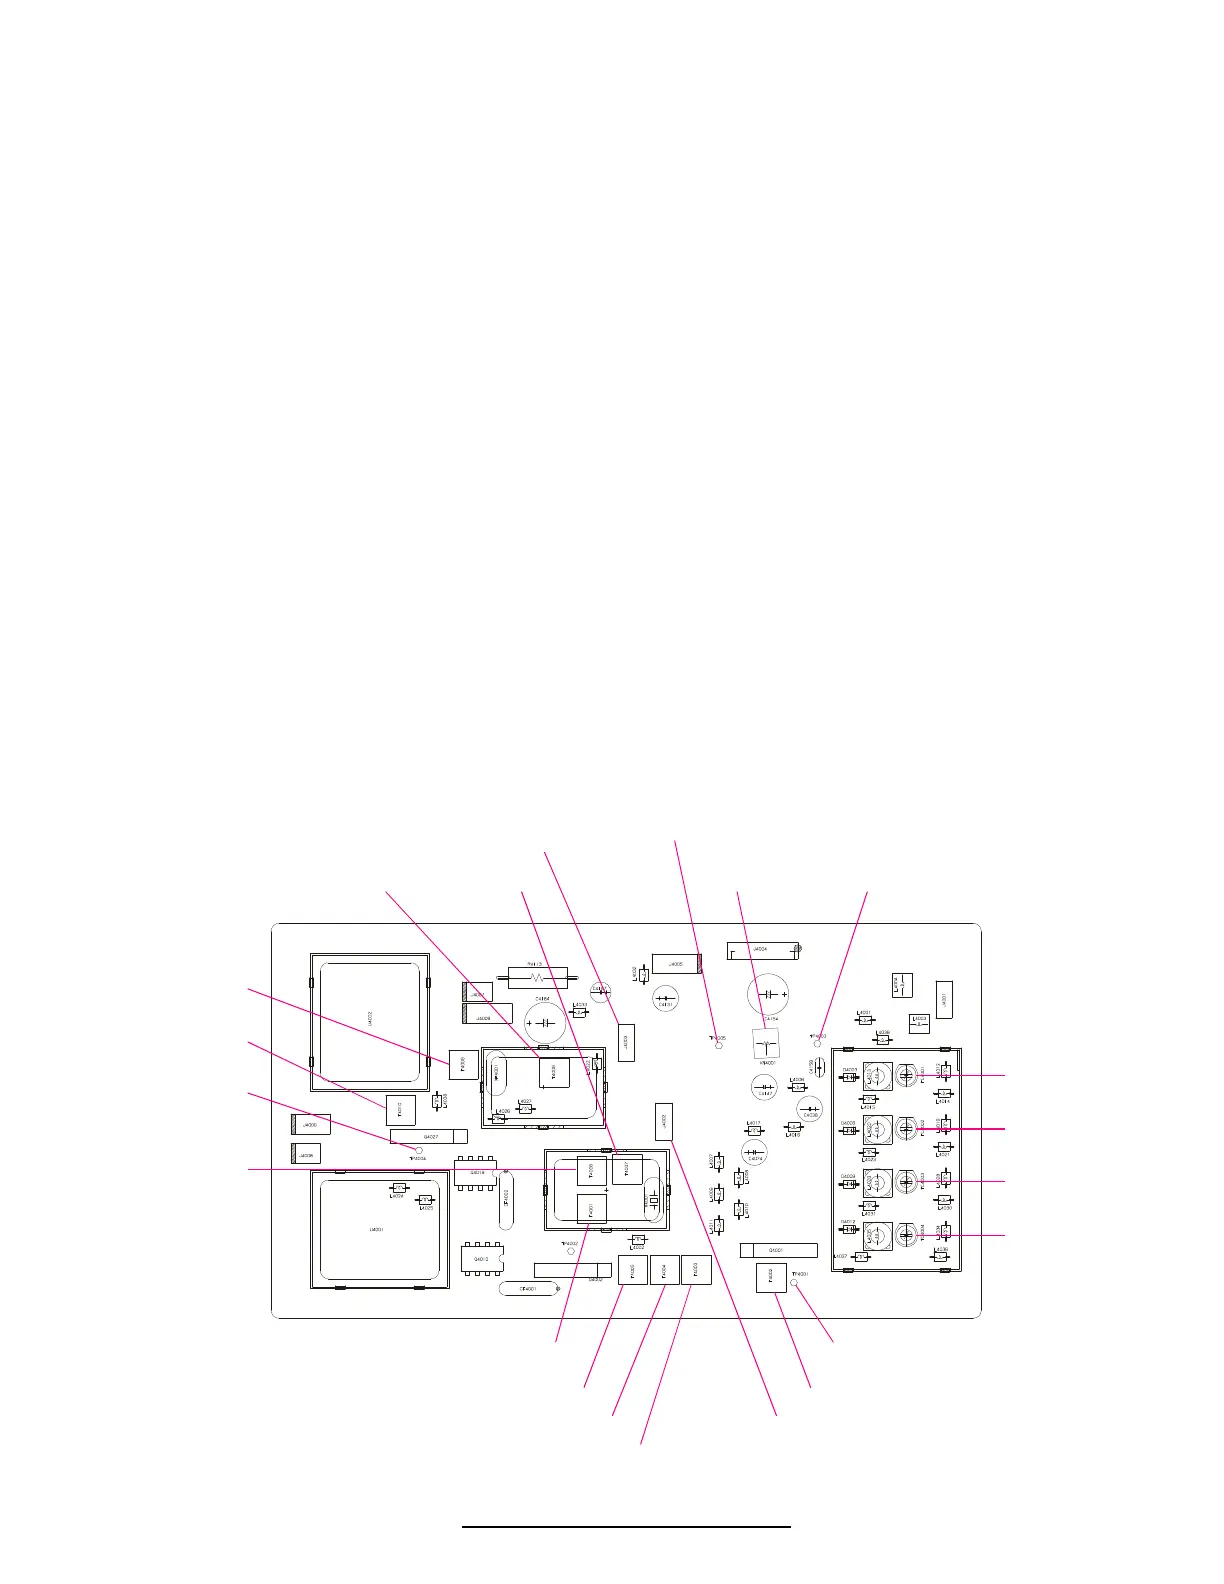
Procedure for confirming the carrier frequency of the REF Unit.

RX2 Unit Alignment

Procedures for aligning the RX2 Unit's local section and PLL.

Local Unit Alignment

Alignment steps for the Local Unit's oscillators and DDS amplifier.

PA Unit Alignment

Procedures for setting PA unit idling current for Class AB and A modes.

Transmitter Section Alignment

Steps for aligning transmitter mixer, IF transformers, ALC, power output, and TX IF gain.

Tuning Meter Presets

Procedures for setting tuning meter center and presets for various modes.

Circuit Description

Main Receive Signal Circuitry

Description of the receive signal path from antenna to IF stages.

AGC Circuit

Explanation of the Automatic Gain Control circuit operation.

Low-Frequency Amplifier Circuit

Description of the low-frequency amplifier stages and audio output.

Transmit Signal Circuitry

Description of the signal path from microphone to RF output for FM, SSB transmission.

ALC Circuit

Explanation of the ALC circuit for automatic level control.

Control Circuitry

Description of microprocessor, EEPROM, reset, dial counter, serial comms, CAT, key matrix, and ADC circuitry.

PLL Frequency Synthesizer (Main)

Details on master oscillator, DDS units, local oscillators, and PLL circuit operation.

RX2 Circuit

Description of receive signal flow, AGC operation, and RX2 PLL synthesizer.

DSP Circuit

Description of DSP for transmission system including AD/DA converters and processor functions.

Block Diagram

Interconnection Diagram

Wire List

Related product manuals