Initial Trim Flap Operation
1. Initial settings
3. Adjusting the Flap
Angle Sensor offset
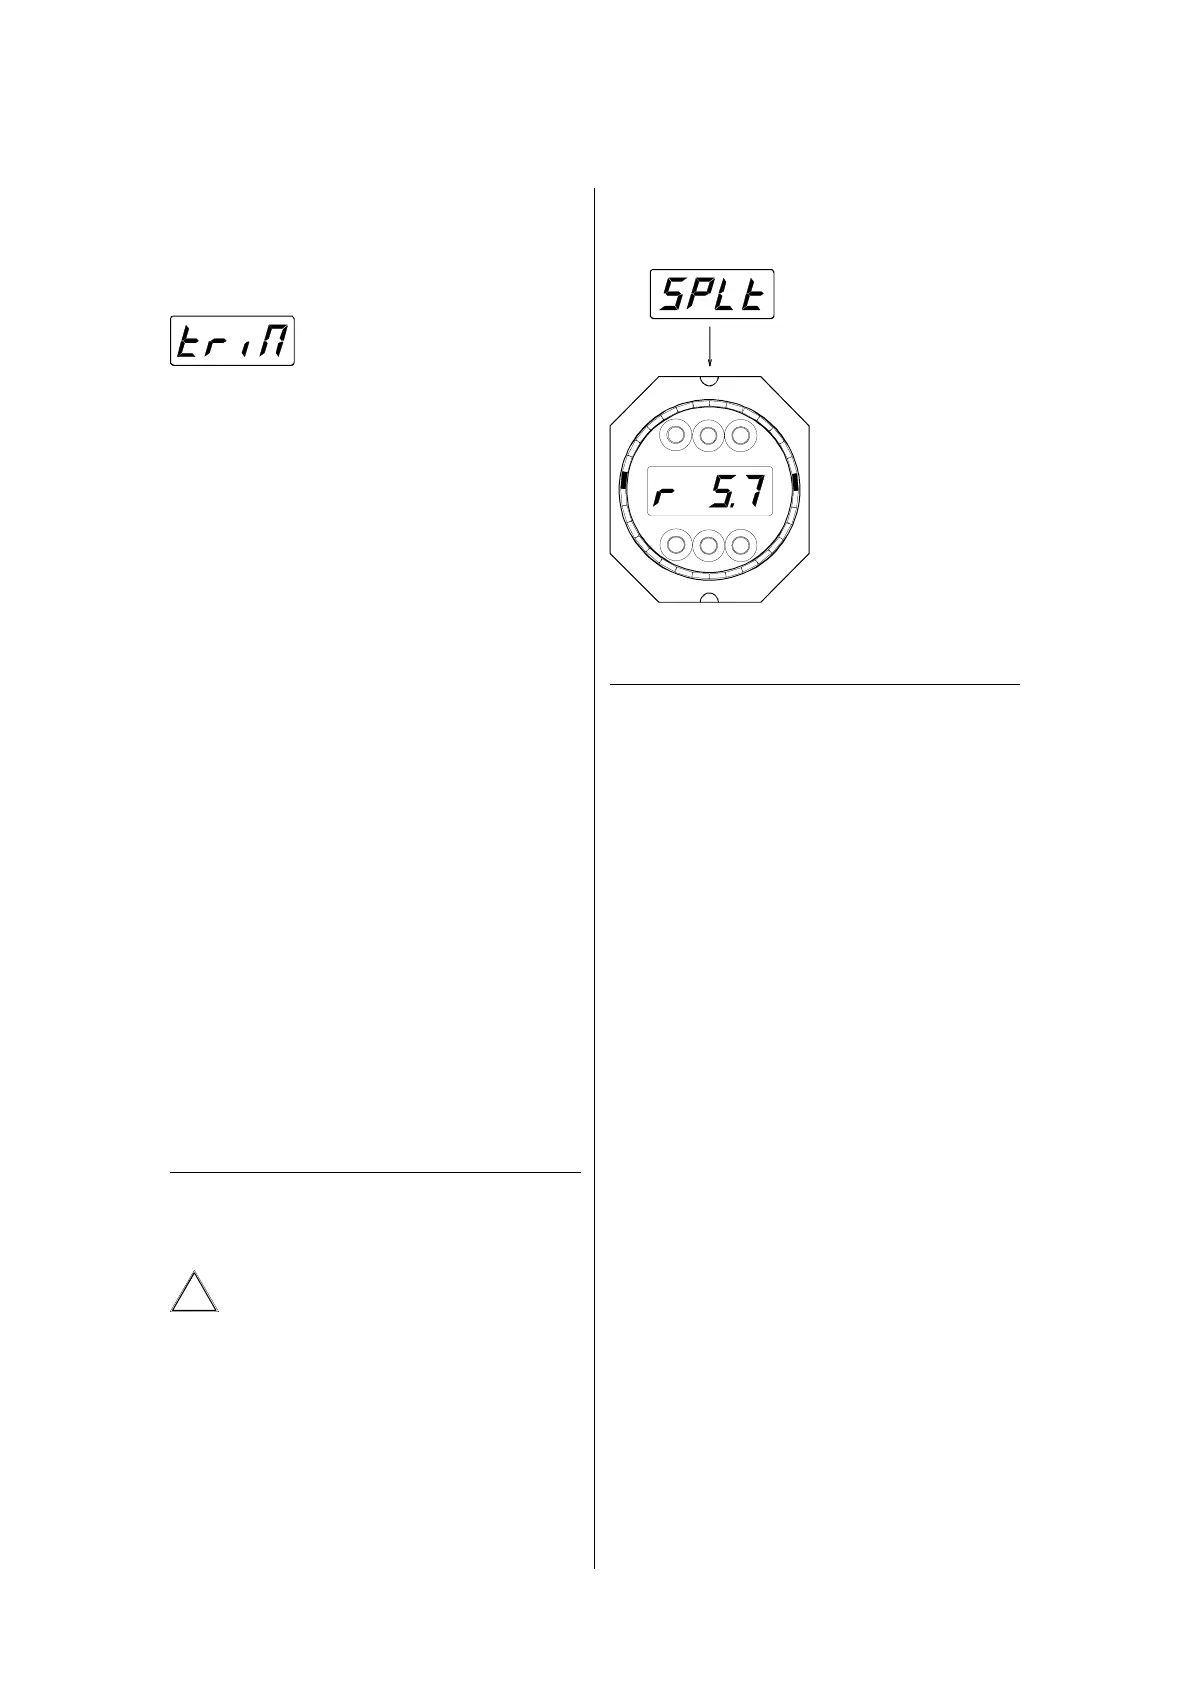
1. Stay in Split Mode.
2. Command the flaps
with the up and down
buttons to a position of
exactly 1 degree (mea-
sured at the flaps, not
read from the dis-
play).
The indicated flap
angle will most proba-
bly be different from
one degree.
3. Adjust both sen-
sors for a reading of
one degree offset.
4. Adjusting the Flap
Angle Sensor Gain
1. Stay in Split mode.
2. Move the flaps to ten degrees (measure the
angle at the flaps, do not use the displayed
angle).
3. Adjust the mechanical ratio (arm length) of
the sensors for a ten degrees indicated flap
angle (on some sensors there is an electric
gain adjustment possibility).
4. More important than absolute accuracy of
the flap angle display is the symmetry be-
tween the left and right flap display.
In case the ratio or gain has been adjusted, re-
adjust also the offset at the one degrees
point.
➤
➤
➤
➤
Select trim configuration (see display con-
figuration). Pressing the right
or left button briefly will lead
to the trim settings "t0".. "t9".
t0:00 (00...01) Directional sense of the
left flap angle sensor
t1:00 (00...01) Directional sense of the
right flap angle sensor
t2:03 (00...03) Which flaps are con-
nected to the trim box: 1 = left,
2 = right, 3 = both flaps
t3:00 (00...01) Profile mode. 01=avail-
able, 00=not available
t4:00 (00...01) Static Pitch Mode
(00=not available)
t5:00 (00...01) Dynamic Pitch Mode
(00=not available)
t6:00 (00...15) Upper flap angle limit
(1/10 degrees)
t7:12 (00...15) Lower flap angle limit
(degrees)
t8:65 (50...81 degrees Celsius) Cut off
temperature of the TRIMBOX in
case of overheat.
t9:05 (00...15) Stopping distance of the
travelling flaps in 1/10th degrees. A faster flap
requires a larger value here. The value has to
be increased in case of flap oscillations. It
should be decreased as far as possible, with-
out leading to oscillations.
In case of multiple trim display units on
board, repeat the settings of t3:, t4: and t5: on
every one of them.
25
2. Setting the up or
down sense
Attention: the flaps will move under
hydraulic power during this step!
1. Activate Split Mode.
2. Activate one lower button. The flap must
move downwards. If it moves up, inter-
change the wires of the up and down valves
at the trim box.
3. Repeat step two for the other flap.
ÿ
ÿÿ
ÿ
 Loading...