3 - 61
CHK
ADJ
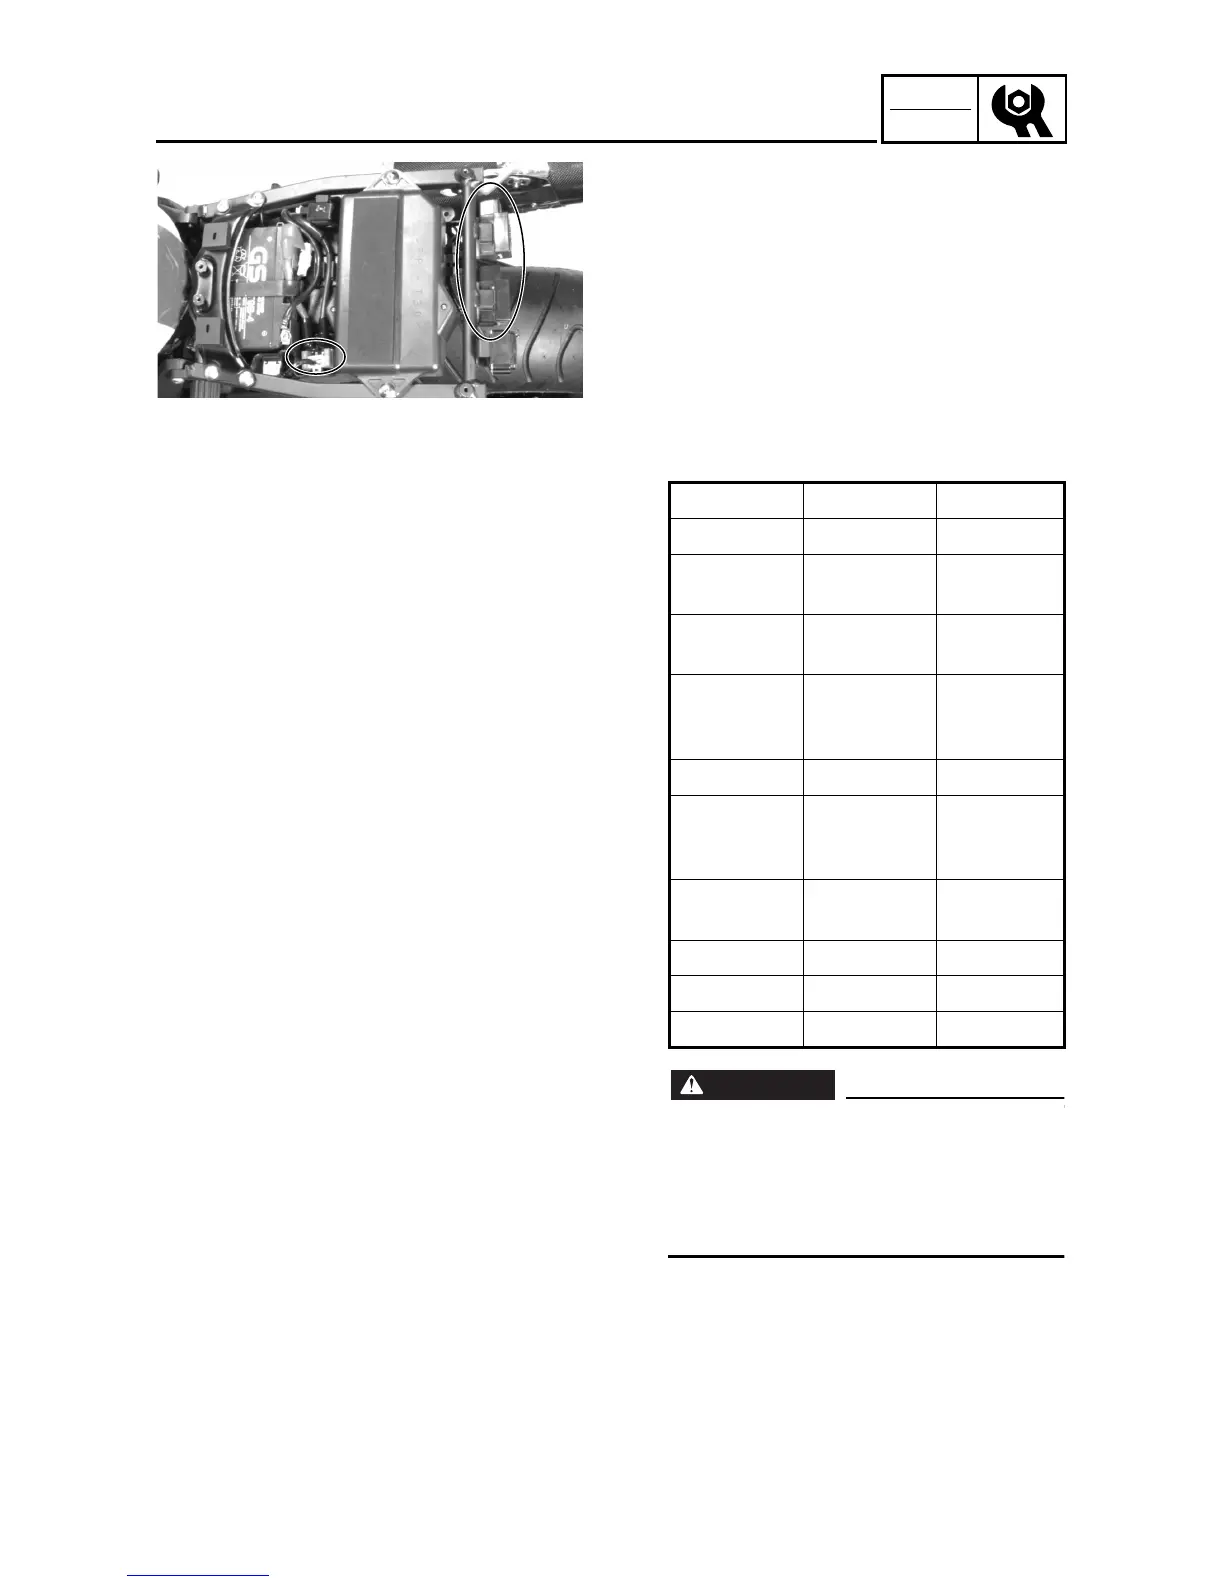
3. Replace:
• blown fuse
▼ ▼ ▼ ▼ ▼ ▼ ▼ ▼ ▼ ▼ ▼ ▼ ▼ ▼ ▼ ▼ ▼ ▼ ▼ ▼ ▼ ▼ ▼ ▼ ▼ ▼ ▼
a. Set the main switch to “OFF”.
b. Install a new fuse of the correct
amperage.
c. Set the main switch to “ON” and ver-
ify if the electrical circuit is opera-
tional.
d. If the fuse immediately blows again,
check the electrical circuit.
▲ ▲ ▲ ▲ ▲ ▲ ▲ ▲ ▲ ▲ ▲ ▲ ▲ ▲ ▲ ▲ ▲ ▲ ▲ ▲ ▲ ▲ ▲ ▲ ▲ ▲ ▲
WARNING
WARNING
Never use a fuse with an amperage
other than that specified. Improvising or
using a fuse with the wrong amperage
rating may cause extensive damage to
the electrical system, cause the lighting
and ignition systems to malfunction
and could possibly cause a fire.
4. Install:
• rear cowling
Refer to “COWLINGS”.
Item Amperage Q’ty
Main fuse 30 A 1
Headlight
fuse
20 A 1
Signaling
system fuse
20 A 1
Electronic
fuel injection
system fuse
20 A 1
ECU fuse 7.5 A 1
Radiator
fan motor
fuse
7.5 A 1
Backup fuse
(odometer)
7.5 A 1
Reserve 30 A 1
Reserve 20 A 2
Reserve 7.5 A 2
CHECKING THE FUSES
 Loading...