Setup
42
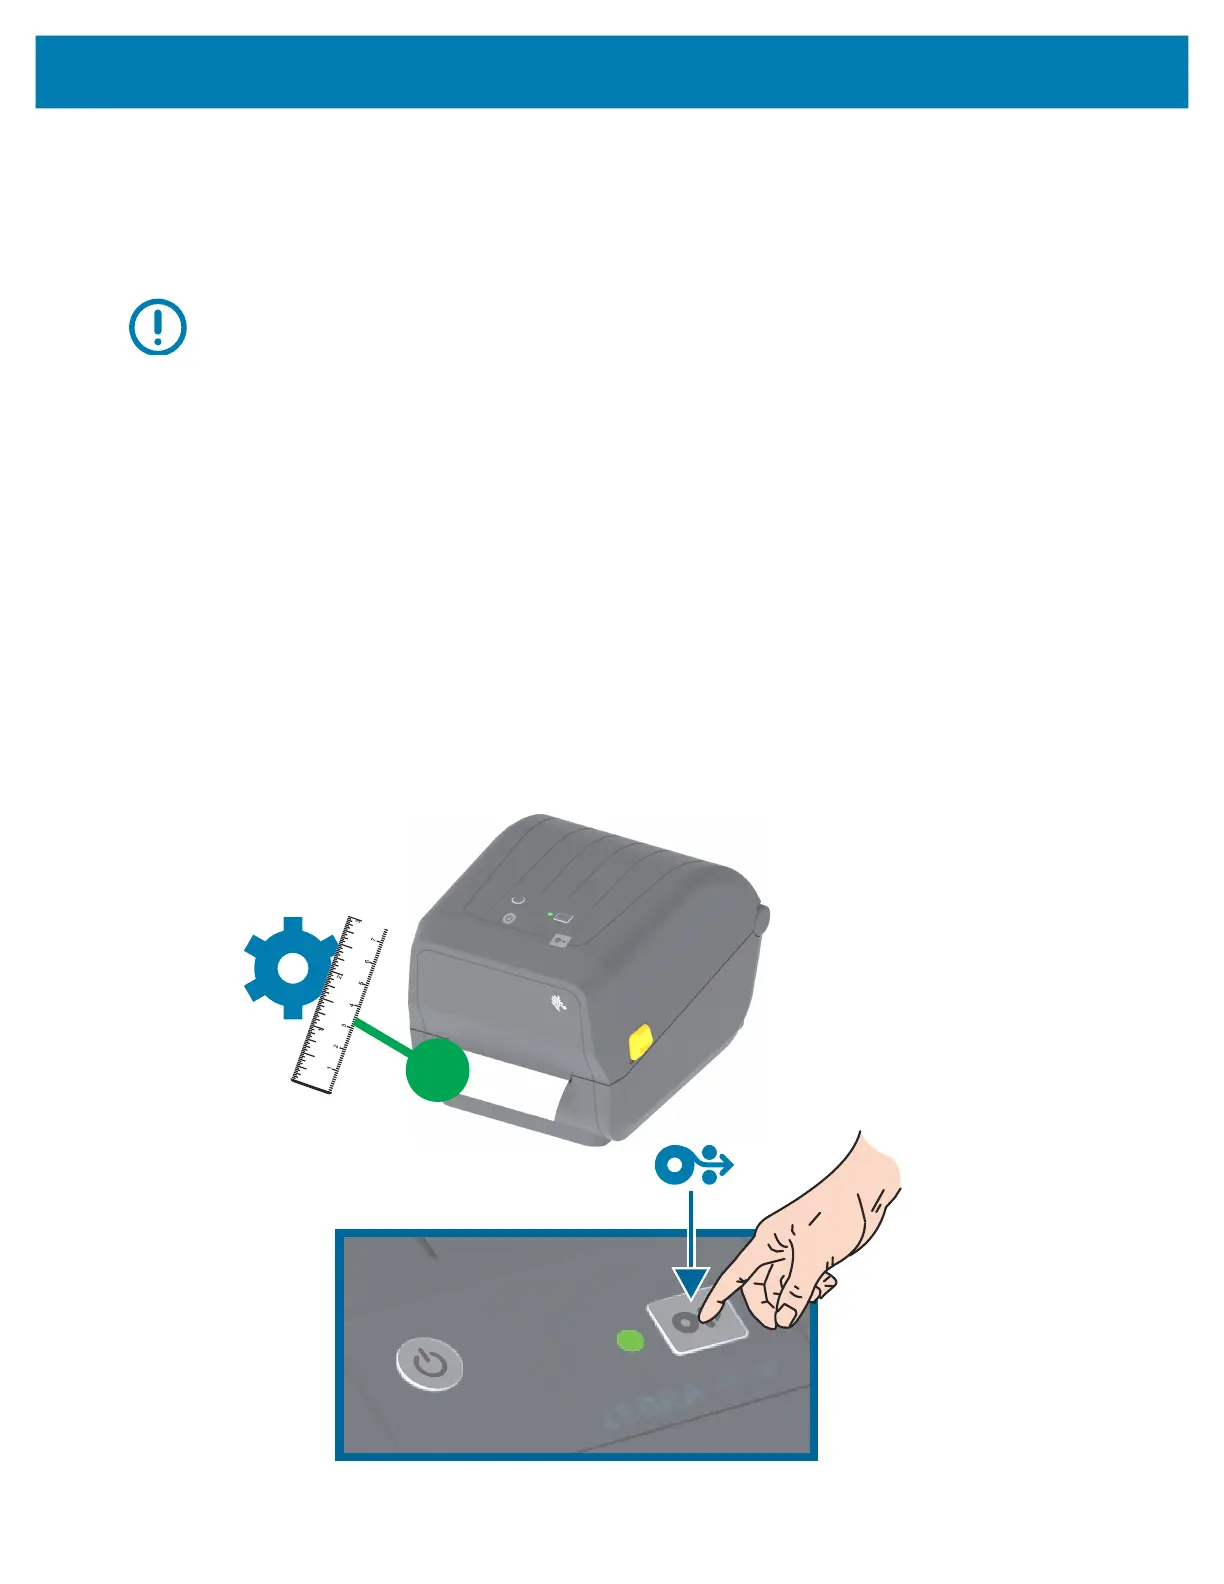
Run a SmartCal Media Calibration
The printer needs to set the media parameters prior to printing for optimal operation. The printer will
automatically determine media type (web/gap, black mark/notch, or continuous) and measure media
characteristics.
Important • After the initial calibration to a specific media is completed, it is not required to perform additional
calibrations each time the media is replaced. The printer automatically measures the media to adjust for small changes
in the media characteristics while printing.
Pressing the FEED (Advance) once or twice after a new roll of media (same batch) has been installed will synchronize
the labels. It is then ready to continue printing.
SmartCal Procedure
1. Make sure the media and ribbon (if you are thermal transfer printing) are loaded properly in the printer
and the top cover of the printer is closed.
2. Press the POWER button to turn the printer on.
3. Once the printer is in the Ready state (STATUS Indicator is solid green), press and hold the FEED
button for two (2) seconds and the STATUS Indicator flashes the first time. Continue to hold the FEED
button until it has flashed 2 more times and immediately release the FEED button.
4. The printer will measure a few labels and adjust media sensing levels.
5. When the printer stops, the STATUS indicator will turn solid green.
 Loading...