Setup for Windows
®
OS
52
Configure Using the ZebraNet Bridge’s Connectivity Wizard
Note • The preferred tool for connecting and configuring your printers to cloud, WLAN, and LAN; is now Link-OS
Profile Manager. You can get Profile Manager and ZebraNet Bridge Enterprise (local and LAN configurations) utility is
available through http://www.zebra.com/software
. ZebraNet Bridge Enterprise version 1.2.5 or later is required to
configure the printer correctly for use.
The Connectivity Wizard, which is part of this software, allows you to configure your printer easily for
wireless operation by writing the appropriate ZPL script for you. Use this utility when you are first installing
the wireless print server or after you set the network options back to factory defaults.
Note • You can only set up one print server at a time with the Connectivity Wizard. To configure multiple print servers
(wired and wireless), run the program once for each print server.
To use the Connectivity Wizard, complete these steps:
1. If it is not already installed, install ZebraNet Bridge Enterprise on your computer.
You can get the program from the Zebra Web site at http://www.zebra.com/software.
2. Launch the ZebraNet Bridge Enterprise program.
If you are prompted for a serial number, you may click Cancel. You will still be able to use the
Connectivity Wizard.
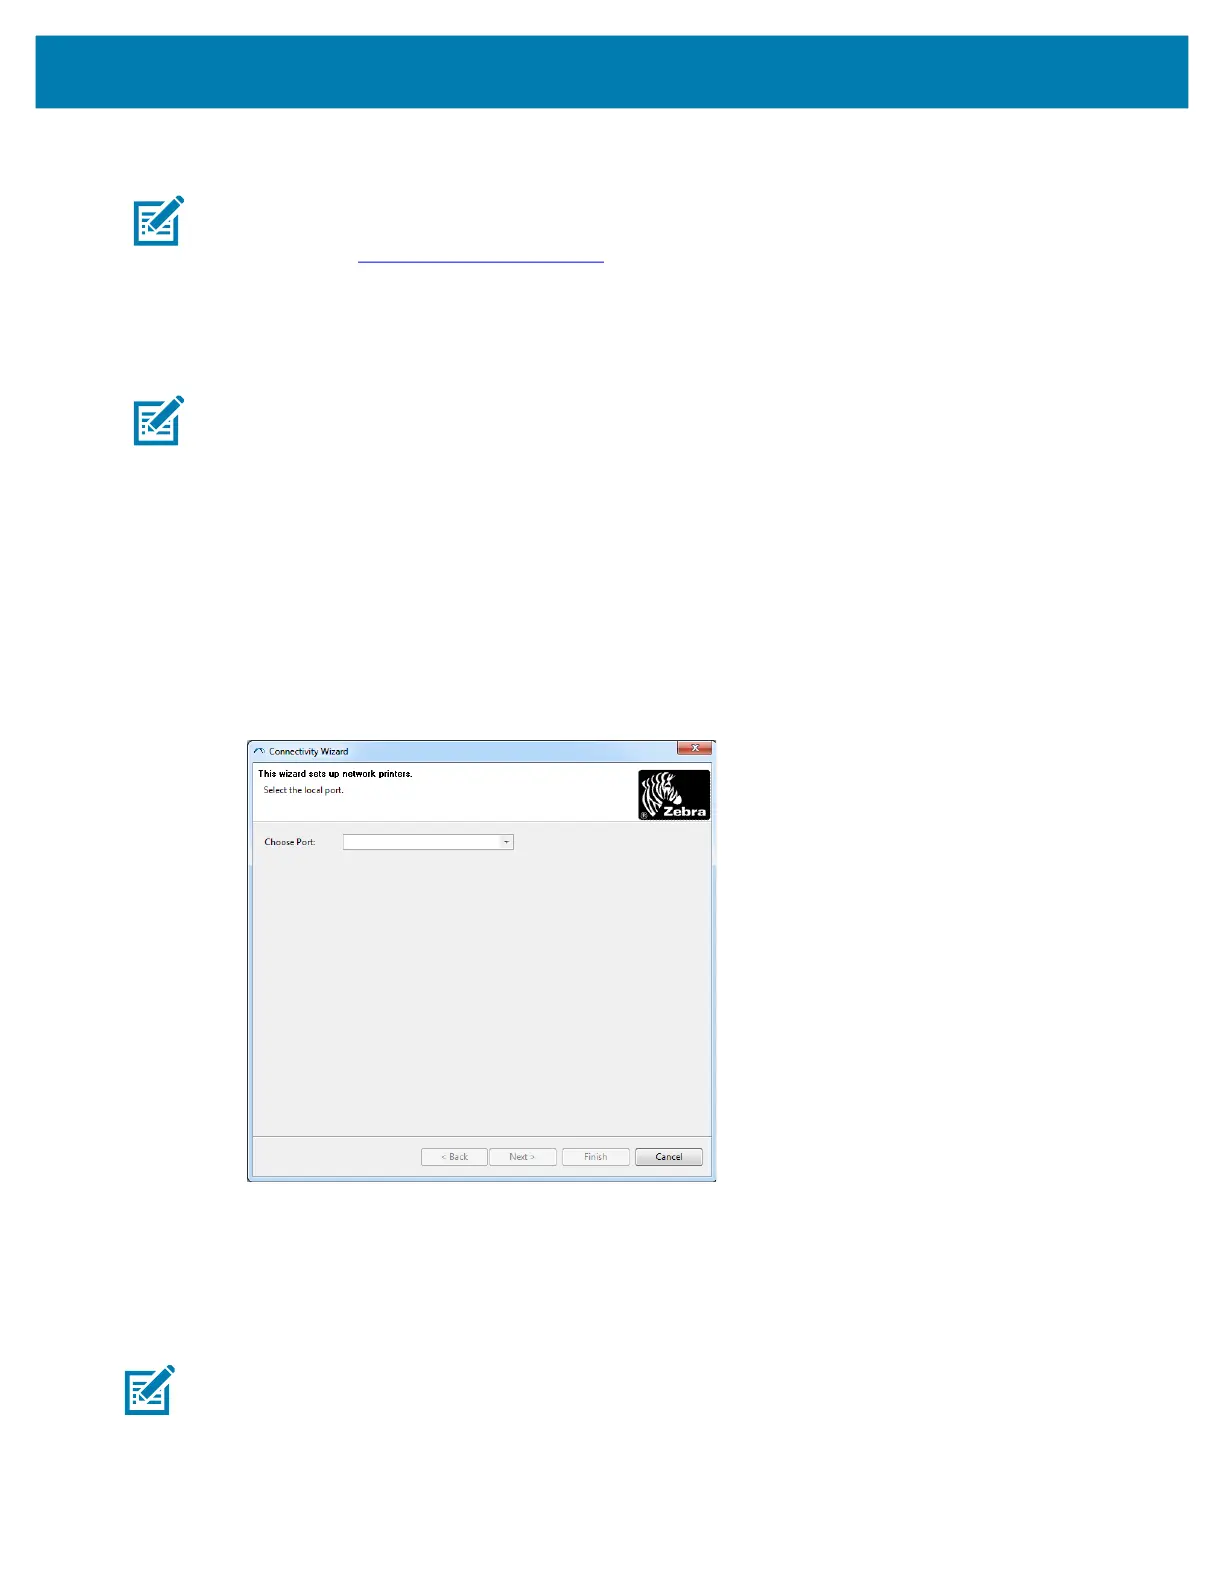
3. From the Menu bar, select Tools > Connectivity Wizard. The Connectivity Wizard opens.
4. From the Choose Port list, select the port to which your printer is connected.
• If you will save the file without sending it to the printer, you may select any available port.
• If you select File, you will be asked to browse to the location of the file you want to save.
• If you select a serial port, the serial configuration information appears below the ‘Choose Port’ list. If
necessary, change the serial communication settings to match your printer’s settings.
Note • If a port is in use by another device, it will not be included in the drop-down list.
 Loading...