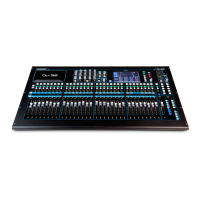
Update firmware using a USB drive
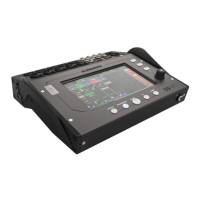
1. Insert a new or FAT formatted USB drive into the CQ’s USB-A port.
2. Press the HOME screen key and select SYSTEM then the USB/SD tab (with
USB and SDHC symbols).
3. Press the Format button in the USB Status section on the left and follow
the on-screen instructions to format the drive, this will clear all data and
set up any necessary folder structure for use with CQ.
4. Once formatted remove the drive and connect to a Windows or Mac
computer.
5. Download the latest version of firmware from
http://www.allen-heath.com/mycq
ensure that the correct version of firmware is downloaded for the model
being updated.
6. Unzip/expand the downloaded ZIP file and copy the firmware file (which
has a .bin suffix) to the root of the USB drive, do not place it in any of the
folders.
7. Ensure there is only one version of firmware on the USB drive at any one
time. Delete all old versions before copying new ones.
8. Safely eject the drive and re-insert into the CQ.
9. Go to the CQ’s HOME screen, select SYSTEM and then Firmware.
10. This screen will display the firmware the unit is currently running at the
bottom and the firmware found on the connected USB drive at the top.
Touch the Update button to begin the update process.
11. Follow the on-screen instructions and touch the Restart button when
prompted to reboot the CQ and complete the firmware update.
12. Check that the new version has installed correctly by looking at Current: in
the HOME / SYSTEM / Firmware tab, or find the Firmware Version: listed
in the HOME / SYSTEM / Info tab.

 Loading...


