Upgrading the Firmware
71
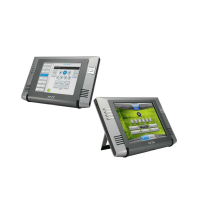
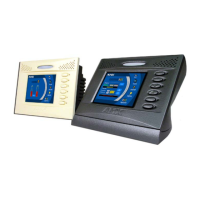
4" Color Touch Panels with Audio
18. Click Download to open the Confirm Communication Settings dialog, where you can review
and confirm your Comm Settings and Target Device information before the download begins.
Click Cancel to return to the Select Axcess Firmware File dialog, to edit these settings
(if necessary).
Click OK to confirm the Comm Settings and Target Device information, and download
the selected TSK file to the specified device using the selected communications port.
19. The File Transfer dialog shows the progress of the download. Click Cancel to cancel the
download.
20. Once the TSK file has been downloaded, the CP4/A LCD displays the message
"*Touch To Continue*".
21. Touch anywhere on the LCD to return the CP4/A to the Main page (or wait 10-seconds for the
same result).
22. Reboot the CP4/A touch panel by cycling power to the unit. This step completes the firmware
upgrade procedure.
Upgrading the Firmware through an IP Address
Before beginning with this section, verify that your CP4/A unit is powered and connected to the
NetLinx Master through an AXlink connection. Use this method if you can only access the
NetLinx Master through an Ethernet connection.
1. Obtain the IP Address of the NetLinx Master from your System Administrator, if you do not
have an IP Address for the Master:
Follow steps outlined in the NetLinx Studio Instruction Manual for either Obtaining or
Assigning and IP Address.
From the Online tab of the Project Navigator window, select the NetLinx Master.
Press the Get IP button from the Tools > NetLinx Diagnostics > Networking tab >
IP Address section. Note the IP Address and Gateway information.
2. Select Tools > Master Communication Settings from the Main menu.
3. Press the NetLinx radio button from within the Platform section of the Communication
Settings dialog box (FIG. 38 on page 72).
4. From the Communications Port drop-down list, choose Network. This indicates the
IP Address on the master is being reached from within a network connection.
5. Enter the IP Address information displayed on the Networking tab. Do not alter the defaulted
IP port.
6. Click the OK button to end the process of obtaining and assigning the IP Address to the
NetLinx Master.
7. Select Edit > Preferences, from the General - Communications section.
Canceling the firmware download in mid-progress can damage the on-board
firmware.
 Loading...