84
b
Touch the keys to adjust the pattern to the
desired angle.
Each touch of a key rotates the pattern.
1 Shows the angle of the pattern after a key is
touched to change it.
• To return the pattern to its original angle, touch
.
c
If necessary, touch the arrow keys to adjust
the position of the pattern.
For more details, refer to page 83.
d
If necessary, touch and then touch
to check the embroidering area.
For more details, refer to page 46.
1 Rotates 1 degree to the right
2 Rotates 10 degrees to the right
3 Rotates 90 degrees to the right
4 Rotates 90 degrees to the left
5 Rotates 10 degrees to the left
6 Rotates 1 degree to the left
7 Moves the pattern in the direction of the arrow on
the key.
8 Touch this key to close this screen.
9 Touch this key to return the pattern to its original
angle.
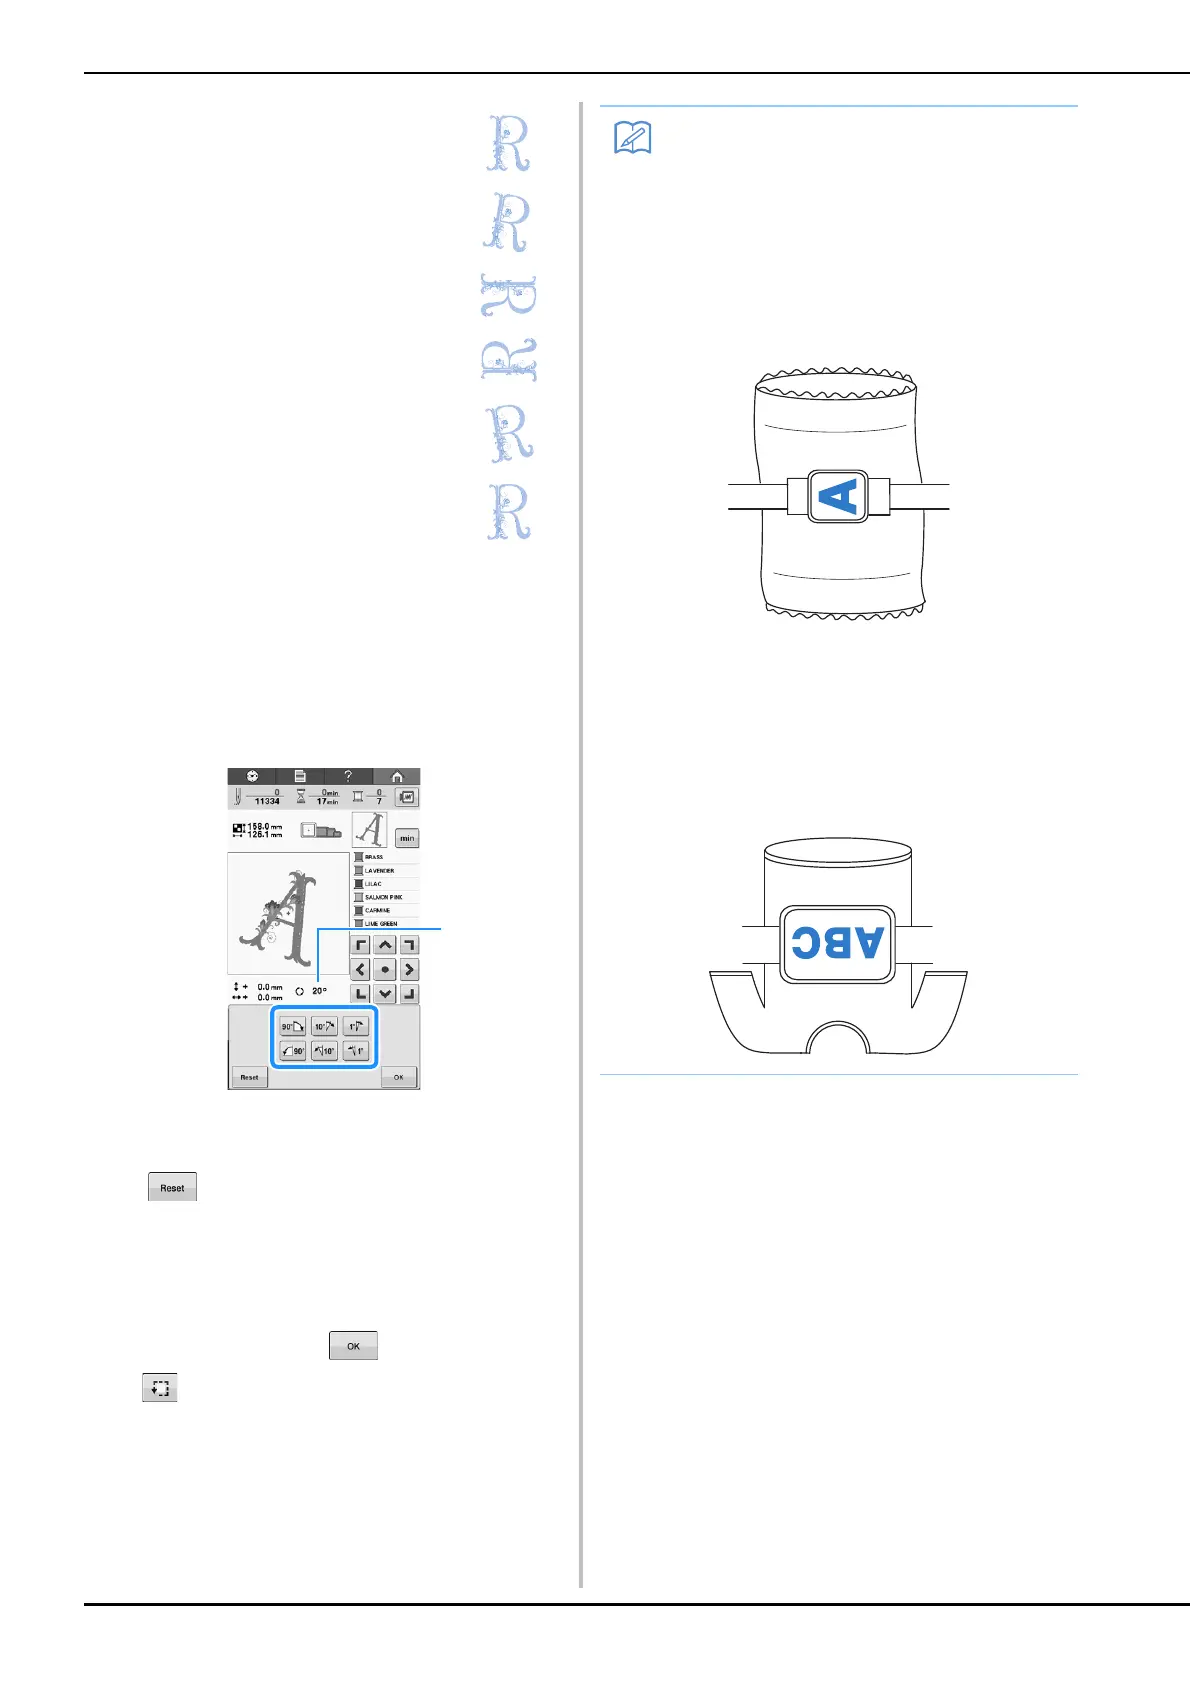
• With this operation, fine adjustments can be
made to the angle; also, this operation is
particularly useful when embroidering items,
such as bags and tubular items, that have
limitations to being hooped in the
embroidery frame.
Example: When embroidering a pillowcase
Rotate the pattern 90 degrees to the left
before embroidering.
Example: When embroidering a T-shirt
Rotate the pattern 180 degrees. Pass the
machine bed through from the waist of the
T-shirt, not from the neck, and attach the
embroidery frame to the machine. This will
prevent the neck of the shirt from being
stretched when the embroidery frame is
moving.
 Loading...