57
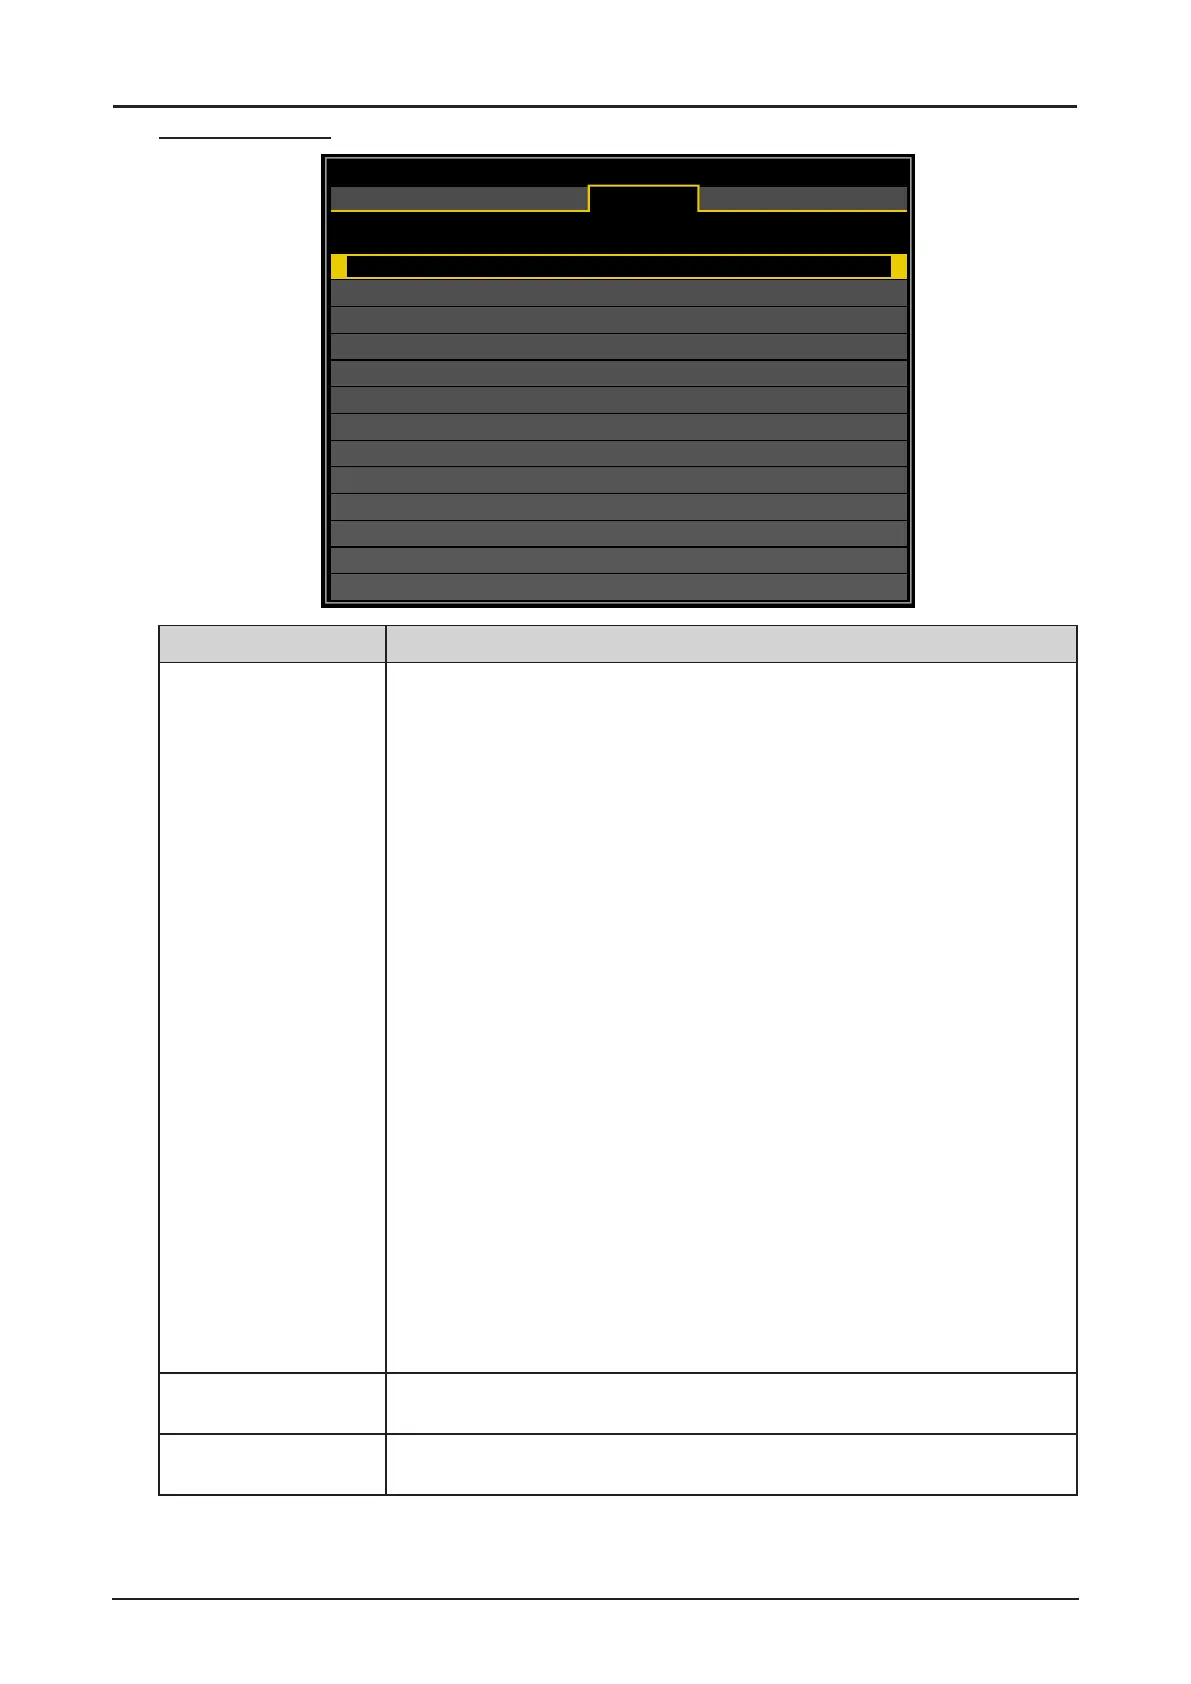
Geometry Menu
Geometry
Aspect Ratio
Overscan
Digital Alignment
Keystone
Rotation
Pincushion / Barrel
Top Left Corner
Top Right Corner
Bottom Left Corner
Bottom Right Corner
Reset
Blanking
Auto
Off
0
HDMI
DISPLAY
PICTURE
LASER
ALIGNMENT CONTROL SERVICE
Label Description
Aspect Ratio Press ◄ or ► to adjust the aspect of the projected image.
5:4: The image is projected using an input signal aspect ratio of 5:4. Select
5:4 if an image of 5:4 aspect ratio cannot be correctly projected in Auto
mode.
4:3: The image is projected using an input signal aspect ratio of 4:3. Select
4:3 if an image of 4:3 aspect ratio cannot be correctly projected in Auto
mode.
16:10: The image is projected using an input signal aspect ratio of 16:10.
Select 16:10 if an image of 16:10 aspect ratio cannot be correctly
projected in Auto mode.
16:9: The image is projected using an input signal aspect ratio of 16:9.
Select 16:9 if an image of 16:9 aspect ratio cannot be correctly
projected in Auto mode.
1.88: The image is projected using an input signal aspect ratio of 1.88:1.
Select 1.88:1 if an image of 1.88:1 aspect ratio cannot be correctly
projected in Auto mode.
2.35: The image is projected using an input signal aspect ratio of 2.35:1.
Select 2.35:1 if an image of 2.35:1 aspect ratio cannot be correctly
projected in Auto mode.
Letterbox: The image of a letterbox signal is stretched equally in the
horizontal and vertical directions to t the screen. Parts of the
displayed image are cropped at the top and bottom edges and
therefore not visible.
Auto: An image is projected at the aspect ratio of the input signal. Select
this mode for normal image projection.
True Size: The image is projected with the original resolution of the input
signal. Select this to clearly project a computer screen image that
has a resolution of WUXGA or lower.
Overscan (*1) (*2) Press ◄ or ► to hide edge of the projected image to damage the noise
appear. The options are Off, Crop and Zoom.
Digital Alignment (*1) Press ENTER to enter the Digital Alignment menu. See “Digital Alignment
Menu” on page 61.
(*1) This function is grayed-out and unusable when in 3D projection. Additionally, settings made in 2D
projection will be reset (turned to 0) when 3D projection is turned on.
(*2) If there’s black band or noise surrounding the image of analog input, set Overscan to Crop.
 Loading...