Dividing
Scenes
in
the
Playlist
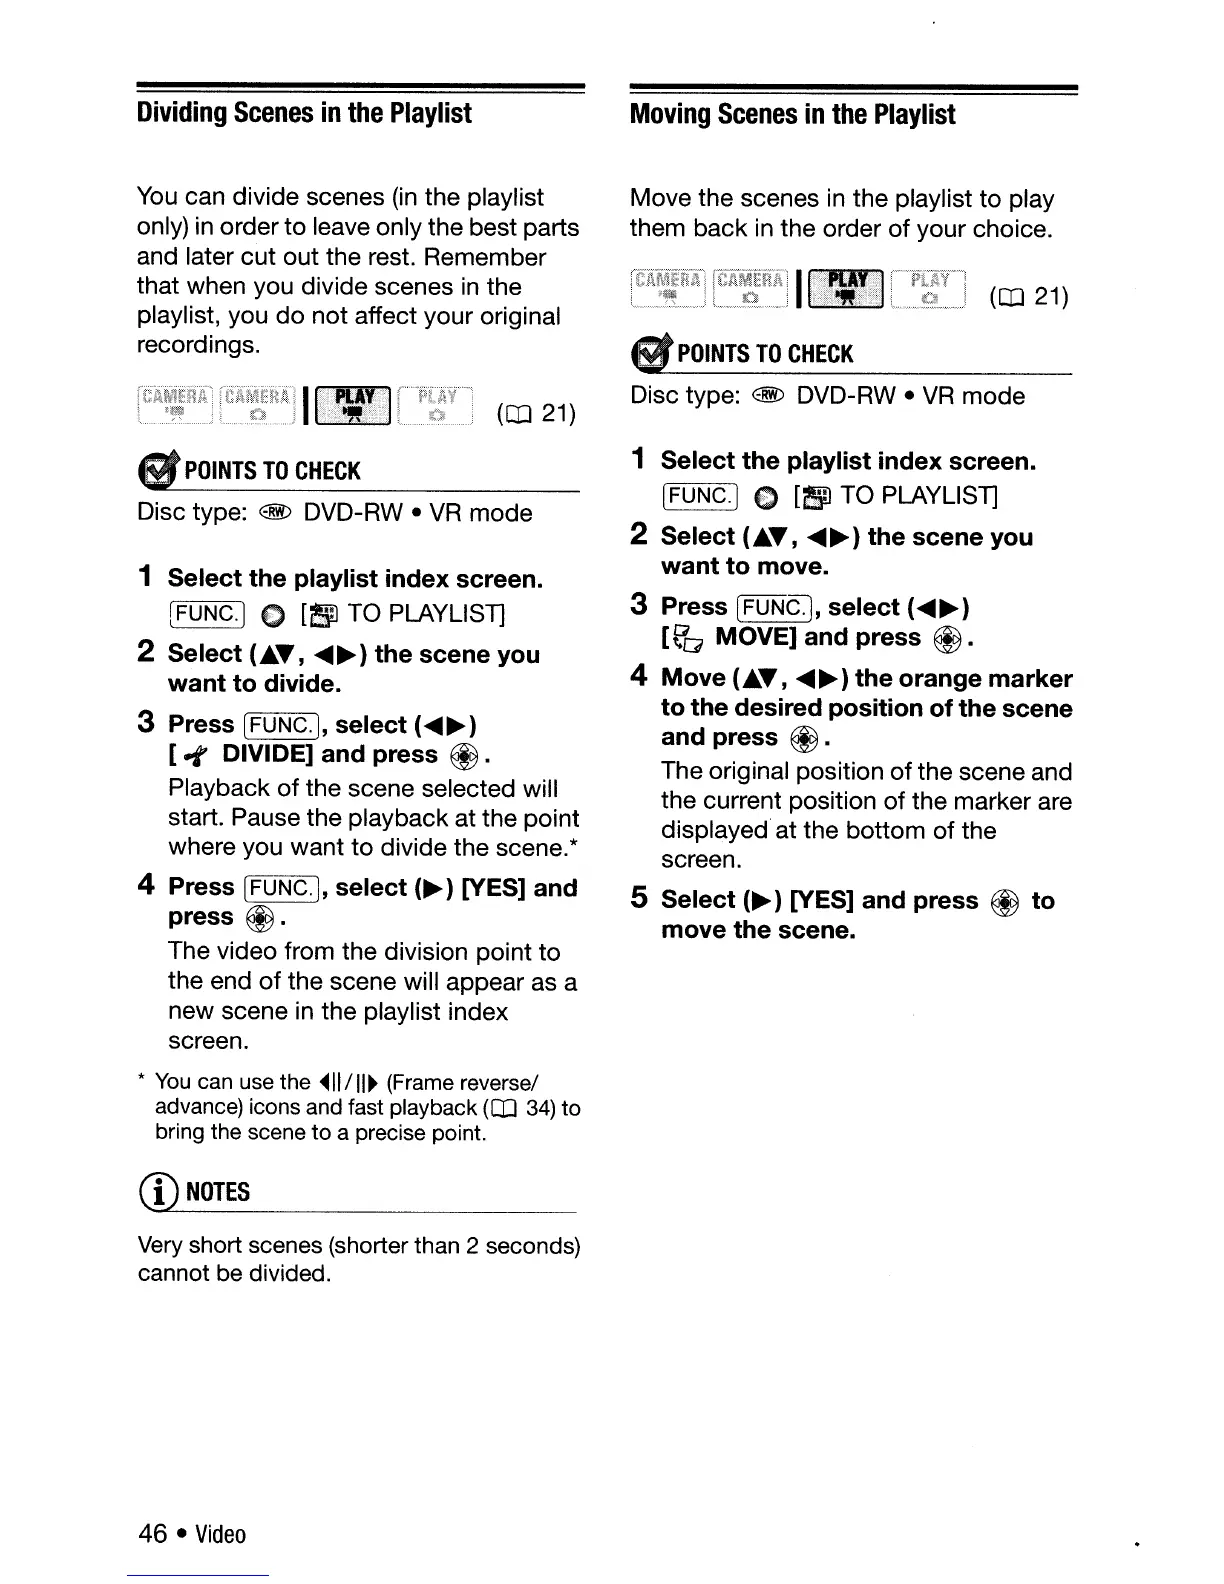
You can divide scenes (in the playlist
only) in order
to
leave only
the
best parts
and later
cut
out
the rest. Remember
that when you divide scenes in the
playlist, you
do
not
affect
your
original
recordings.
&t
POINTS
TO
CHECK
Disc type: @
DVD-RW·
VR
mode
1 Select the playlist index screen.
[FUNG.] 0
[~TO
PLAYLlST]
2 Select
(.T,
.....
~)
the scene you
want to divide.
3 Press [FUNG.], select (
.....
~)
[-t
DIVIDE] and press
@.
Playback
of
the scene selected will
start. Pause
the
playback
at
the
point
where you
want
to
divide
the
scene.*
4 Press IFUNG.], select
(~)
[YES] and
press
~.
The video from the division
point
to
the end
of
the
scene will appear as a
new
scene in
the
playlist index
screen.
*
You
can
use
the
~1I/11~
(Frame
reversel
advance)
icons
and
fast
playback
([IJ
34)
to
bring
the
scene
to a
precise
point.
CD
NOTES
Very
short scenes (shorter than 2 seconds)
cannot be divided.
46 •
Video
Moving
Scenes
in
the
Playlist
Move
the scenes in
the
playlist
to
play
them
back
in the order
of
your
choice.
([IJ
21)
•
POINTS
TO
CHECK
Disc type: @
DVD-RW·
VR
mode
1 Select the playlist index screen.
IFUNG.] e
[51
TO PLAYLlST]
2 Select
(.T,
.....
~)
the scene you
want
to
move.
3 Press
[FDNC],
select (
.....
~)
[t'Q
MOVE] and press
@.
4 Move
(.T,
.....
~)
the orange marker
to the desired position of the scene
and press
@.
The original position
of
the scene and
the
current position
of
the marker are
displayed
at
the
bottom
of
the
screen.
5 Select
(~)
[YES] and press @ to
move the scene.
 Loading...