8-2
Cisco Aironet Wireless LAN Client Adapters Installation and Configuration Guide for Windows CE
OL-1375-03
Chapter 8 Routine Procedures
Inserting and Removing a PC Card
Inserting and Removing a PC Card
This section provides instructions for inserting a PC card into or removing a PC card from a
Windows CE device.
Inserting a PC Card into a Windows CE Device
Follow the steps below to insert a PC card into a Windows CE device.
Caution This procedure and the physical connections it describes apply generally to conventional PC card
slots. In cases of custom or nonconventional equipment, be alert to possible differences in PC card
slot configurations.
Step 1 Before you begin, examine the PC card. One end has a dual-row, 68-pin PC card connector. The card is
keyed so it can be inserted only one way into the PC card slot.
Caution Do not force the PC card into your computer’s PC card slot. Forcing it will damage both the card and
the slot. If the PC card does not insert easily, remove the card and reinsert it.
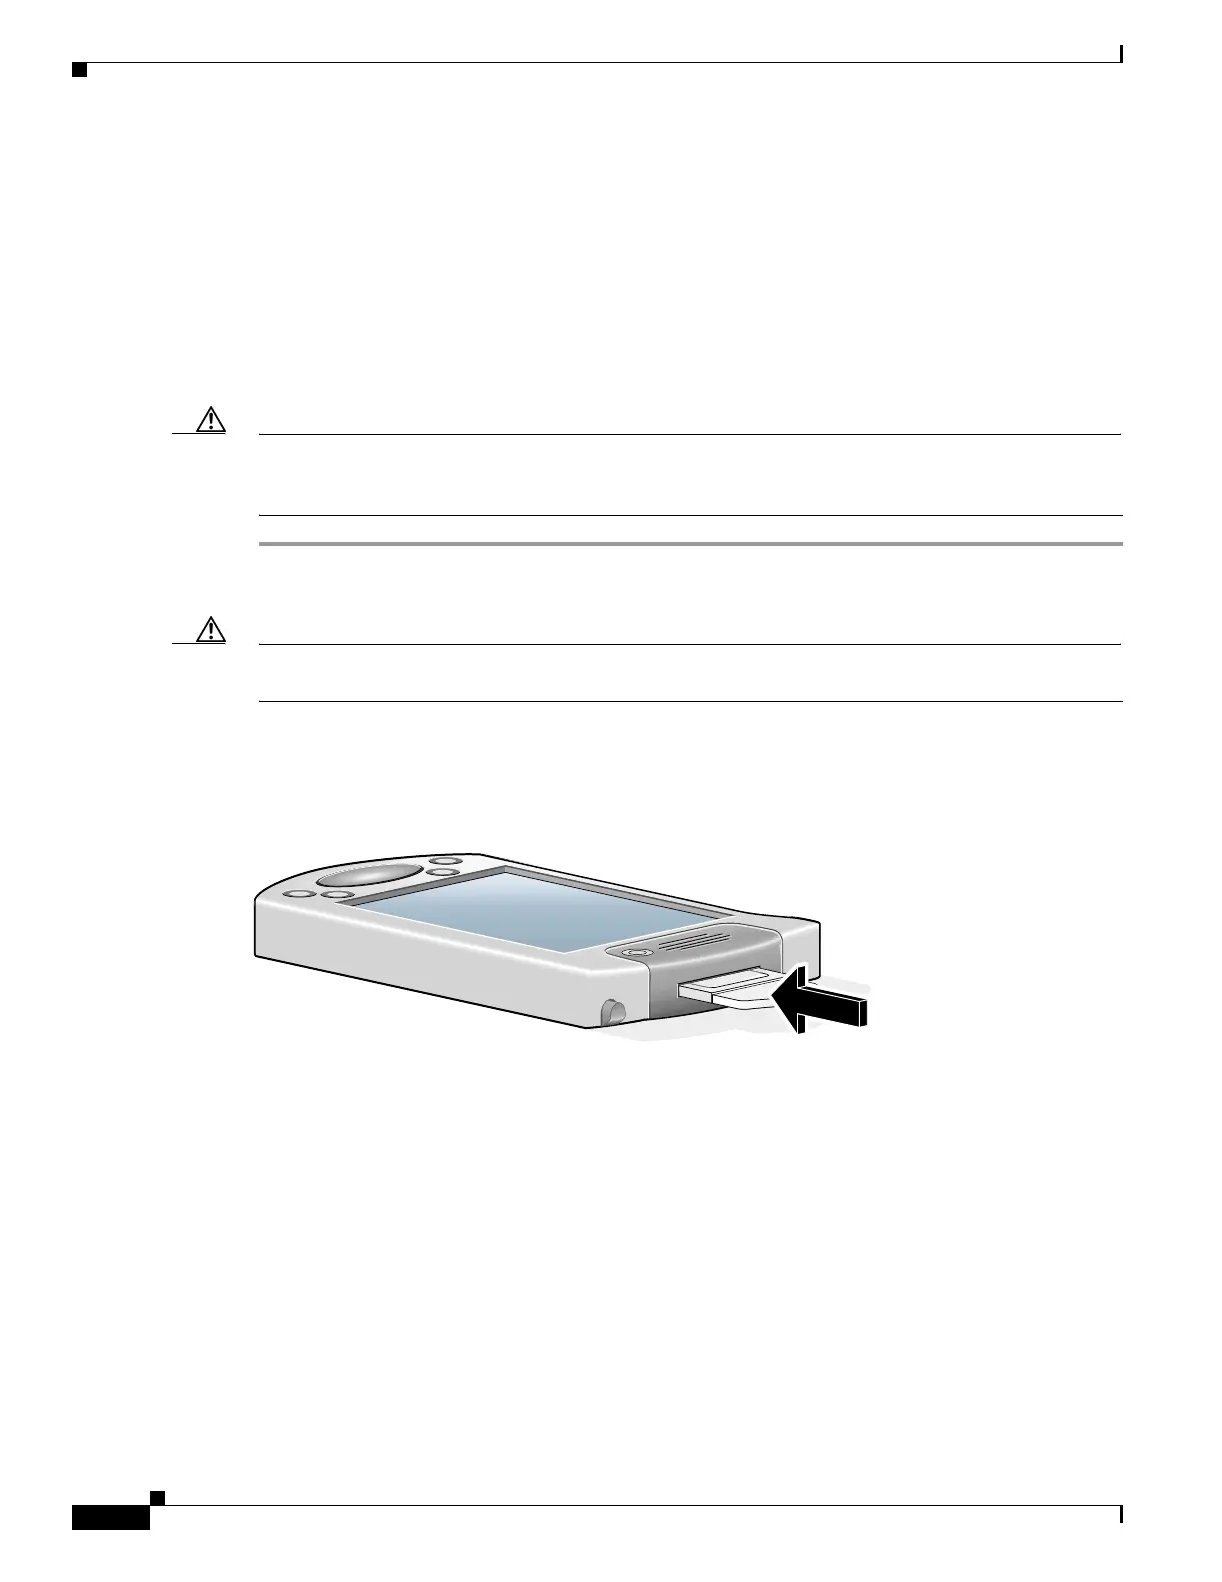
Step 2 Insert the PC card into the PC card slot, applying just enough pressure to make sure it is fully seated (see
Figure 8-1).
Figure 8-1 Inserting a PC Card into a Computing Device
Removing a PC Card from a Windows CE Device
Follow the instructions below whenever you need to remove the PC card from your Windows CE device.
To remove a PC card after it is successfully installed and configured, press the Eject button and pull the
card out of the PC card slot. When the PC card is reinserted, your connection to the network should be
re-established.
88498
 Loading...