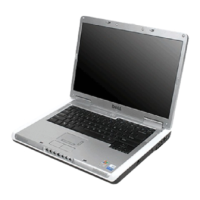
Installing the system board
Steps
1. Place the system board on the laptop.
2. Tighten the screws to secure the system board to the laptop.
3. Connect the following cables to the connectors on the system board:
a. display cable
b. keyboard cable
c. touch pad cable
d. power connector port
e. HDD cable
f. speaker cable
g. LED cable
h. keyboard back lid cable
i. I/O board cable
4. Place the metal bracket and affix the screws (2) that secures the USB Type-C to the system board.
5. Affix the adhesive tapes to secure the I/O board, display, and touch screen cables.
6. Install the:
a. heat sink
b. system fan
c. WLAN card
d. coin cell battery
e. memory module
f. hard disk
g. battery
h. base cover
7. Follow the procedure in After working inside your computer.
Palm rest
Removing the palmrest
Steps
1. Follow the procedure in Before working inside your computer.
2. Remove the:
a. base cover
b. battery
c. WLAN card
d. power and volume control board
e. memory module
f. hard disk
g. coin cell battery
h. system fan
i. touchpad
j. heat sink
k. I/O board
l. LED board
m. power connector port
n. display assembly
o. speakers
p. system board
46
Removing and installing components

 Loading...


