Installing and Commissioning the Dräger Polytron Pulsar 2
22
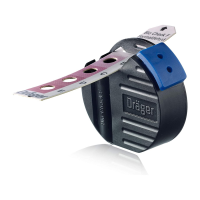
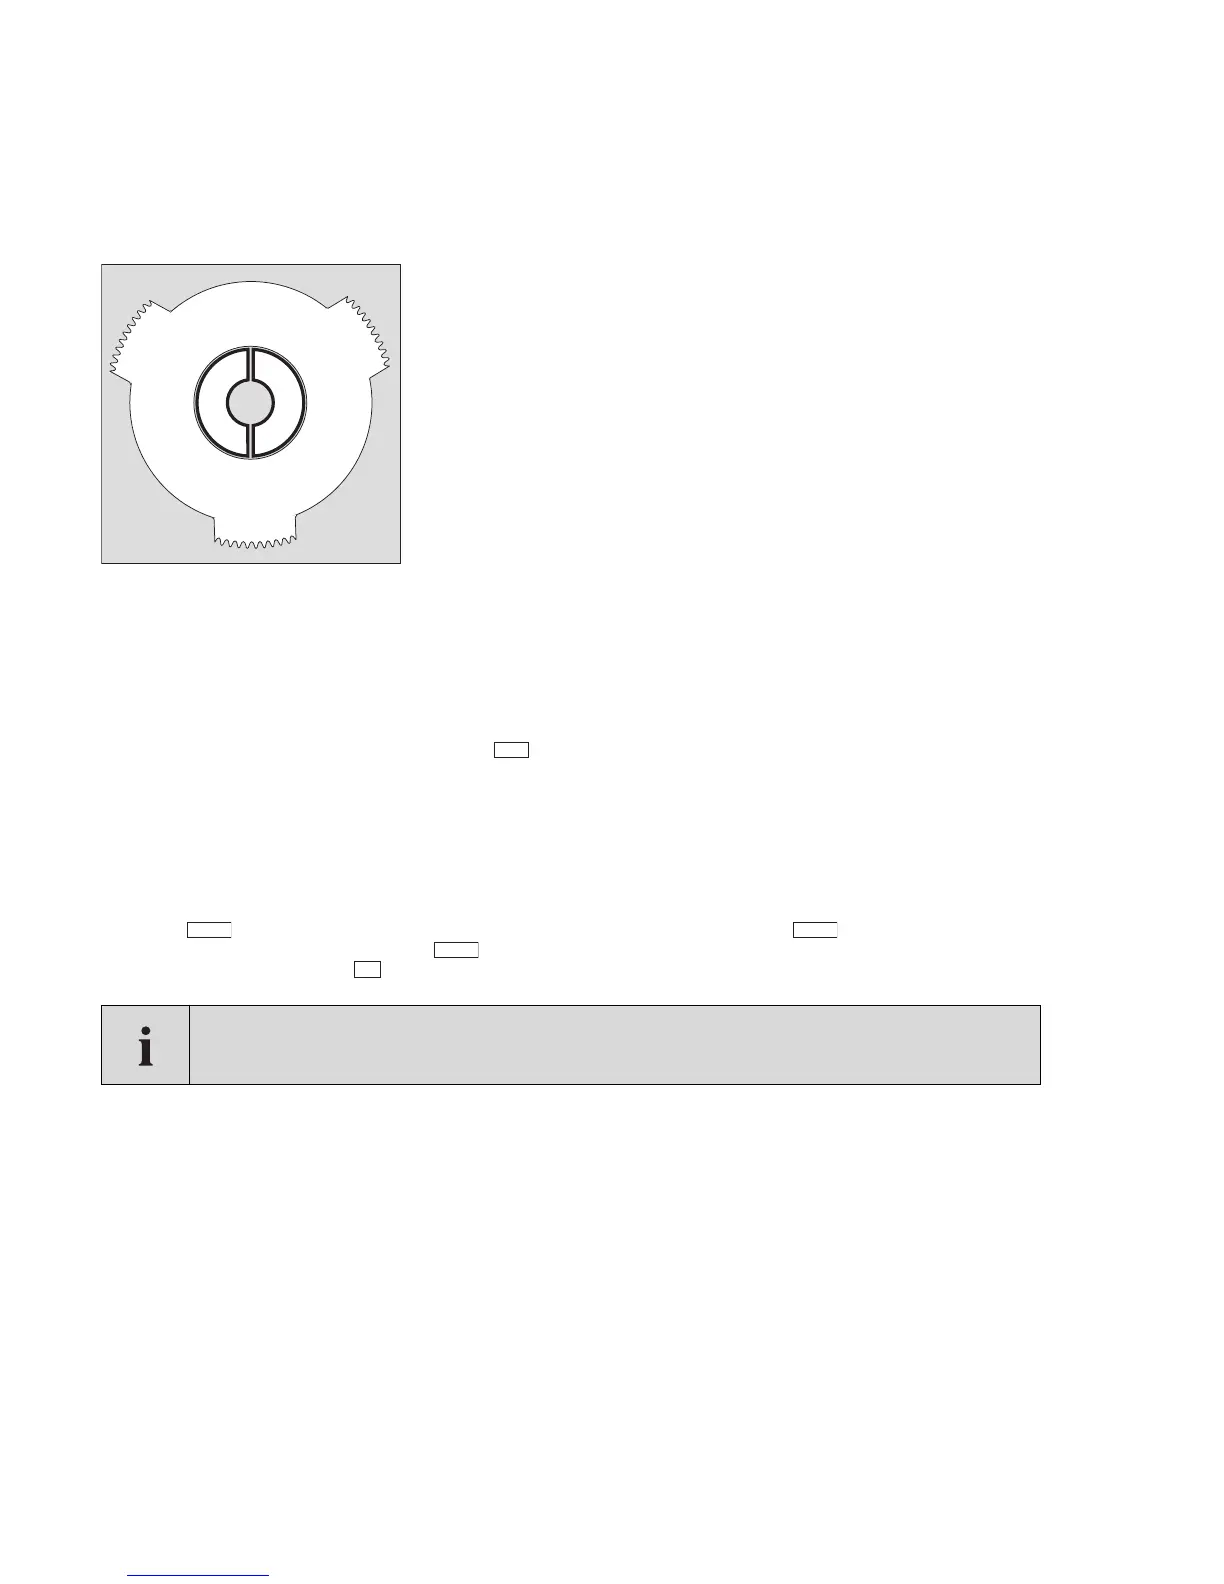
Figure 11: AP800 Attenuator plate (fitted to 4-60 m Transmitter only)
Configuring the Transmitter and Receiver
Like two-way radios, the Dräger Polytron Pulsar 2 Transmitter and Receiver are switchable between different frequency channels. The
Transmitter and Receiver need to be set to the same channel, chosen to be different from the channels in use by neighbouring Transmit-
ters. In this case it is only Transmitters whose light can reach the Receiver, directly or by reflection, that could cause interference.
Transmitters labelled '4 to 60m' are allocated channels 0 to 7 (factory set to 0); '30 to120m' and '100 to 200m' channels 8 to 11 (factory
set to 8).
To set the channel at the Transmitter and Receiver select in the 'Tx Main Menu' and 'Rx Memory Menu'. At the same time you have
the opportunity to enter an alphanumeric tag string up to 11 characters long. Although not required for correct operation of the detector,
a meaningful tag that identifies the location of the Dräger Polytron Pulsar 2 is strongly recommended. It becomes part of the data logger
records read out in future, allowing their source to be known explicitly rather than by tracing serial numbers. Likewise, the tag is available
when several Receivers are connected to an AI500 Digital Interface, and possibly several AI500s connected in a multidrop, allowing any
misrouting of the connections to be quickly traced.
Other configurable settings in the Receiver (such as the quantity of gas for full-scale in the 4 20mA current loop) are less frequently
changed and are often the same for all Dräger Polytron Pulsar 2s at the same site. The current values active in the Receiver can be read
by selecting in 'Rx Main Menu'. A new configuration file can be written from the Handheld with in 'Rx Memory Menu'. To see
the settings that are available to be sent, choose in the 'Not Connected' menu. To change them, connect the Handheld to a compu-
ter in the Non-hazardous Area, go to in the 'Not Connected' menu, and run the Draeger PLMS software supplied.
Alignment and zeroing
The Dräger Polytron Pulsar 2 must be aligned and zeroed when it is first installed and whenever the Transmitter or Receiver are moved.
Before carrying out the electronic alignment with the Handheld Terminal, check whether the Attenuator Plate needs to be fitted (see
above) and that the units point towards each other as accurately as possible by eye. This will save time by reducing the number of steps
needed and ensure that you find the strong central peak. Be aware that weaker, false peaks can occur when the Transmitter and/or
Receiver point away from the correct axis, for instance when light from the Transmitter reflects off an adjacent surface.
To access the Transmitter and Receiver gimbals, Remove the cover screws and lift off the cover. Loosen the eight clamping screws on the
gimbals assembly, and then retighten them gradually until the head unit will move smoothly in all directions but remain in position.
NOTE
The Dräger Polytron Pulsar 2 is supplied with default configurations as listed in the Specifications section.
Any changes to these default settings are carried out as part of the commissioning process.
01323892.eps
Fit attenuator to Transmitter
when lens-to-lens distance is 4 to 16 m
PLMS AP800
Remove centre for 8 to 16 m
Retain centre for 4 to 8 m
TAG
SETS USER
SETS
PC
 Loading...