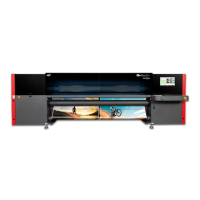
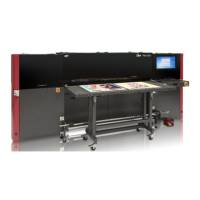
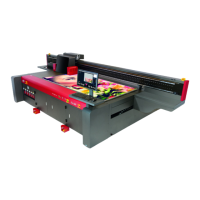
QS Series Basic Operator's Guide
4 Open the front door and raise the media hold down roller
using the adjustment knob on either side of the roller.
Slide the 0.060” shim under the left and right sides of the
carriage.
The shim should touch the media and the bottom of the
carriage plate, and there should be a slight resistance
when the shim is moved (the shim should not bind).
5 If necessary, turn the carriage height adjustment knob.
Turning the knob clockwise will decrease the gap and
turning the knob counter clockwise will increase the gap.
Turn the knob in small increments to increase or decrease
the gap, click Carriage Height (
) to re-set the carriage
height after each adjustment.
6 Repeat steps 3 through 5 until you achieve the correct
alignment.
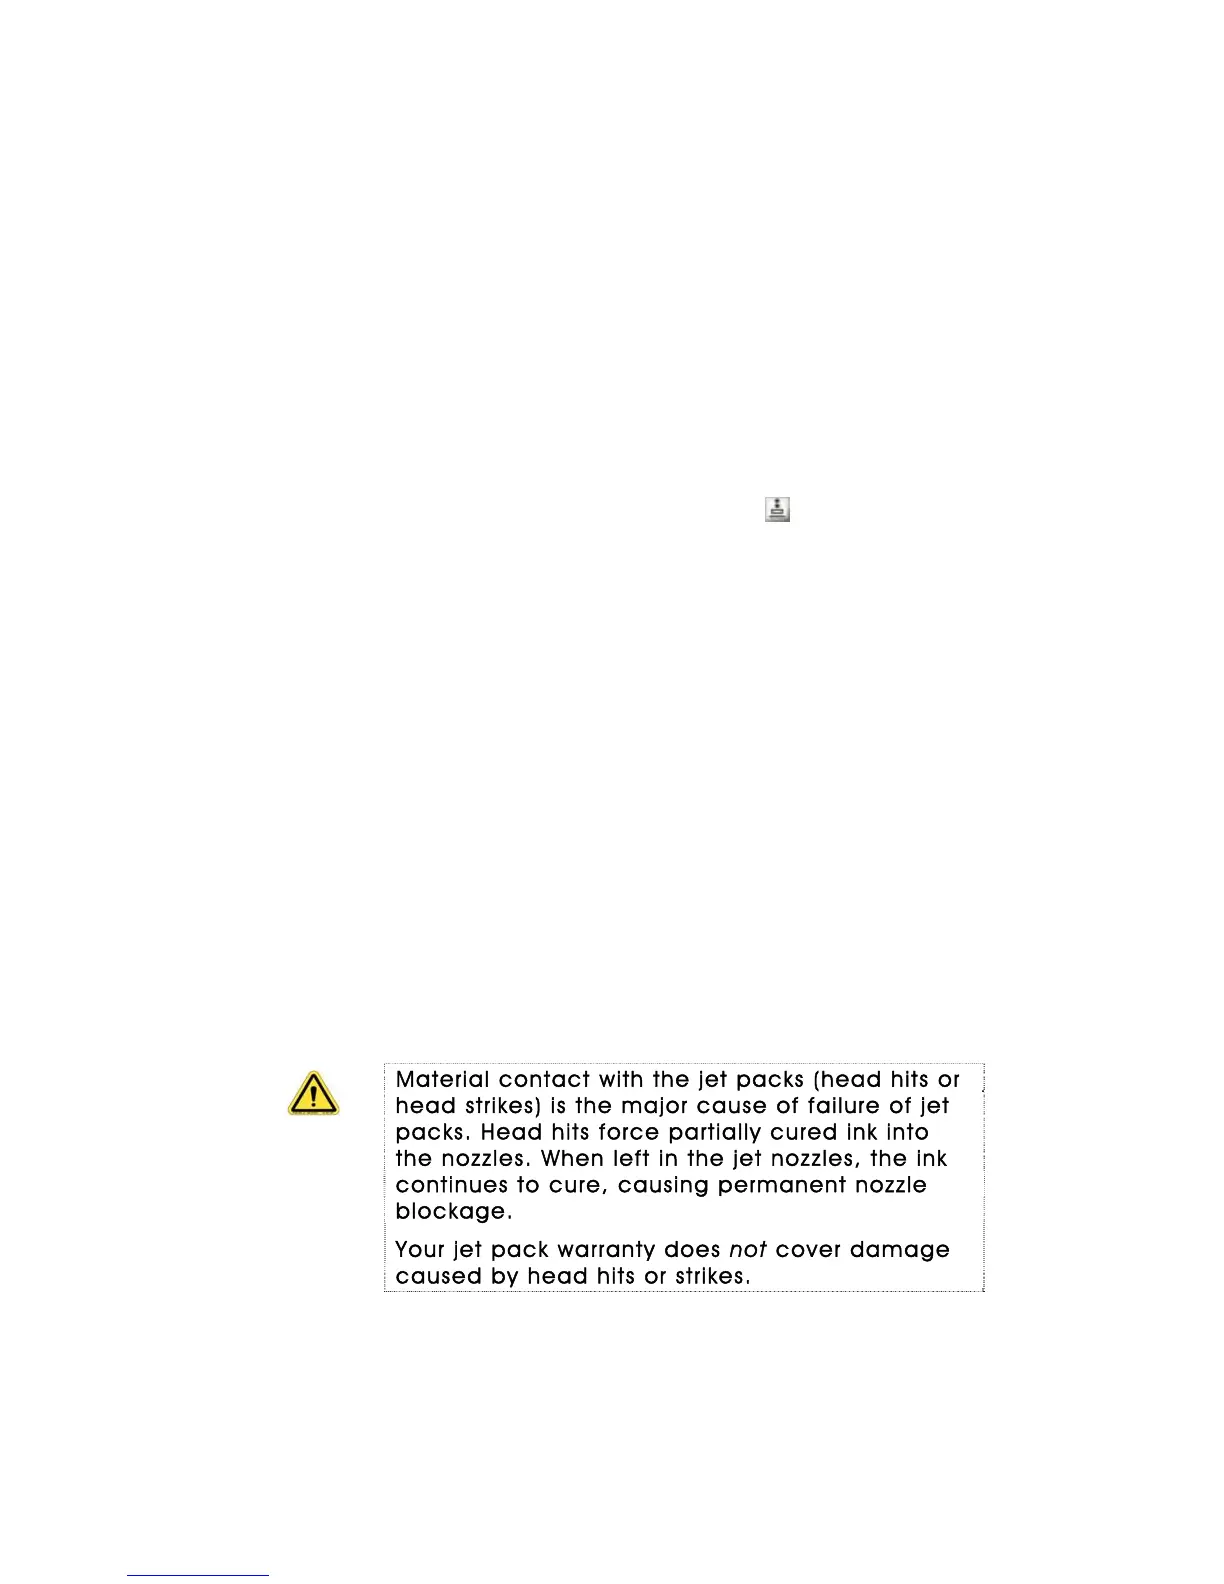
Managing jet packs
The QS Series printer has three print heads for each color.
Each jet pack has 510 nozzles that deposit tiny droplets of
ink onto the media in precisely controlled combinations and
patterns.
The jet packs must be handled and maintained properly to
ensure that your printer continues to produce high-quality
output. Dried ink and dirt particles can cause the jets to fire
erratically or can completely block the jets’ nozzles — both of
which will result in poor print quality. Mechanical damage
caused by improper handling or media contact will also cause
print quality issues.
Material contact with the jet packs (head hits or
head strikes) is the major cause of failure of jet
packs. Head hits force partially cured ink into
the nozzles. When left in the jet nozzles, the ink
continues to cure, causing permanent nozzle
blockage.
Your jet pack warranty does not cover damage
caused by head hits or strikes.
Proper solvent purging and jet pack face wiping (with
SCAQMD- [South Coast Air Quality Management District]
compliant maintenance fluid) can help recover blocked
nozzles and prevent permanent damage. If blocked jet
30 OMM-00038-US English-F
 Loading...