Replacing or adding a disk module
3-13
Servicing a DAE2P/DAE3P
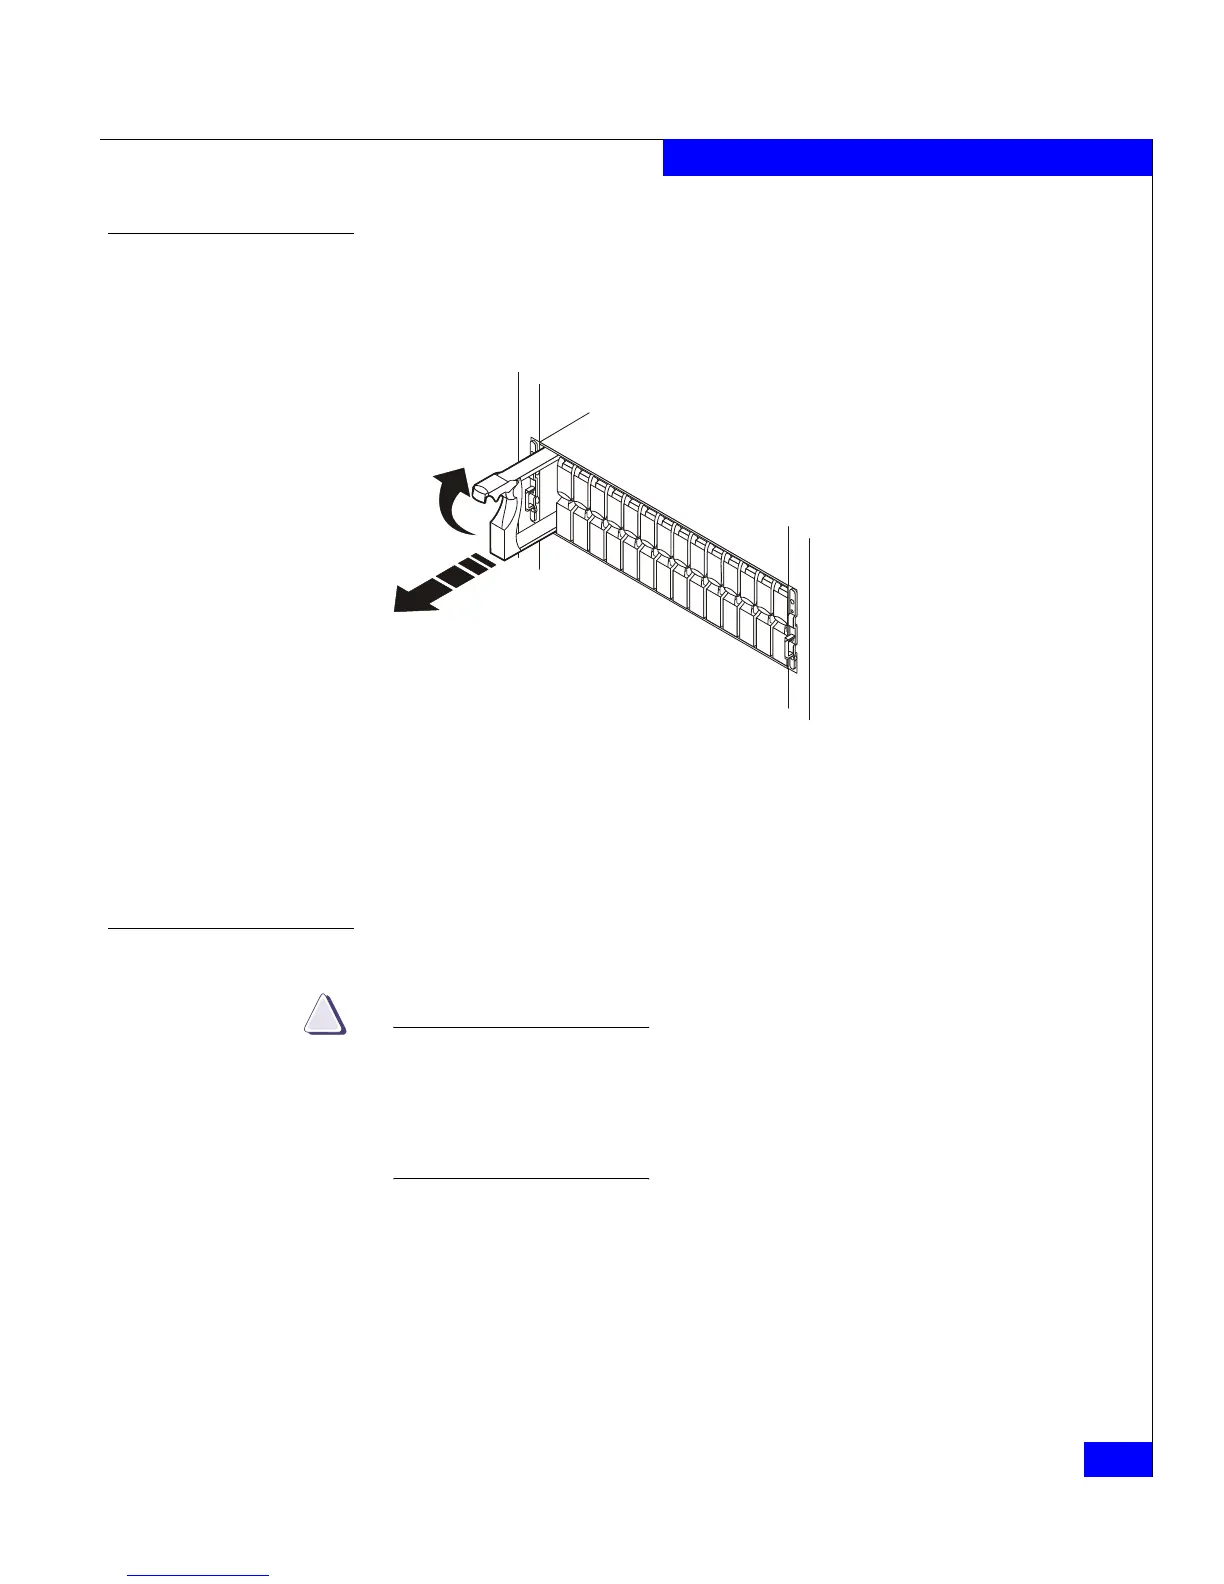
Removing a disk filler module
Locate the slot where you want to install the disk module, and
remove the filler module, as shown in Figure 3-7.
Figure 3-7 Removing a disk filler module
Skip to the disk installation procedure (page 3-14) to install the
add-on disk in the slot you just emptied.
Removing a disk module
CAUTION
If a disk module has been bound into a LUN, do not move it to
another slot unless you do not care about the data on the LUN. Each
module contains LUN-identifying information written when it was
bound. Moving it to another slot can make information on the
original LUN inaccessible.
Generally, you should not remove a disk module unless its amber
fault light is on. See Table 3-1.
1. Attach an ESD wristband to your wrist and the enclosure (see the
precautions on page 3-7).
EMC2210
 Loading...