H
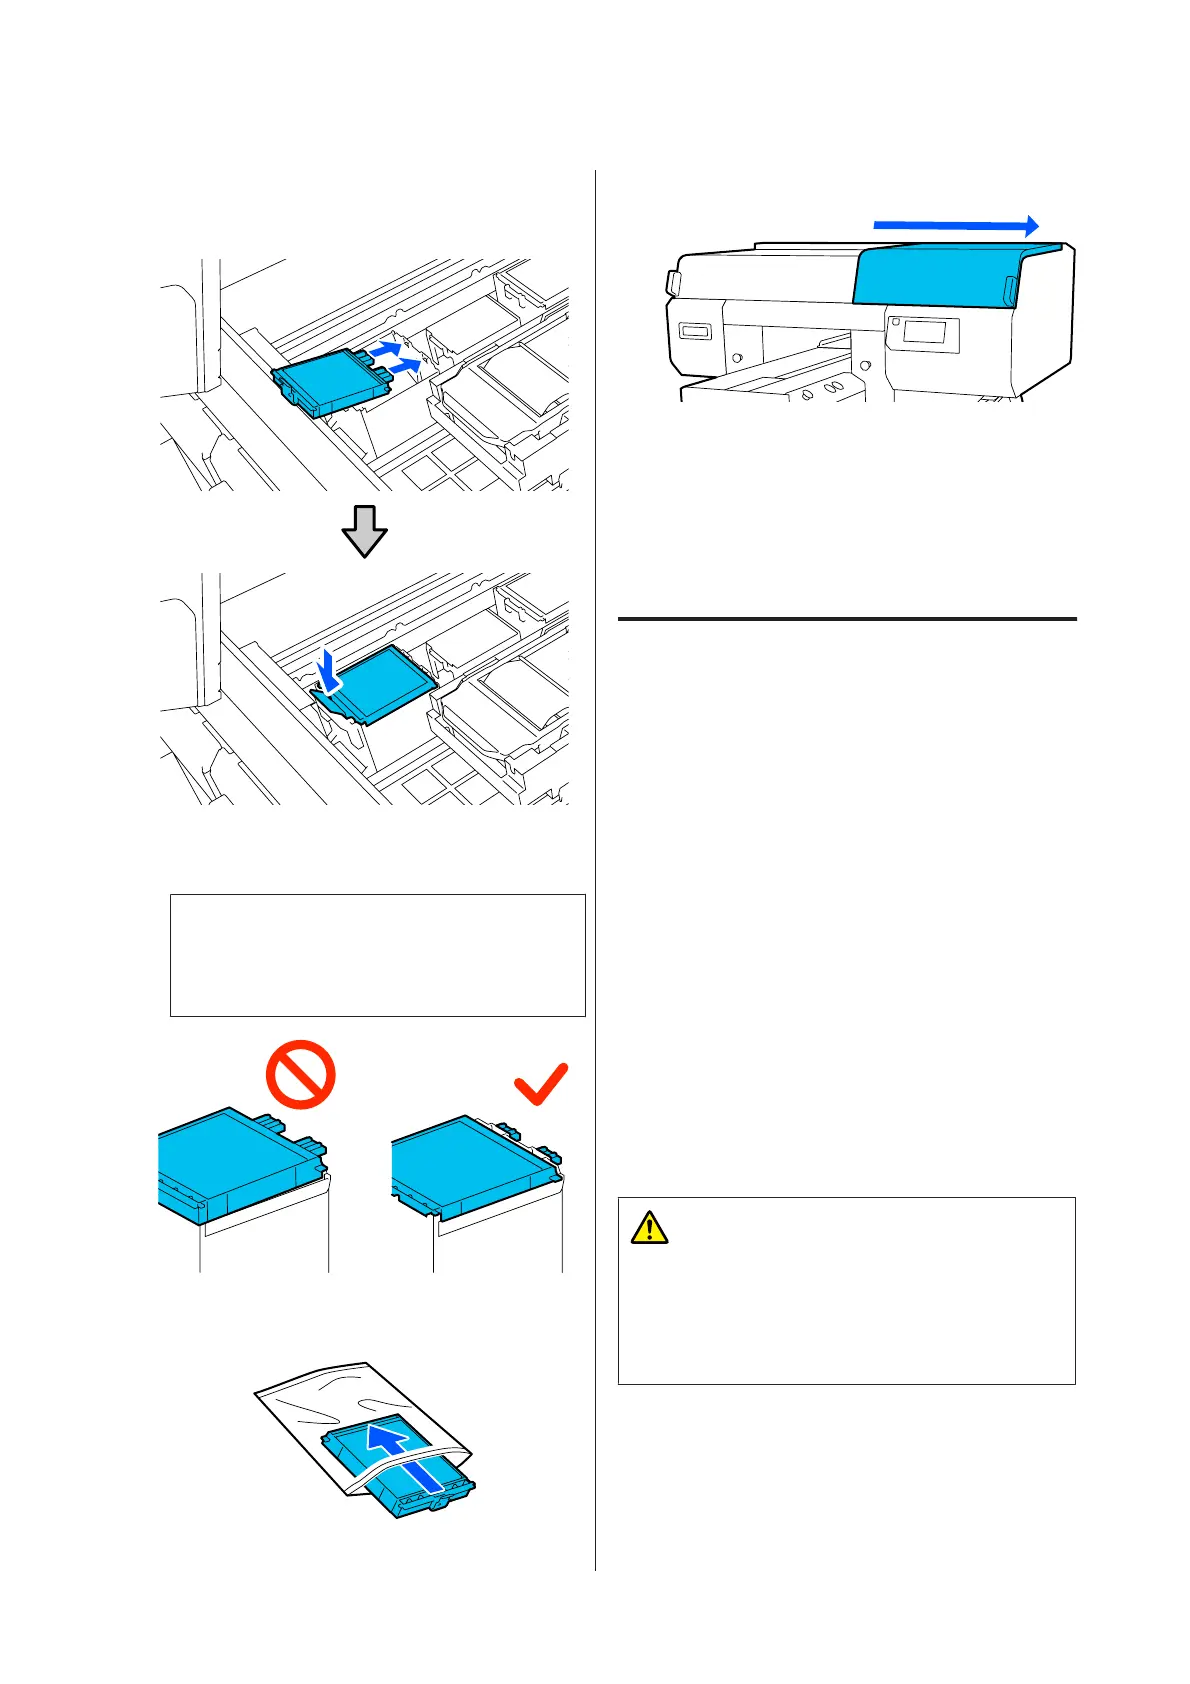
Insert the two hooks on the new Flushing Pad
into the slots on the printer and press the tab
down until the pad clicks into place.
I
Confirm that both flushing pads are correctly
installed.
c
Important:
If the hooks are in a raised up state, the print
head could be damaged.
J
Place the removed flushing pad in the packaging
that contained the new flushing pad.
K
Close the right side of the printer cover.
L
Check the on-screen message, and then press
Yes.
The head cleaning set counter is cleared.
Disposing of Used Consumables U “Disposal”
on page 105
Replacing the Anti-Drying Caps
When it is time to replace the Anti-Drying Caps,
Anti-Drying Cap is at the end of its service life. is
displayed on the control panel of the printer. See the
next section to replace both the front and back
Anti-Drying Caps at the same time with new parts.
Be sure to select Anti-Drying Caps that are specified for
this printer.
U “Options and Consumable Products” on
page 133
Before starting this procedure, be sure to read the
following:
U “Cautions when operating” on page 79
Replacement procedure
Caution:
If you open the Printer Cover while the printer is
being used, do not touch the areas indicated by the
warning labels.
High temperatures may cause burns.
A
Unpack the new Anti-Drying Caps.
SC-F3000 Series User's Guide
Maintenance
96
 Loading...