Menu Descriptions
Maintenance
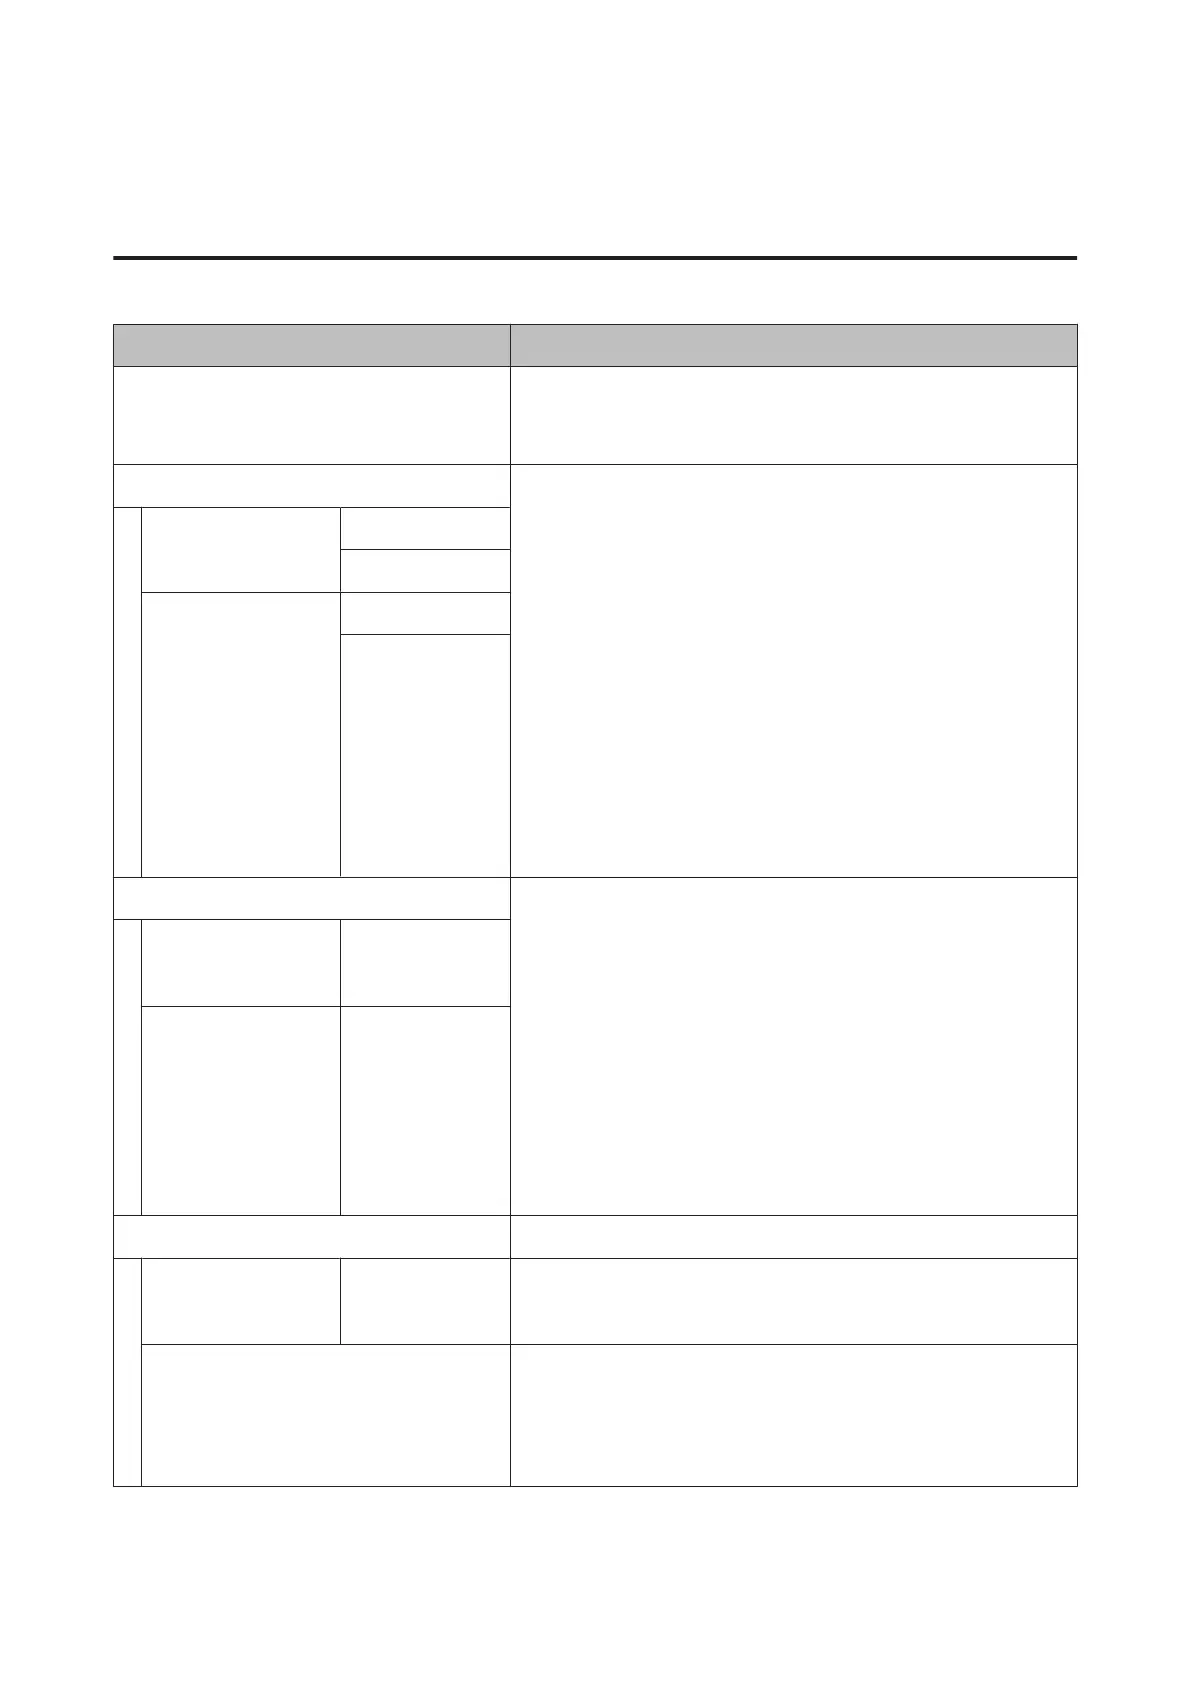
Item Description
Nozzle Check Press the Z button to print a nozzle check pattern. Inspect the pattern
visually and perform head cleaning if you detect faint or missing colors.
U “Checking for clogged nozzles” on page 126
Head Cleaning Select the combination of ink colors for head cleaning, and the strength of
the cleaning. Only use this menu when nozzles are clogged.
U “Cleaning the print head” on page 126
Combination of ink colors to be cleaned
Check the ink colors with faint or missing segments in the check pattern,
and then specify which nozzles to clean. The displayed items differ
depending on the printer model and ink sets being used.
❏ If there are faint or missing segments in all colors: Select All
Nozzles.
❏ If there are faint or missing segments in only a few colors: Select the
specific ink colors you want to clean. You can select multiple items at
the same time.
Cleaning strength
Normally, select Normal. If nozzles are clogged even after performing
Normal head cleaning several times, perform Heavy cleaning.
All Nozzles Normal
Heavy
XX/XX Normal
Heavy
Head Alignment Perform print head alignment when setting up the printer for the first
time, and after moving or transporting the printer. Perform print head
alignment when the print results look grainy or out-of-focus. Normally,
select Auto.
U “Adjusting print misalignments (Head Alignment)” on page 129
Auto: The printer reads adjustment patterns using the sensor while
printing the patterns, and makes adjustments automatically.
Manual: The printer prints a pattern; inspect the pattern visually and enter
the value you think appropriate. Use this if you cannot perform auto
adjustment, or if you are not satisfied with the adjustment results when
using Auto.
Auto Uni-D, Bi-D 2-color,
Bi-D All Color, Bi-D
#1 to #4
Manual Uni-D, Bi-D 2-color,
Bi-D All Color
Cutter Maintenance Make settings for the printer's built-in cutter.
Adjust Cut Position -3 to 3mm You can fine tune the cut position when printing to roll paper with no
margins in all directions. The cut position can be adjusted in increments of
0.2 mm.
Replace Cutter Moves the cutter to the replacement position so it can be replaced. Press
the Z button to move the cutter to the replacement position. The paper
must be removed before the cutter can be replaced. Remove the paper
before proceeding.
U “Replacing the Cutter” on page 135
SC-P9000 Series/SC-P7000 Series/SC-P8000 Series/SC-P6000 Series User's Guide
Using the Control Panel Menu
114
 Loading...