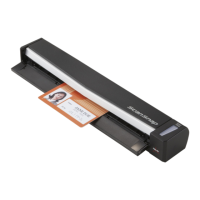
Button Settings (For USB Connection)
Specify an image scanning application to be launched when the scan/stop button is pressed.
HINT
When PaperStream Capture is installed, it is set to a computer as the default image scanning application.
The procedure when the scanner is connected via a USB cable is as follows.
1 Turn on the scanner and confirm that the scanner is connected to the computer via the USB cable.
For details about how to turn on the scanner, refer to How to Turn the Power ON (page 31).
2 Display the [Control Panel] window.
● Windows Server 2008 R2/Windows 7
Click [Start] menu → [Control Panel].
● Windows Server 2012
Right-click the Start screen, and select [All apps] on the app bar → [Control Panel] under [Windows
System].
● Windows Server 2012 R2/Windows 8.1
Click [↓] on the lower left side of the Start screen → [Control Panel] under [Windows System].
To display [↓], move the mouse cursor.
● Windows 10/Windows Server 2016/Windows Server 2019
Click [Start] menu → [Windows System] → [Control Panel].
3 Click [View devices and printers].
The [Devices and Printers] window appears.
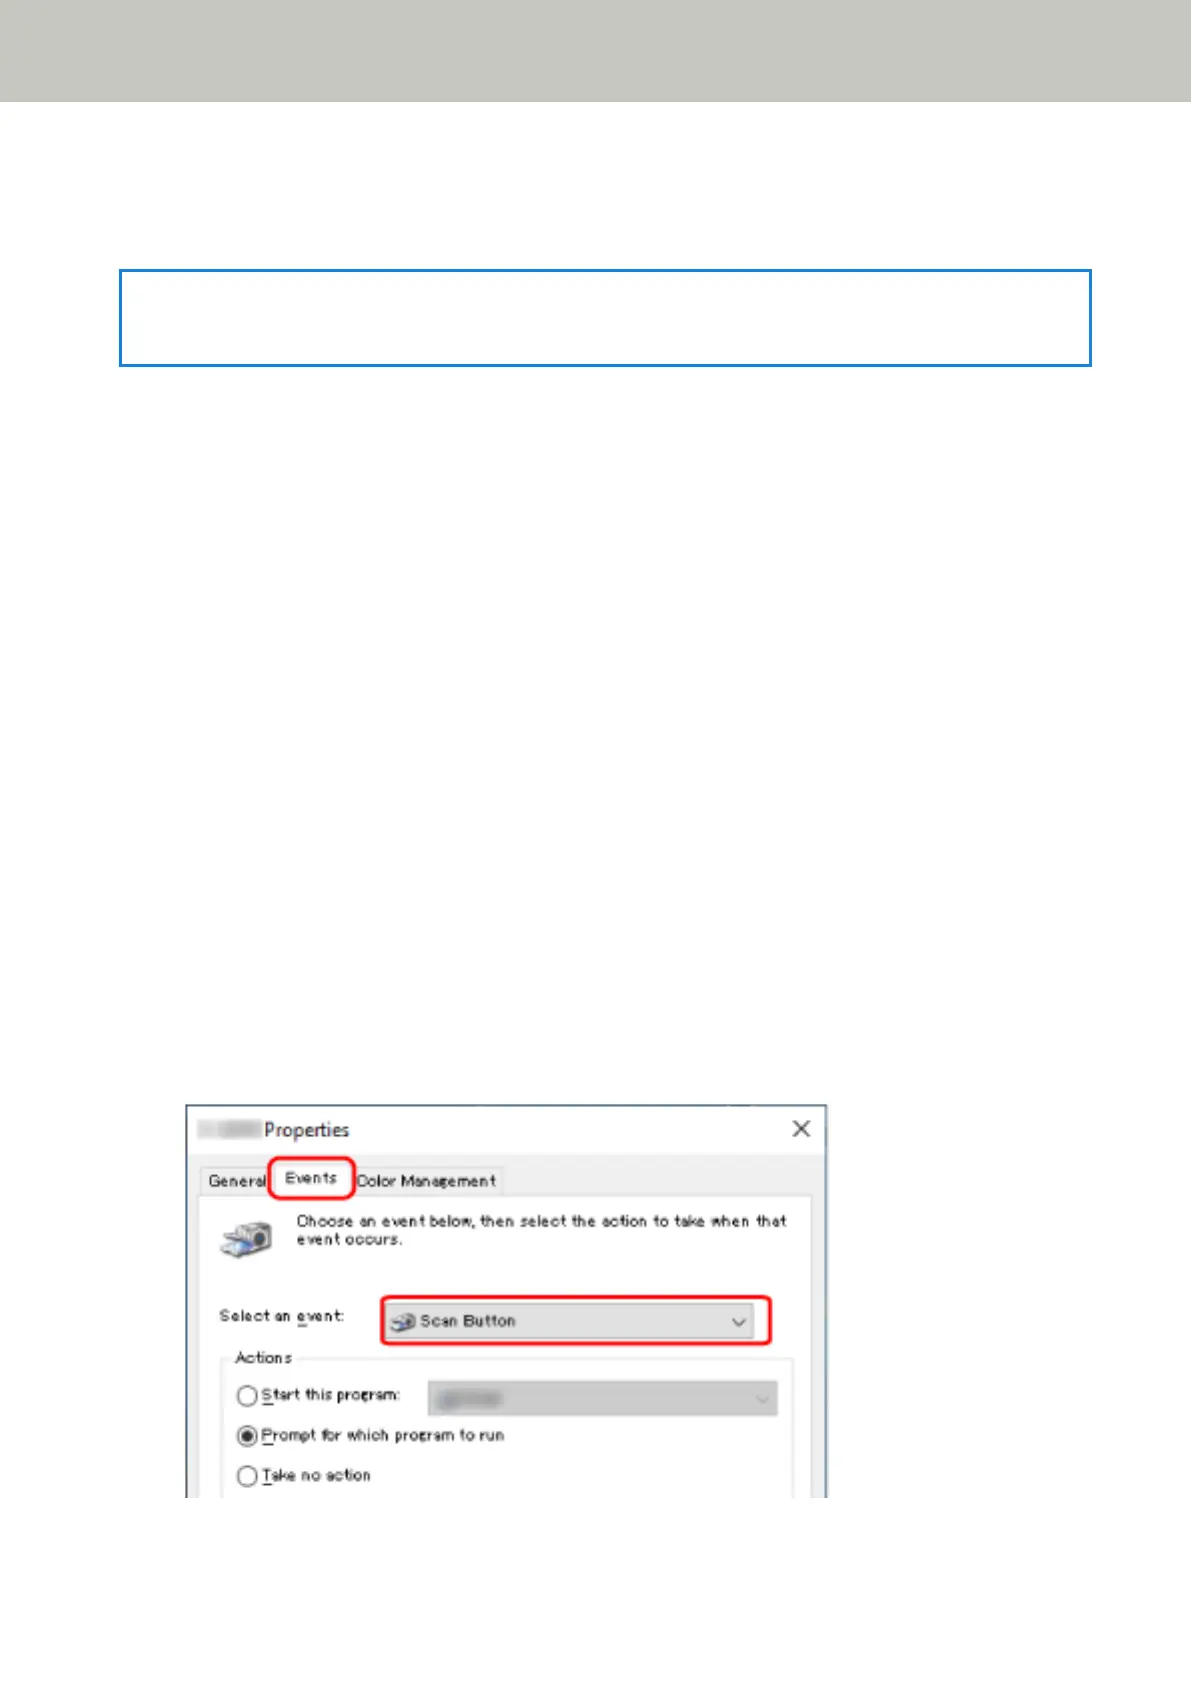
4 Right-click on the scanner icon, and select [Scan properties] from the displayed menu.
The properties window of the scanner appears.
5 Click the [Events] tab and check that [Scan Button] is specified for [Select an event].
How to Perform a Basic Scan
45
 Loading...