c.
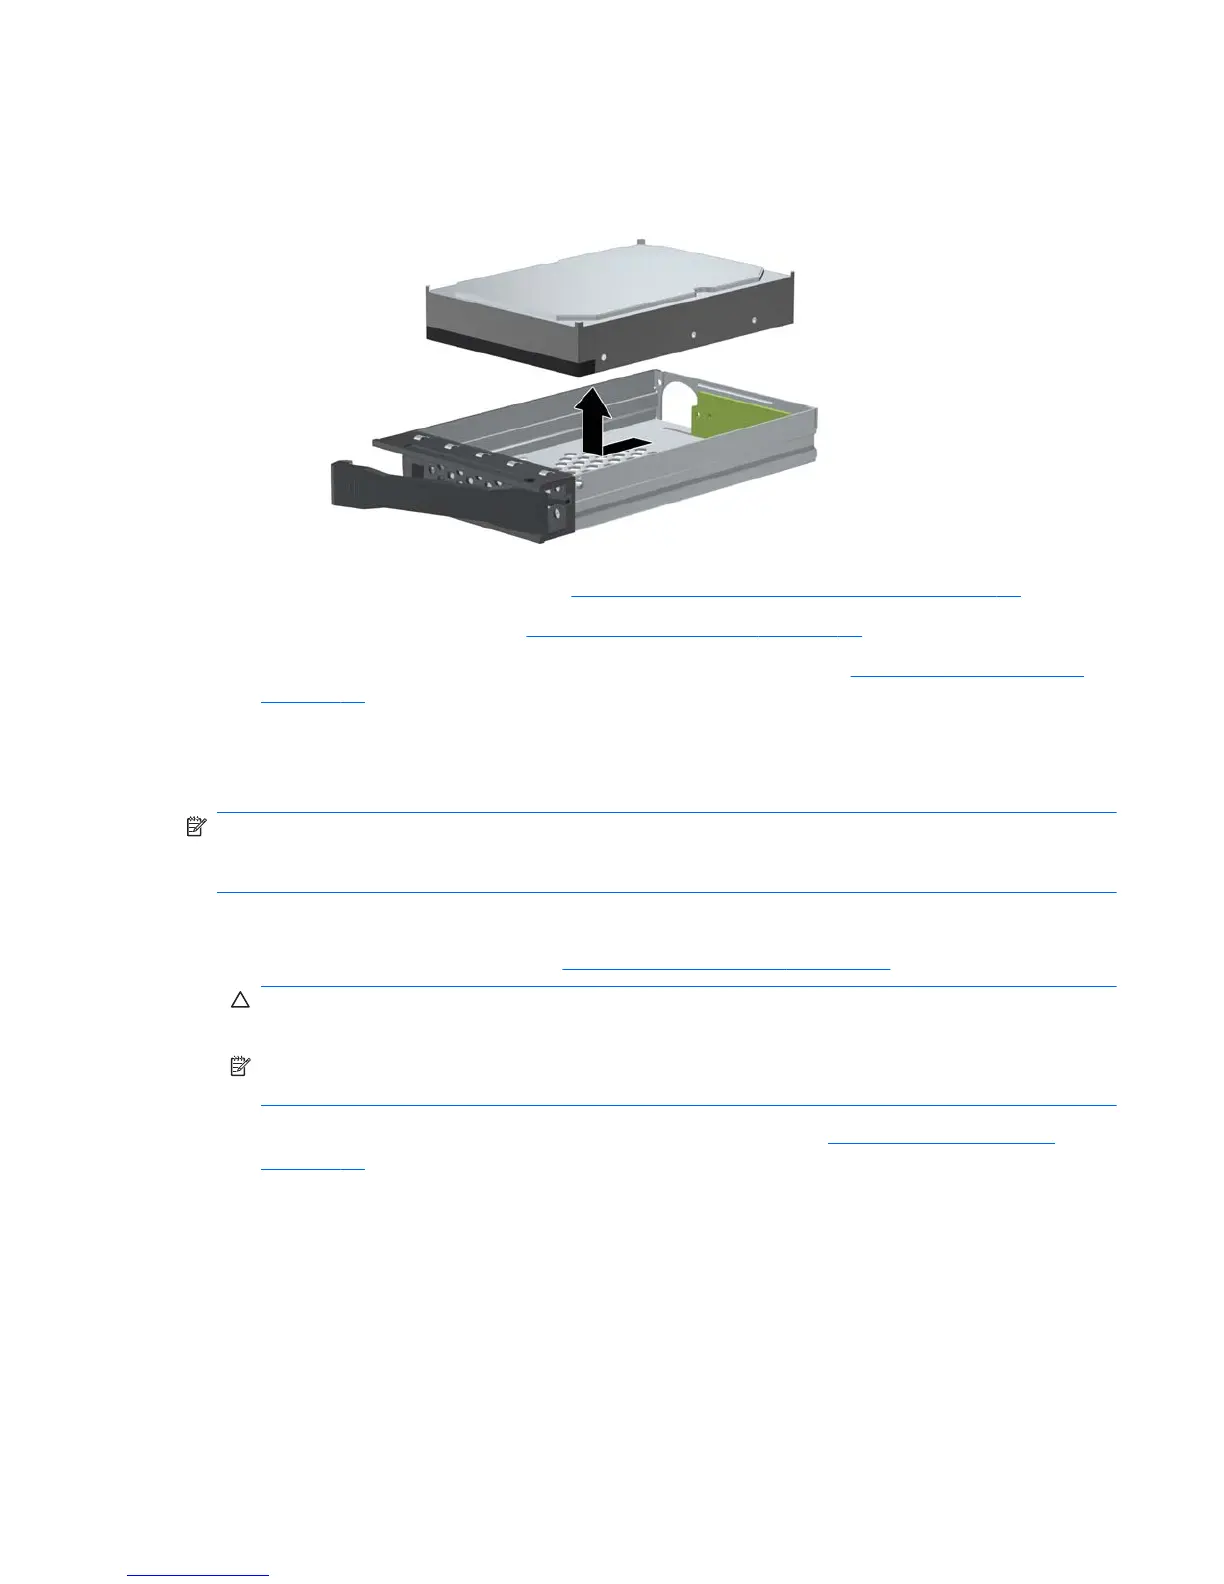
Remove the drive by sliding it toward the front of the carrier until it disengages from the
carrier adapter and then lifting the drive out of the carrier.
Figure 5-32 Removing the drive
d.
To replace the hard drive, see
Installing a DX115 Dataport hard drive on page 95.
10.
Replace the access panel (see
Installing the access panel on page 72).
11.
Restore all connections and equipment that you removed during the
Predisassembly procedures
on page 69.
Installing a DX115 Dataport hard drive
The optical disk drive bay can also accommodate a DX115 Dataport removable hard drive.
NOTE: The CRU Dataport DX115 does not fit in all optical drive bays. It is longer than most optical
drives. Choose the optical bay for the CRU Dataport DX115 which best fits your computer
configuration.
To install a DX115 unit:
1.
Follow the procedures listed in the
Predisassembly for drives on page 79 section.
CAUTION: Failure to follow the predisassembly procedures can result in equipment damage or
data loss.
NOTE: For better clarity, the figures in this section do not show the front bezel. However, you do
not need to remove the front bezel to install the DX115 unit.
2.
If you are replacing an existing optical disk drive, remove it. See
Removing an optical drive
on page 83.
ENWW
Removing and installing components
95
 Loading...