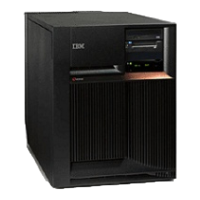
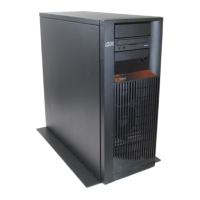
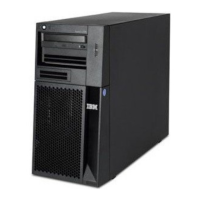
2. Push the cover toward the back of the system to remove it.
To remove the top cover:
1. Remove all of the previous covers.
2. Remove the screws that fasten the cover to the system frame.
3. Slide the top cover back and lift up.
Models 270, 800, and 810 - Device board - DB1, DB2, and DB3
For use by authorized service providers.
Use this procedure to remove or install a device board - DB1, DB2, and DB3 on the Models 270, 800, and
810.
The Models 270, 800, and 810 may be housed in a FC 0551 frame. The upper and lower system units are
placed on rails in the frame. If you are working on the upper or lower unit, follow these instructions and
access the internal parts by opening the front cover and sliding the system unit out on its rails.
To remove or replace a device board (DB1, DB2, and DB3):
1. Power off the system. See Power on/off the system and logical partitions.
2. Disconnect the power cord. On Models 270, 800, and 810 with a system unit expansion attached,
disconnect both the system line cord and the expansion unit line cord.
3. Remove the front and appropriate side covers. See Models 270, 800, and 810 - Covers.
4. Remove all the disk units from the cage assembly. See Models 270, 800, and 810 - Disk unit
(dedicated).
5. Remove the power and signal cable from the rear of the disk unit cage assembly.
6. Remove the screws holding the front of the disk unit cage assembly to the front of the system unit
frame.
7. Remove the screws from the back inside of the cage assembly.
8. Pull the cage forward about one inch.
9. Remove the remaining cables from the rear of the cage assembly.
10. Remove the disk unit cage assembly by pulling it forward and out of the system unit frame.
11. Reverse this procedure to install the device board - DB1, DB2, and DB3.
This ends the procedure.
Models 270, 800, and 810 - Disk unit (concurrent)
For use by authorized service providers.
Use this procedure to remove or replace a disk unit concurrently on the Models 270, 800, and 810.
The Models 270, 800, and 810 may be housed in a FC 0551 frame. The upper and lower system units are
placed on rails in the frame. If you are working on the upper or lower unit, follow these instructions and
access the internal parts by opening the front cover and sliding the system unit out on its rails.
Attention: If removing the cover while powered on, errors may occur due to electromagnetic interference.
Attention: The disk unit is sensitive to electrostatic discharge. See Work with electrostatic
discharge-sensitive parts.
To remove or replace the disk unit (concurrent):
1. Determine if the system has logical partitions. Go to Determine if the system has logical partitions,
before continuing with this procedure.
2. Were you directed here from “Recovery procedures” on page 539?
8 Hardware (Remove and Replace; Part Locations and Listings)
 Loading...


