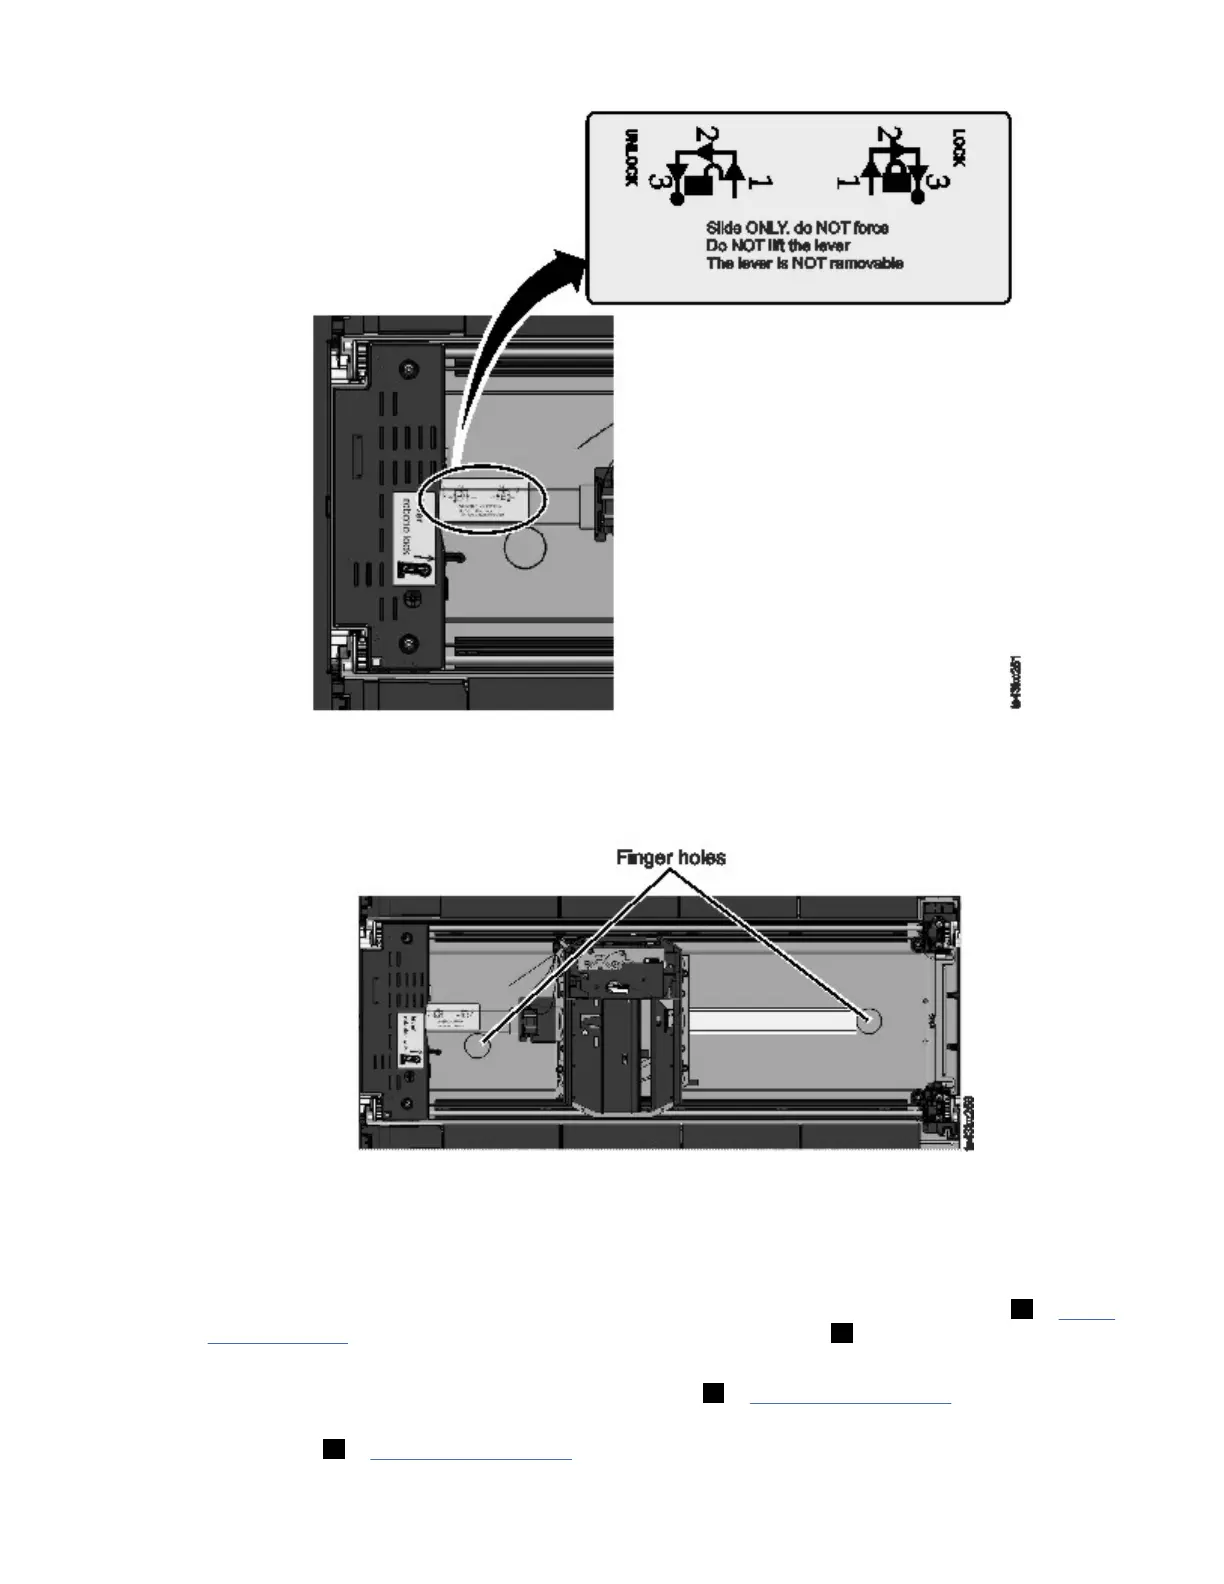
Figure 72. Unlocking the robot
4. Place your ngers into the large holes on the accessor and pull up slowly.
Note: The accessor offers resistance. Lift the accessor no faster than 12 mm (0.5 inches) per second.
Figure 73. Finger holes
5. Lift the accessor gently from the module and place it on top of the gear mechanism. Take care not to
damage the spooling cable.
6. Lock the robot to keep it from lowering
7. On the top of the accessor where the spooling cable is attached, press down on the latch ( 1 in Figure
74 on page 138), then tilt out the piece that holds the spooling cable ( 2 ).
Note: Note where the end of the spooling cable pivots in the accessor. It is important to know when
you attach the new spooling cable to the accessor. See 2 in Figure 75 on page 138.
8. Lift the spooling cable from the accessor and place it in its cradle at the top of the spooling
mechanism ( 3 in Figure 74 on page 138).
Chapter 6. Upgrading and servicing
137
 Loading...