EasyManua.ls Logo

IBM TS4300 3555 User Manual

IBM TS4300 3555
262 pages
To Next Page IconTo Next Page
To Previous Page IconTo Previous Page
Page #194 background image
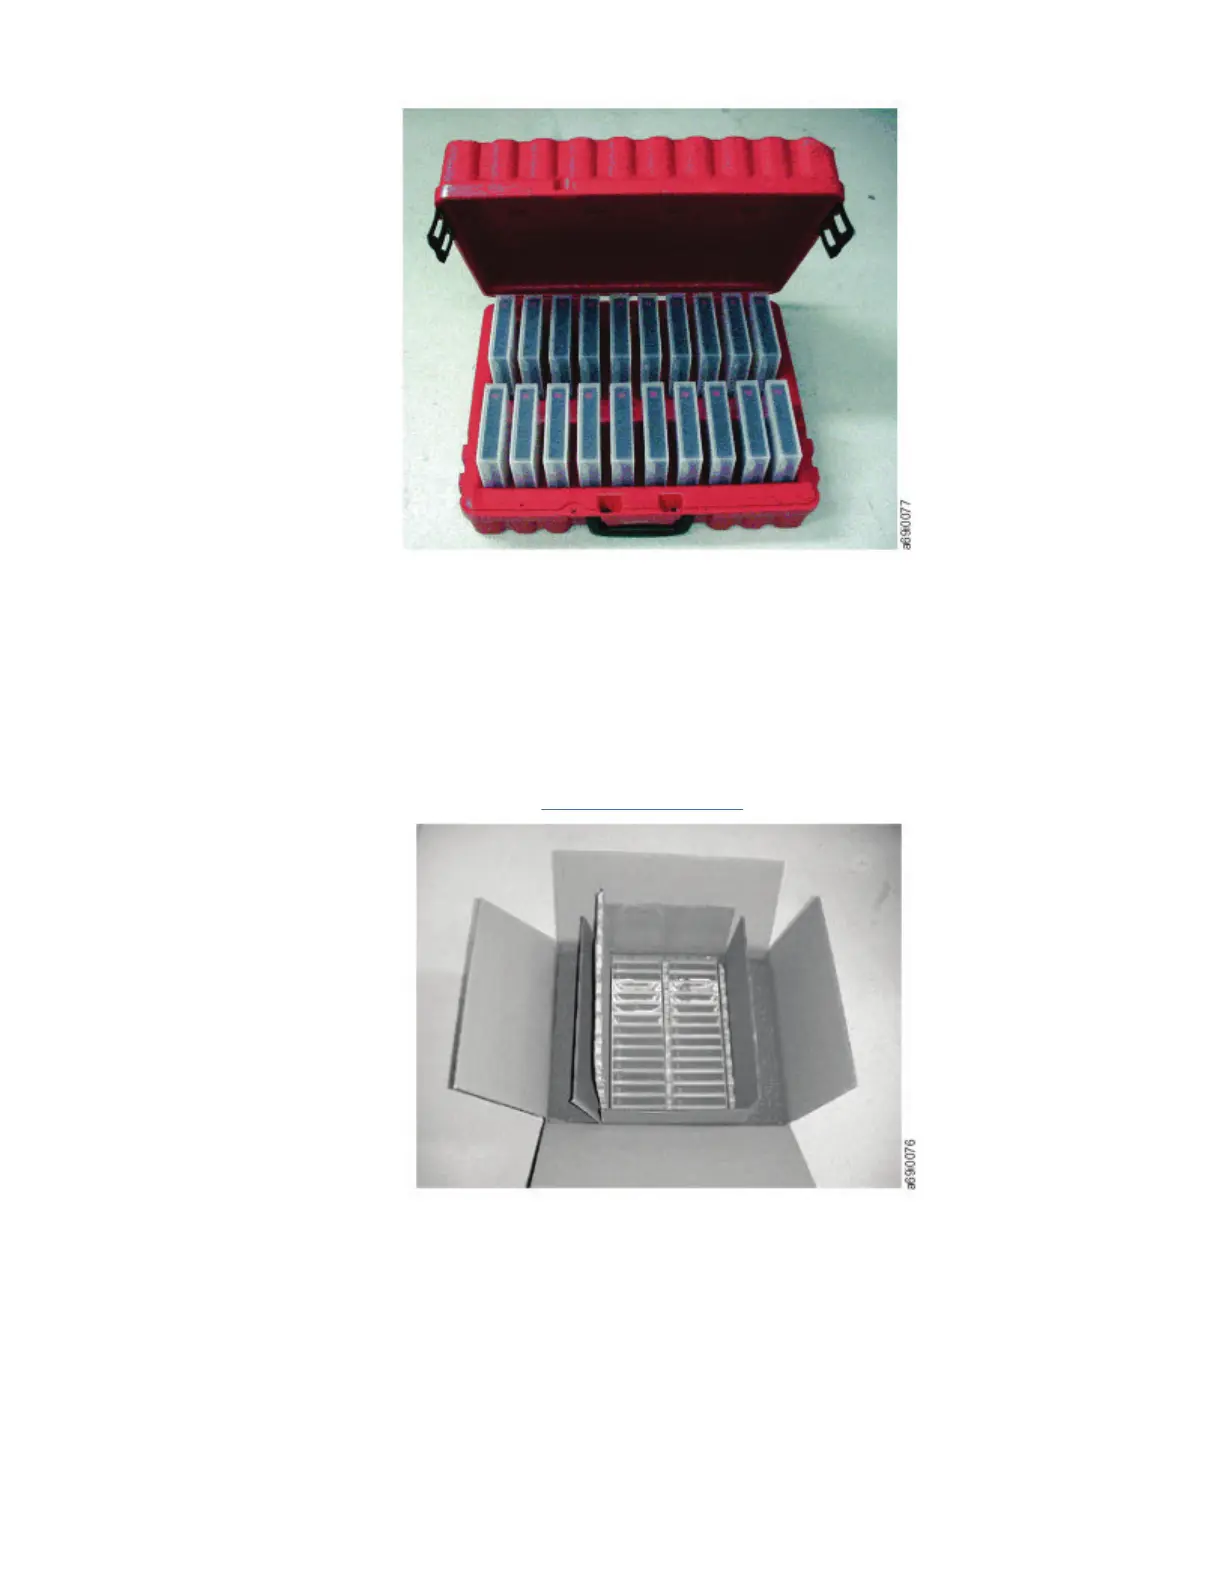
Figure 90. Tape cartridges in a Turtlecase
Never ship a cartridge in a commercial shipping envelope. Always place it in a box or package.
If you ship the cartridge in a cardboard box or a box of a sturdy material, ensure that you
Place the cartridge in polyethylene plastic wrap or bags to protect it from dust, moisture, and other
contaminants.
Pack the cartridge snugly; do not allow it to move around.
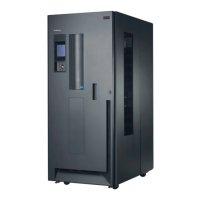
Double-box the cartridge (place it inside a box, then place that box inside the shipping box) and add
padding between the two boxes (see Figure 91 on page 164).
Figure 91. Double-boxing tape cartridges for shipping
Proper acclimation and environmental conditions
To ensure the longest possible life for your data cartridges, follow these guidelines.
Before you use a tape cartridge, acclimate it to the operating environment for 24 hours or the time
necessary to prevent condensation in the drive. The time varies, depending on the environmental
extremes to which the cartridge was exposed. If the data cartridge was exposed to temperatures
outside the specied ranges, stabilize the cartridge at room temperature for the same length of time it
was exposed to extreme temperatures or 24 hours, whichever is less.
164
IBM TS4300 Tape Library Machine Type 3555: User's Guide

Table of Contents

Questions and Answers:

IBM TS4300 3555 Specifications

General IconGeneral
Maximum Number of Drives2
EncryptionYes
Product TypeTape Library
Power SupplyRedundant power supplies
Drive TypeLTO-6
Max Capacity (LTO-6)192 TB (compressed)
WeightApproximately 85 lbs
Operating Temperature10°C to 35°C
InterfaceFibre Channel, SAS
Host InterfaceFibre Channel, SAS

Summary

Accessing online technical support

Contacting IBM technical support

Chapter 1. Overview

Chapter 2. Planning

Chapter 3. Installing

Installing modules in a rack

Provides step-by-step instructions for installing library modules into a rack using rackmount kits.

The Initial Setup process

Guides users through the initial library setup process, including network configuration and administrator settings.

Chapter 4. Managing

The Management GUI

Describes the web-based graphical user interface for managing the tape library's functions.

The Operator Panel

Details the functions and operation of the library's front panel operator panel for monitoring and configuration.

Chapter 5. Troubleshooting

Chapter 6. Upgrading and servicing

Adding, removing, or replacing a tape drive

Step-by-step instructions for installing, removing, or replacing tape drives within the library modules.

Adding or replacing a Base or Expansion Module

Provides procedures for adding or replacing base and expansion modules in the tape library.

Removing the Module from a rack

Details the steps required to safely remove a library module from its rack mounting.

Adding, removing, or replacing a power supply

Guides users through the process of replacing or adding power supply units to the library modules.

Replacing a Base or Expansion controller card

Instructions for replacing the controller card in the base or expansion modules of the library.

Installing, removing, or replacing an accessor and spooling mechanism

Covers procedures for servicing the library's accessor and spooling mechanism components.

Appendix B. LTO media

Appendix C. Replacement parts

Appendix D. Manual cartridge removal procedure

Removing the drive brick from the sled

Step-by-step guide to safely remove the drive brick from its sled assembly.

Removing the drive cover

Detailed instructions for removing the cover from both full-height and half-height tape drives.

Related product manuals