Setup and Assembly Manual Page 23
A.12 Network IP Address
Controlling the WideTEK 25 scanner is based on the Scan2Net technology.
That means, access to the scanner and to the integrated Scan2Net interface will occur by
using a ne twork connection. Every browser software can be u sed to work with the
scanner.
The default network IP address of the scanner is 192.168.1.50
This IP address is also valid after using the function “Reset to Factory Defaults”.
To adapt the scanner to an existing network, the IP address and other network
parameters can be modified by using the touch panel as well as the Scan2Net interface.
The following chapter will describe how the IP address can be m odified with the touch
panel. Another chapter, following later, will describe how to modify the IP address by
using the Scan2Net interface.
A.12.1 Adapting the IP address with the Touch Panel
When the WideTEK 25 is in stand-by mode, it can be started by tapping the touch panel
on any arbitrary position. The touch panel lights up and a rotating hourglass indicates that
the start sequence is running.
While the start sequence is running, tap on the touch panel at least three times
successively.
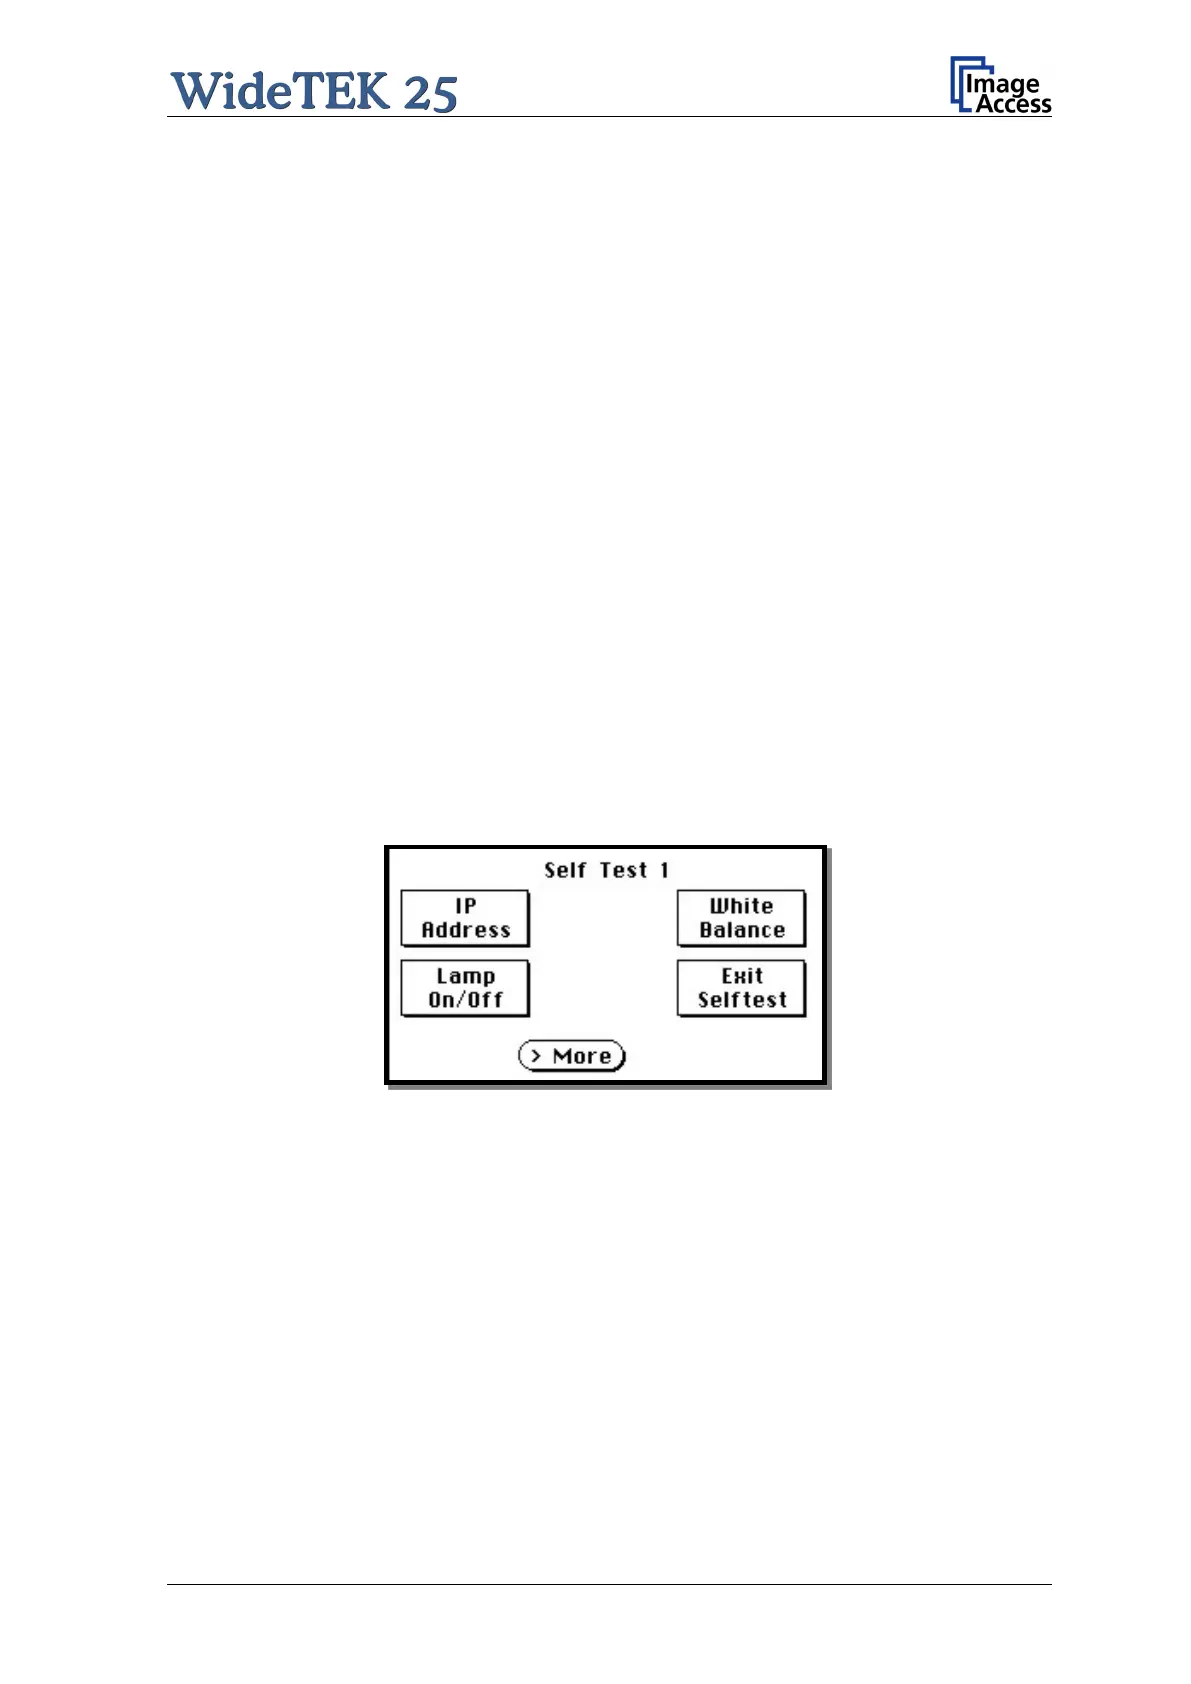
At the end of the start sequence the touch panel shows the menu Self Test 1.
Picture 10: Menu Self Test 1
By tapping the fields you can change to the submenus.

 Loading...


