Page 26 Setup and Assembly Manual
A.13.1.2 Performing the White Balance Adjustment
Start the scanner as described in chapter A.11.1.
While the start sequence is running, tap on the touch panel at least three times
successively.
At the end of the start sequence the touch panel shows the menu Self Test 1 (Picture 10).
Tap on the field White Balance to activate the adjustment process.
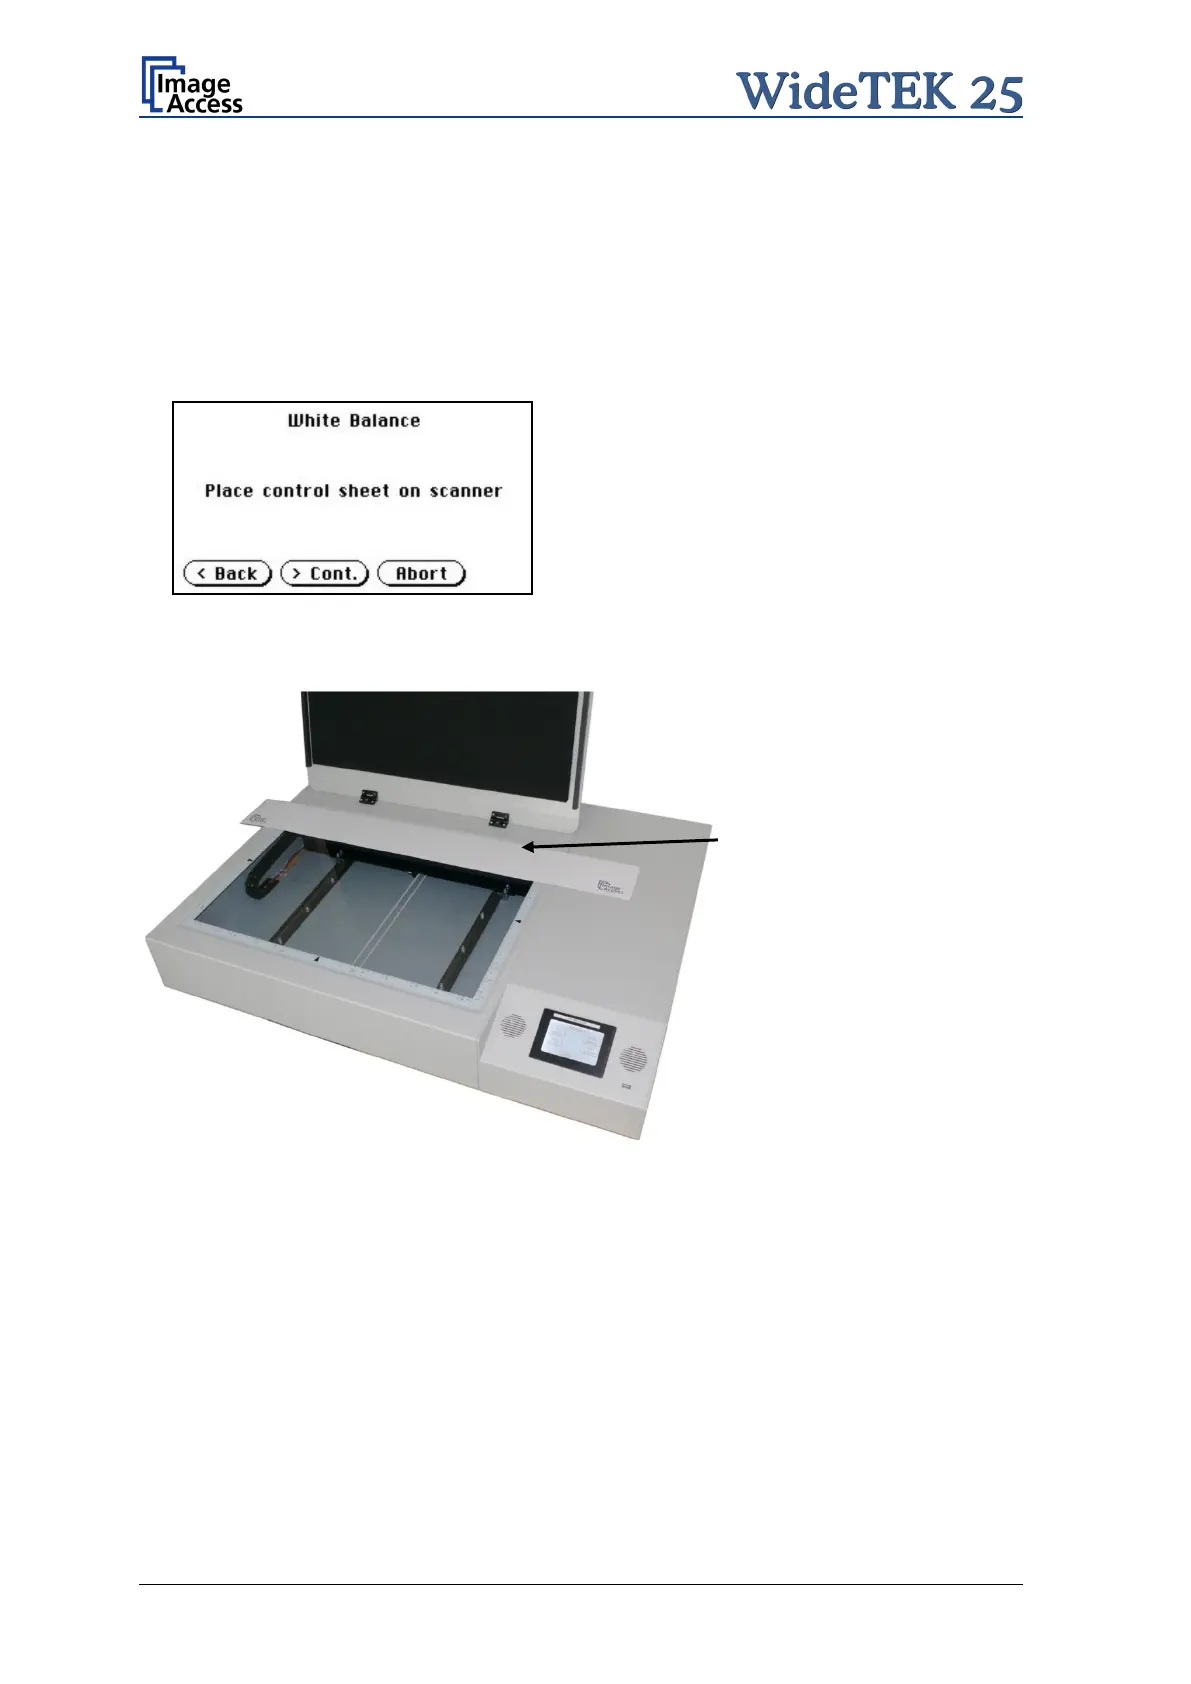
Picture 14: White Balance screen
< Back Returns to the former screen.
> Cont. Starts the measurement.
Abort
Stops the measurement and t he
display returns to the former
screen.
Picture 15: Test target placed on scanner
Place the white balance test
target WT36-Z-02-A on the
upper margin of the glass
plate.
The test target must cover
the complete width of the
glass plate.
Now tap on > Cont.

 Loading...


