Page 28 Setup and Assembly Manual
B Software Setup
Essentially, the scanner is a web server and comes with its own HTML-based user
interface. To access a Scan2Net scanner, any standard web browser can be utilized.
B.1 Start Screen of the Scan2Net User Interface
Start your browser.
Enter the IP address of the scanner. The default IP address of the scanner: 192.168.1.50
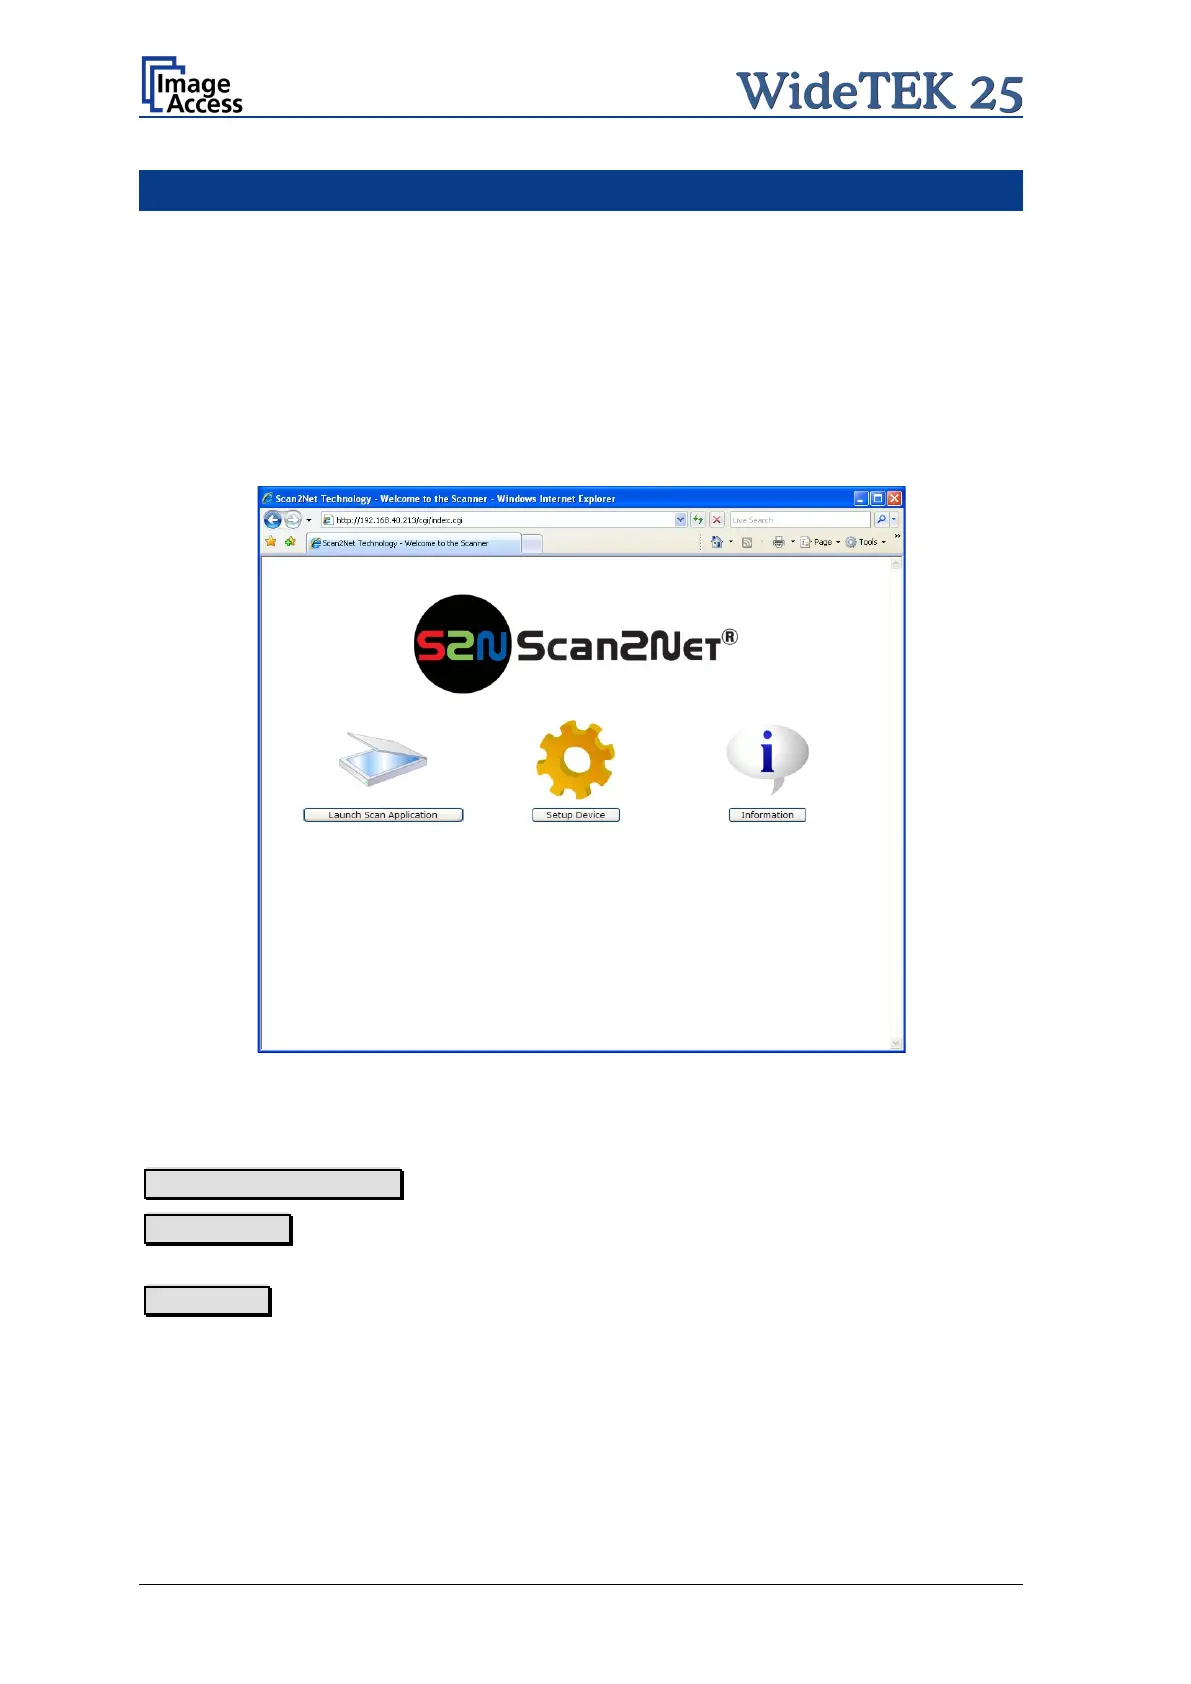
The start screen of the integrated user interface will be displayed.
Picture 18: Start screen
The start screen shows three symbols, which lead to the main categories of the Scan2Net
user interface.
Launch Scan Application changes to the main screen of the scanner interface.
Setup Device changes to the setup menu. Starting with the following chapter, the basics
of the scanner configuration will be described.
Information shows a list of basic information about the scanner, e.g. serial number, the
firmware version, the IP address and many more.

 Loading...


