Page 34 Setup and Assembly Manual
B.3.2 Adjust Time & Date
In the Poweruser main menu screen (Picture 20) locate the section Base Settings. Click
on the button Adjust Time & Date .
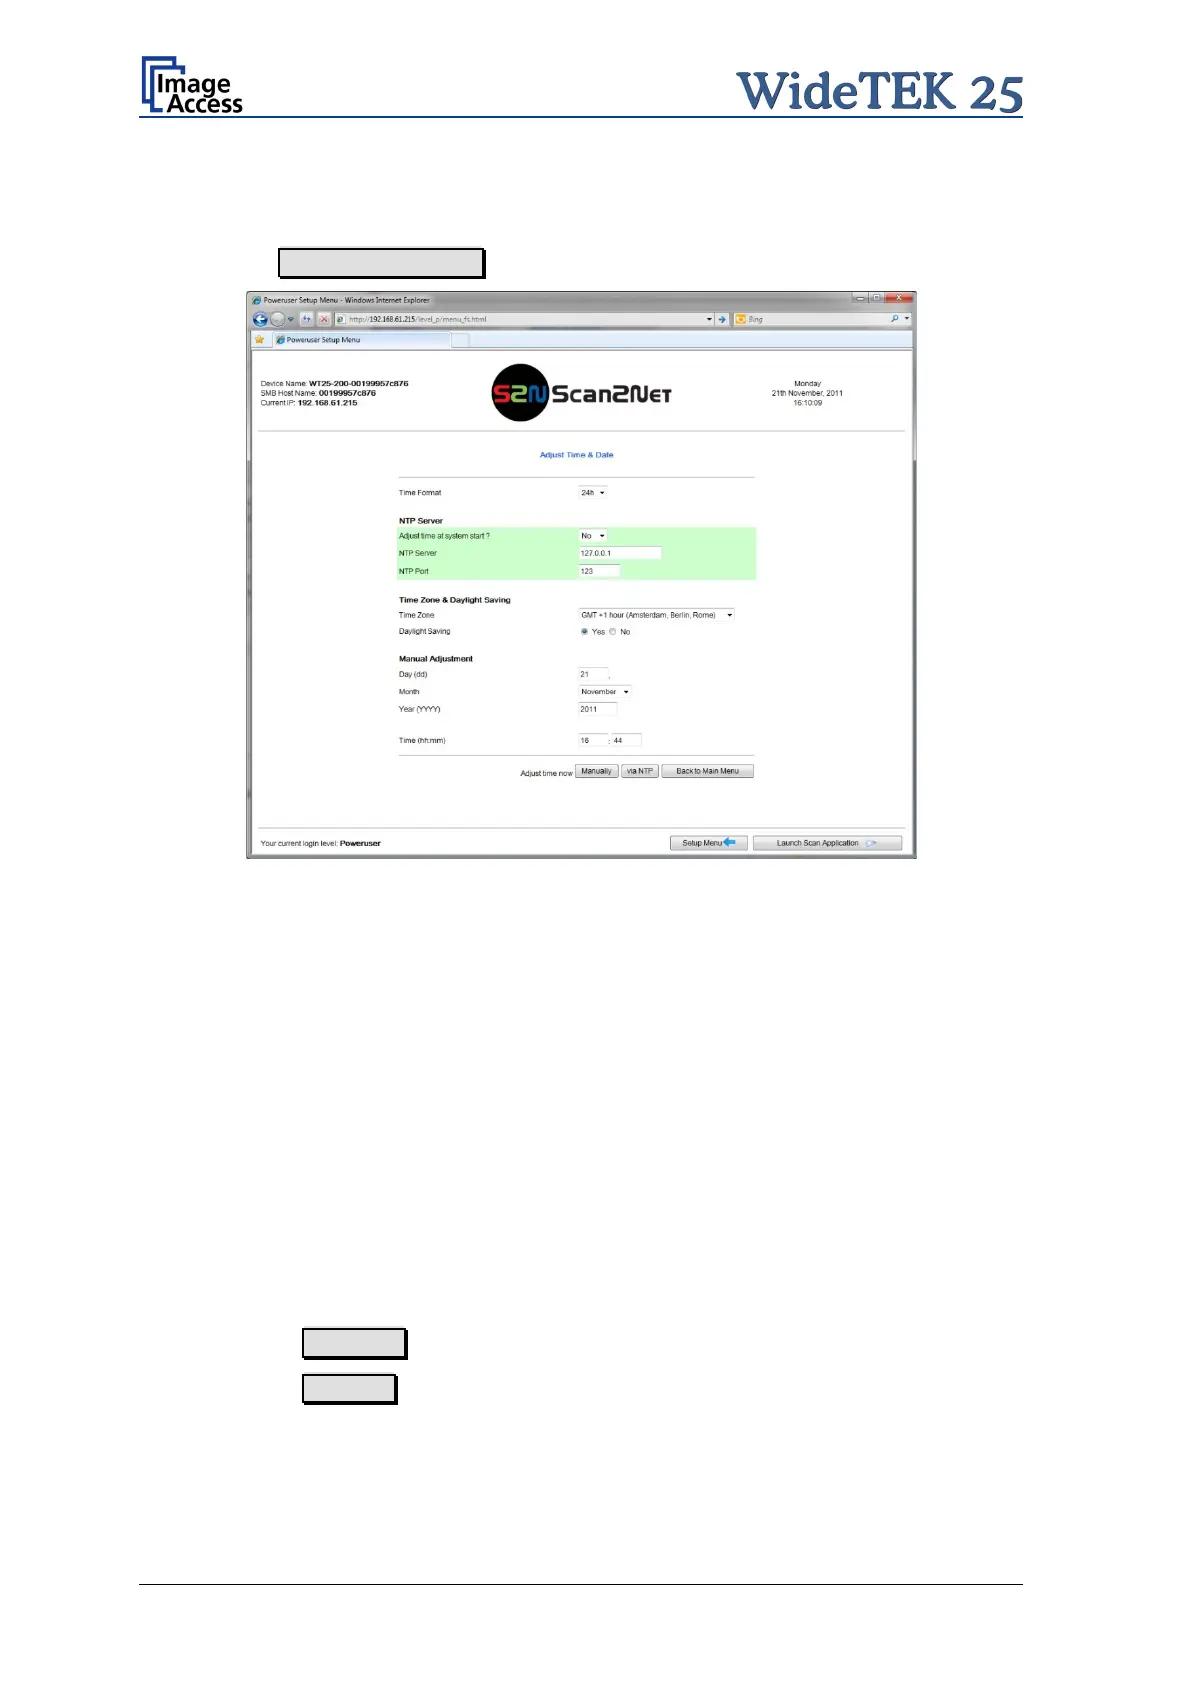
Picture 26: Adjust Time and Date screen
Select the time format.
NTP Server
Select if the time should be adjusted automatically at system start.
Enter the parameters for the communication with an NTP server.
Time Zone & Daylight Saving
Select the time zone and the daylight saving function.
Manual Adjustment
Manually set the date and the time.
Click the button Manually to refresh all above modified data.
Click the button via NTP to connect to the above defined NTP server.
Note: By default, the name of a s canned image contains the scan time and date,
therefore synchronizing the internal clock can be of some value.

 Loading...


