4
Upload is complete.
0
After all clips are uploaded successfully,
“Successfully Completed.” is displayed.
Press the Set button (R) to return to the
thumbnail screen.
0
When clips are not uploaded successfully,
the following errors are displayed.
.
Cause of
Error
Exit
Internal Error.
Failed.
FTP Upload
(A P
171 [List of FTP Transfer Errors K] )
Memo :
0
If
there is an error message or other notifications
when you switched to the Camera mode while
FTP upload is in progress, a 5 icon (yellow) will
appear in the remaining media space display
area in the Camera mode.
You can press the [MODE] button to switch to
the Media mode and display the above error
screen.
Follow “[List of FTP Transfer Errors K]
(A P 171)” to clear the error display.
Connecting from a Web
Browser K
You can access the web functions of this camera
recorder via a web browser on devices such as a
smartphone, tablet terminal, or PC.
Make
the necessary preparations for connection in
advance.
(A P143 [Connect an appropriate adapter
according to the intended use to the [HOST]
terminal at the side terminal section of the
camera recorder.] )
1
Set the camera recorder to the Camera
mode, and display the
[Network] (status)
screen.
0
Press the
[STATUS] button on the camera
recorder to display the status screen.
Press the cross-shaped button (HI) to
display the [Network] screen.
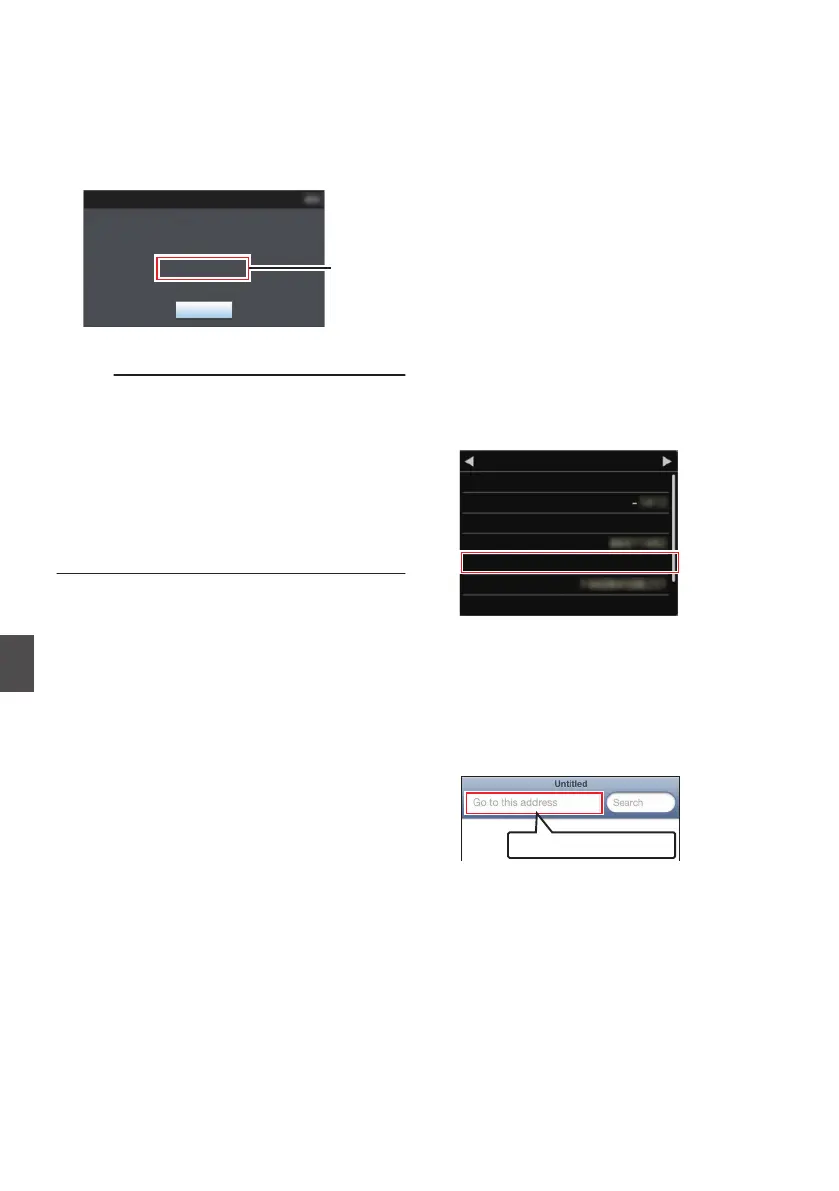
0
Check the displayed [IP Address].
.
192.168.0.1
HM200
Network
WPA2
P2P
MAC Address
IP Address
Passphrase
Security Type
SSID
Ty p e
2
Start up the web browser on the terminal
you wish to connect to the camera
recorder, and enter the
[IP Address] in the
address field.
(Example: 192.168.0.1)
If “192.168.0.1” is displayed in [IP Address],
enter “http://192.168.0.1
”.
.
150
Uploading a Recorded Video Clip K
Connecting to the Network
K
 Loading...