3
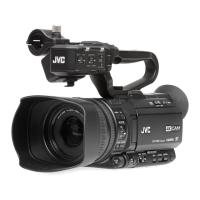
Select [Delete
Clips] B [This Clip] and press
the Set button (R).
A screen to confirm deletion appears.
.
3
All Clips
Selected Clips
This Clip
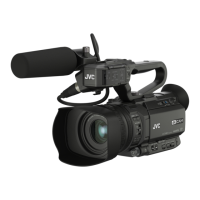
4
Select [Delete] using the cross-shaped
button (JK), and press the Set button (R).
Deleting starts.
.
4
Stop
Deleting...
Cancel
Delete
Delete This Clip?
Selecting and Deleting Multiple Clips
To select and delete multiple clips, refer to
“[Selecting
and Performing Operations on Multiple
Clips] (A P 89)”.
Deleting All Clips
Delete all clips that are displayed.
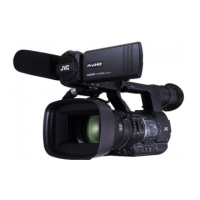
1
Press the [ZEBRA/5] button.
The action selection screen is displayed.
2
Select [Delete Clips] B [
All Clips].
A screen to confirm deletion appears.
3
Select [Delete] and press the Set button
(R).
Deleting starts.
Memo :
0
The time taken to delete clips depends on the
number of clips to be deleted.
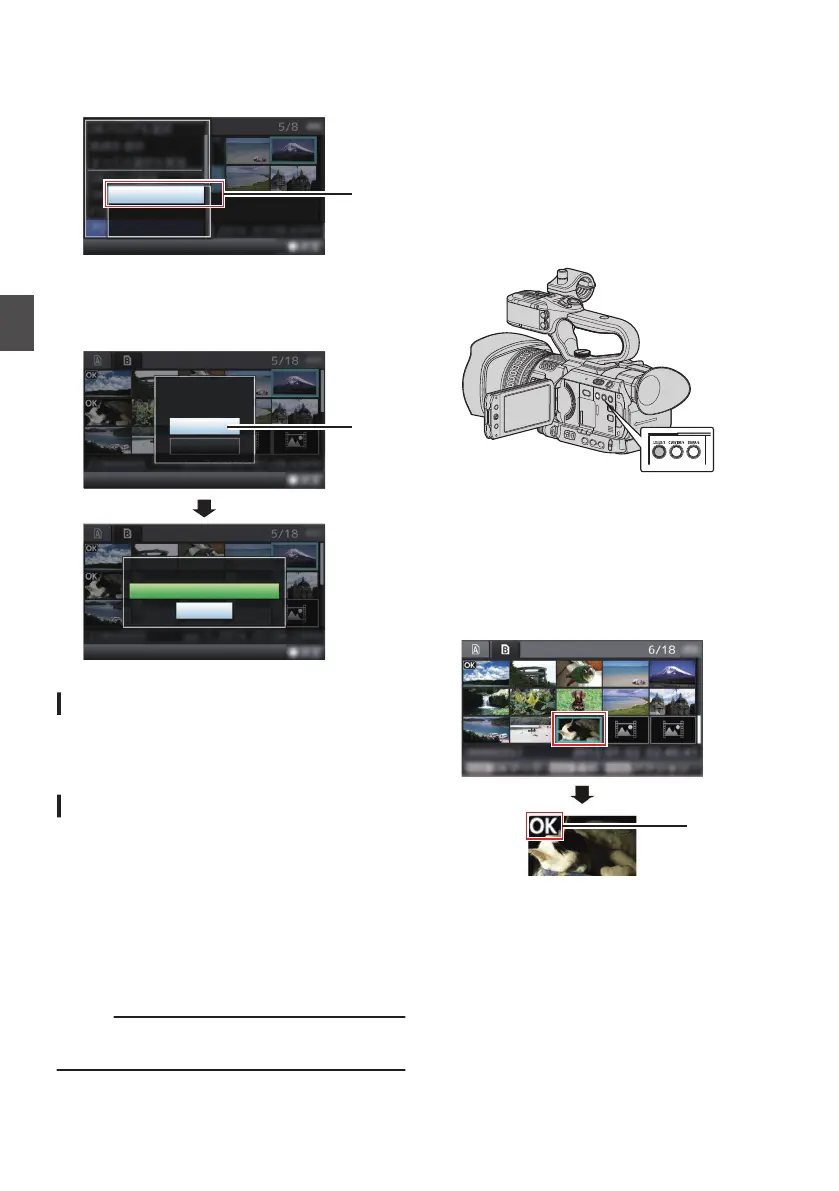
Appending/Deleting OK
Mark
0
You can append OK marks to the clips for
important scenes.
0
Clips appended with OK marks cannot be
deleted, thus protecting the important clips.
0
When the camera recorder is in Media mode,
you can delete the OK marks appended during
recording, or append/delete OK marks after
shooting.
.
During Thumbnail Screen
1
Press the [LOLUX/3] button.
0
If the clip does not have an OK mark, an OK
mark will be appended.
0
If the clip is appended with an OK mark, the
OK mark will be deleted.
.
88
Deleting Clips
Playback
 Loading...