8.13
Section 8
Disassembly
8
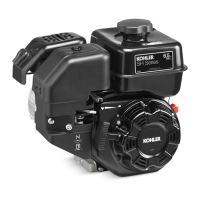
Remove Piston from Connecting Rod
1. Remove the wrist pin retainer and wrist pin.
Separate the piston from the connecting rod. See
Figure 8-50.
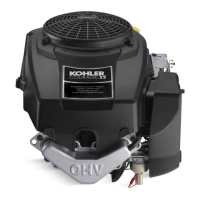
Figure 8-51. Removing Piston Rings.
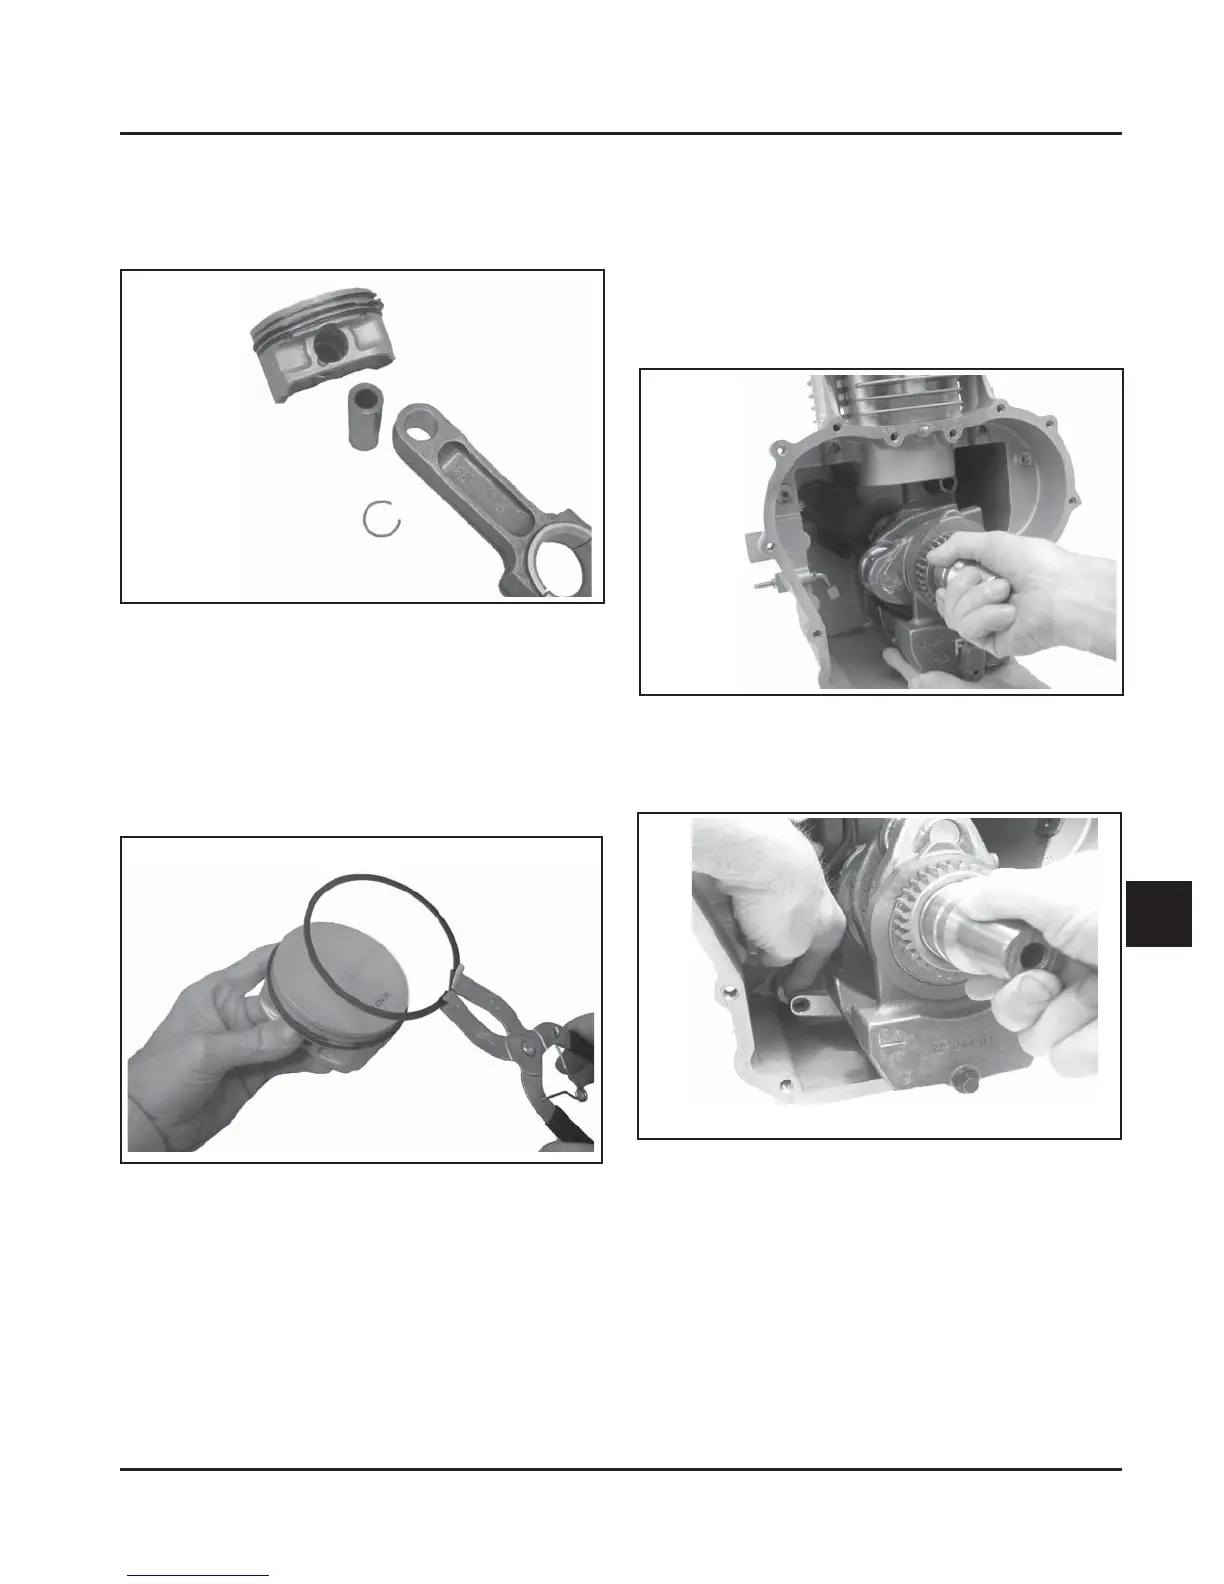
Remove Crankshaft and Balance Weight
Assembly
1. Carefully remove the cranksha and balance
weight assembly from the crankcase. See Figure
8-52. On engines aer Serial No. 3618005223,
carefully li the lower control link (for balance
weight), off the boss of crankcase as the
cranksha is removed. See Figure 8-53.
Figure 8-50. Separating Piston from Connecting
Rod.
Remove Piston Rings
1. Remove the top and center compression rings
using a ring expander. See Figure 8-51.
2. Remove the oil control ring rails, then remove the
spacer.
Figure 8-52. Removing Crankshaft and Balance
Weight Assembly (Before Serial No. 3618005213).
Figure 8-53. Removing Crankshaft and Link (After
Serial No. 3618005223).
 Loading...