Scanning using the computer
Scanning a document using the computer
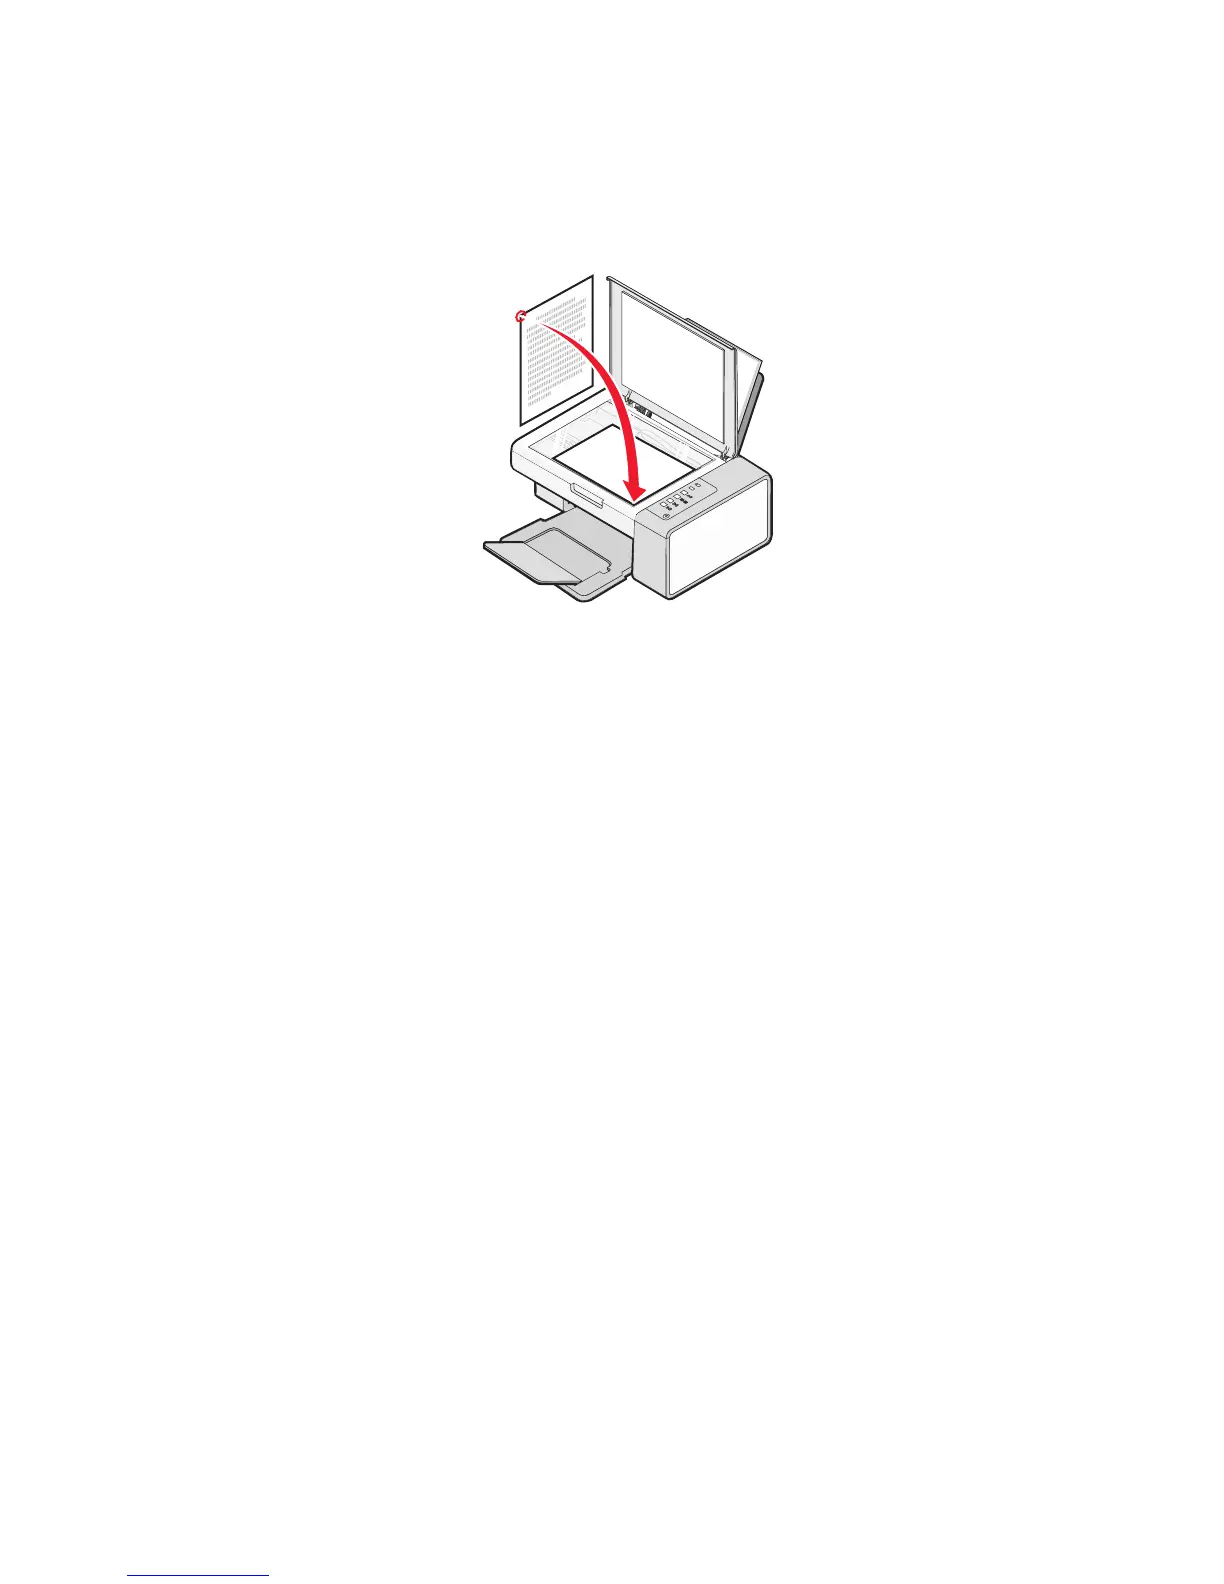
1 Load an original document facedown on the scanner glass.
2 From the desktop, double-click the Lexmark Imaging Studio icon.
3 Click Scan.
4 Select the Document option.
5 Click Start. The scanned document is loaded into your default word-processing application. You can edit your
scanned document.
Scanning a photo to the Photo Library
1 From the desktop, double-click the Lexmark Imaging Studio icon.
2 Click View / Print Photo Library.
3 From the Photo Library Add tab, click Add New Scan.
4 Select the Photo option.
5 Click Start. The photo is placed in the current folder of the Photo Library.
Scanning
41
 Loading...