6 If you are scanning a photo, select the Photo Size from the Send Quality and Speed area.
7 Click Create E-mail to have your images attached to an e-mail message.
Saving a scanned image on the computer
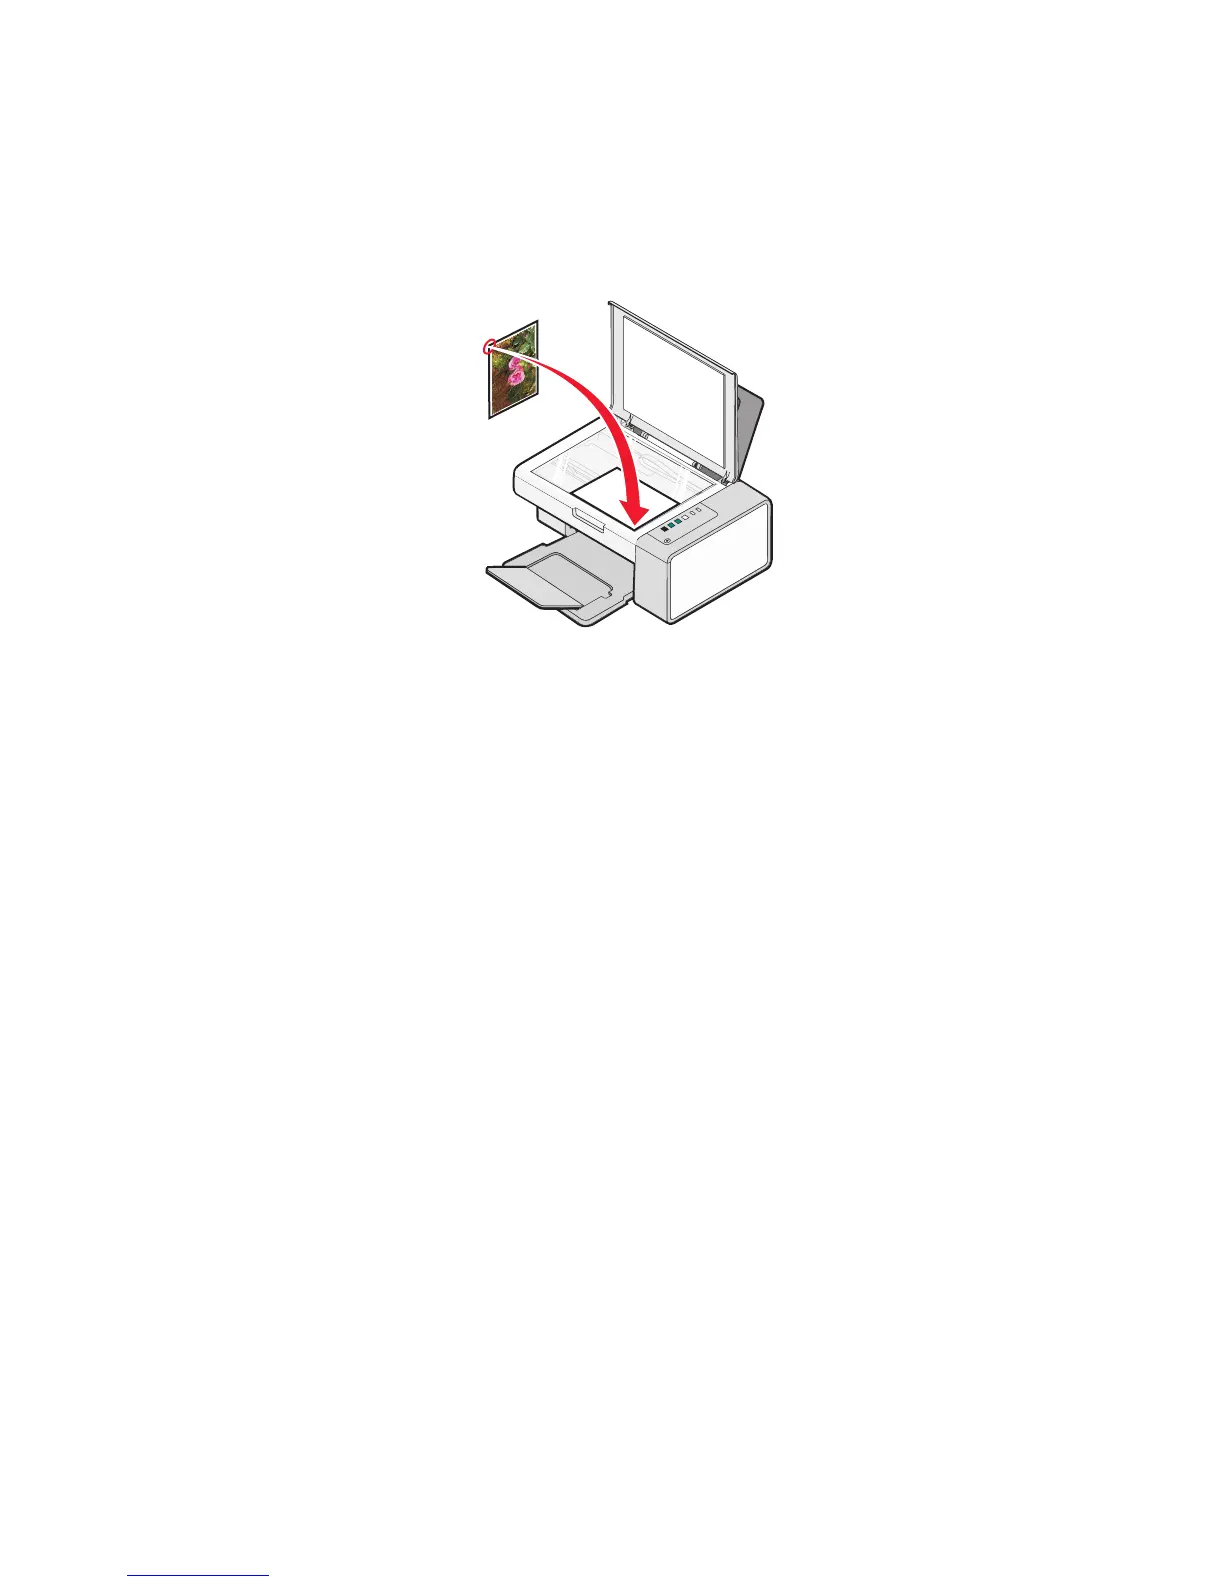
1 Load an original document facedown on the scanner glass.
2 Close the top cover.
3 From the desktop, double-click the Lexmark Imaging Studio icon.
4 Click Scan.
5 Select the Photo, Several Photos, or Document option.
6 Click Start.
7 From the Save or Edit screen menu bar, click Save.
8 To save to another folder, click Browse, and select a folder. Click OK.
9 To rename the file, enter the name in the File Name area. To assign the name as a prefix to all of your photos,
select the “Start all photos with File Name” check box.
10 To save the photo as another file type, select the file type from the File Type drop-down list.
11 To select a date for the photo, click the drop-down list, and select a date from the calendar.
12 Click Save.
Removing image patterns from photos, magazines, or newspapers
1 With a scanned image open, click Advanced.
2 Click Image Patterns.
3 To remove the image patterns caused by scanning from magazines or newspapers, click Remove Patterns.
4 From the drop-down list, select the patterns to be removed.
5 To reduce stray marks on color photos, click the check box, and then move the slider to the desired value.
6 Click OK. The thumbnail is updated.
Scanning
44
 Loading...