3 Click Scan.
4 Select the Photo or Several Photos option.
5 Click Start.
6 If you want to scan another photo(s) from the scanner glass:
a Click Add Another on the right side of the screen.
b Click New Scan.
c Load the photo(s) facedown on the scanner glass.
Note: If the photos are small enough to scan them at the same time from the scanner glass, for best results
place them with the most space possible between photos and the edges of the scan area.
d Select the Photo or Several Photos option.
e Click Start.
7 If you want to add a photo(s) stored on your computer:
a Click Add Another on the right side of the screen.
b Click Photo from Photo Library.
c Select the photo(s) you want to add.
d Click Add Photos. A thumbnail of the photo is added to the preview pane.
8 Repeat step 6 and/or step 7 until you have finished scanning and adding all your photos.
Scanning documents or images for e-mailing
You can e-mail attached images using your default e-mail application.
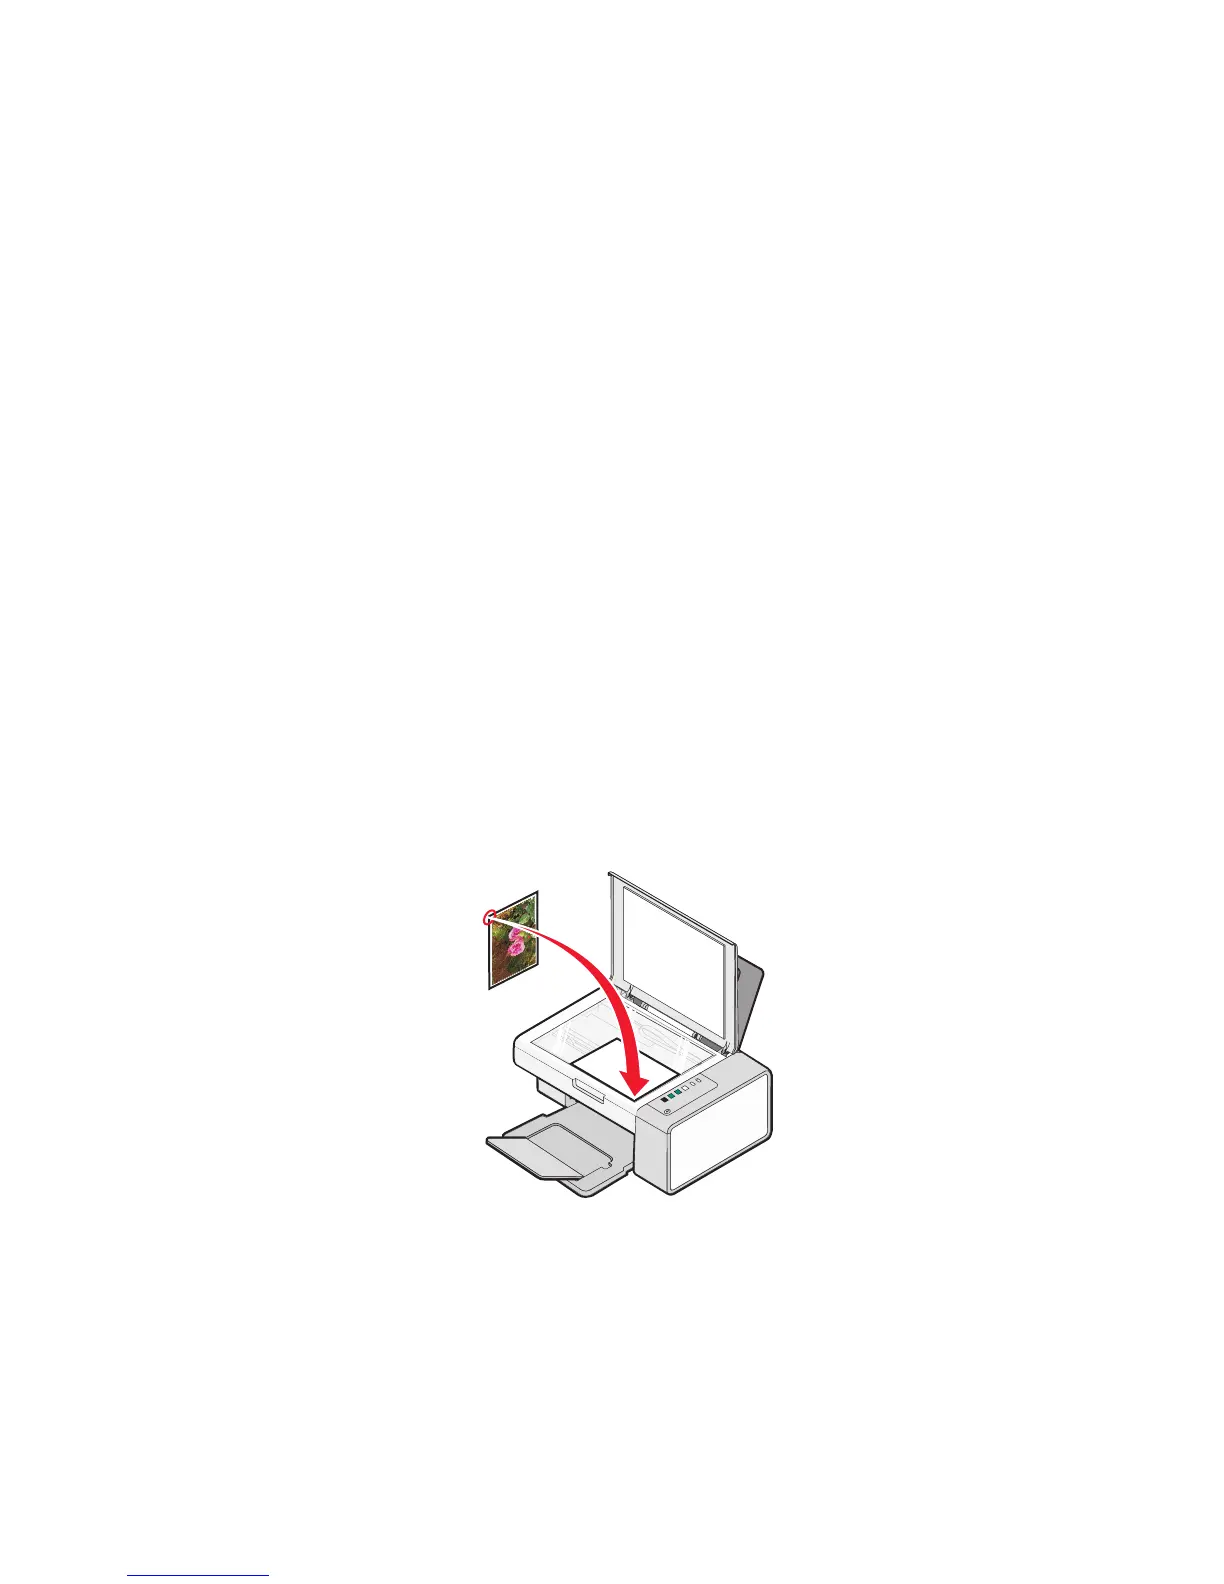
1 Load an original document facedown on the scanner glass.
2 From the desktop, double-click the Lexmark Imaging Studio icon.
3 Click E-mail.
4 Select the Photo, Several Photos, or Document option.
5 Click Start.
Scanning
43
 Loading...